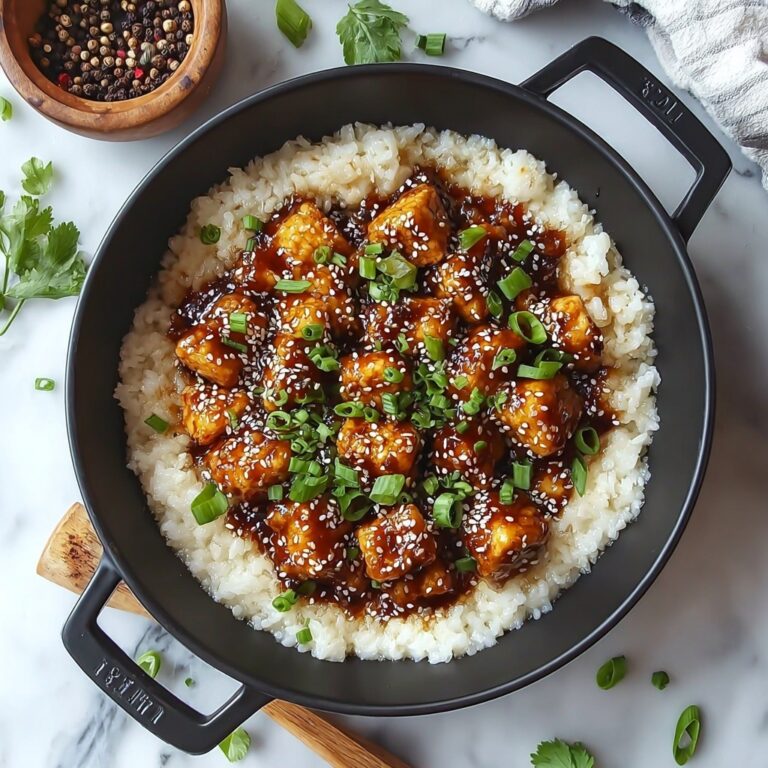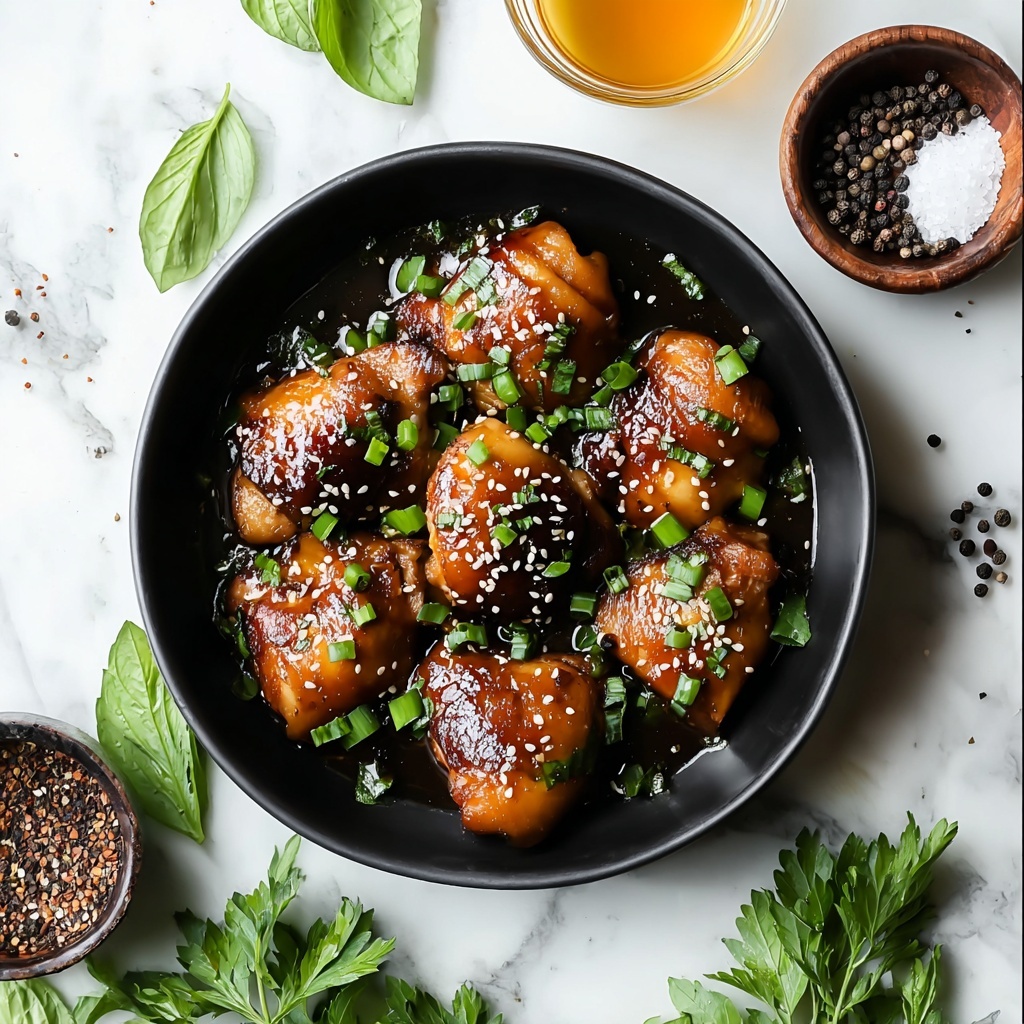
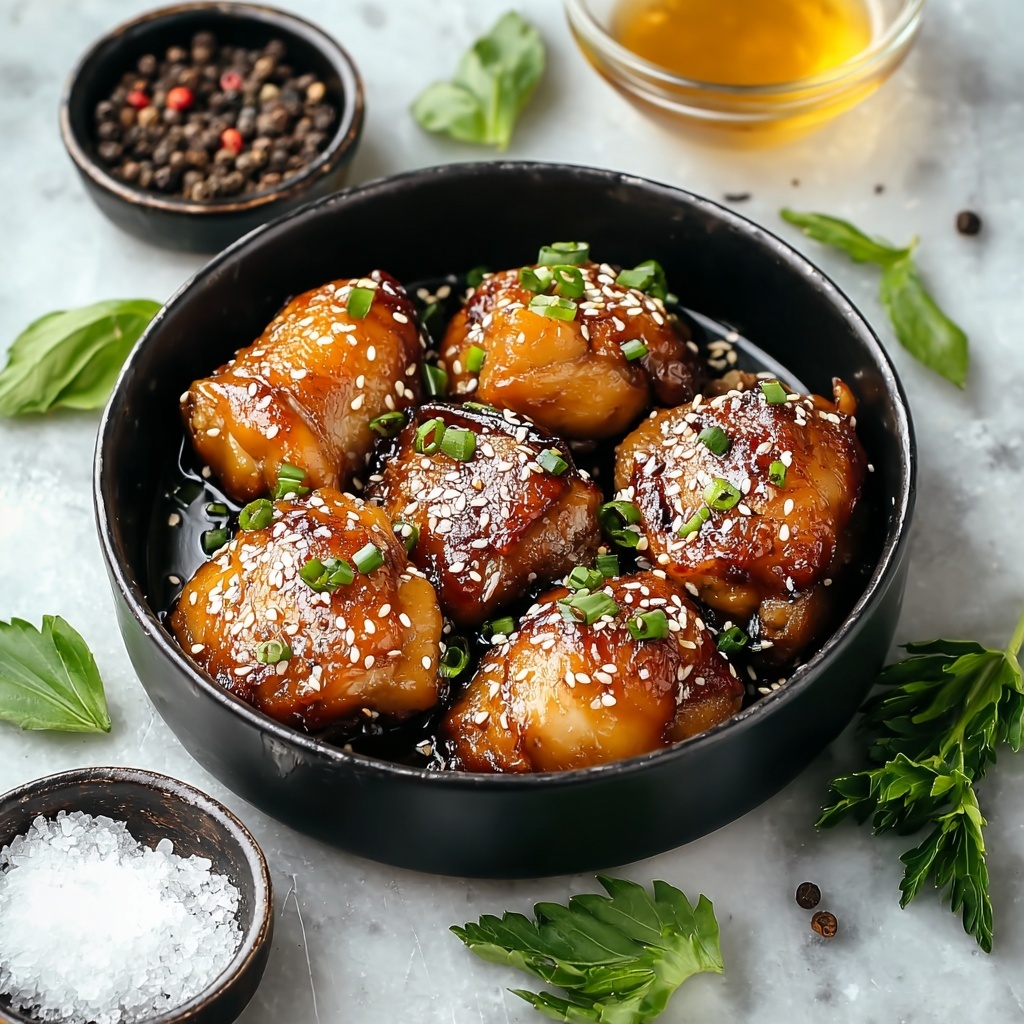
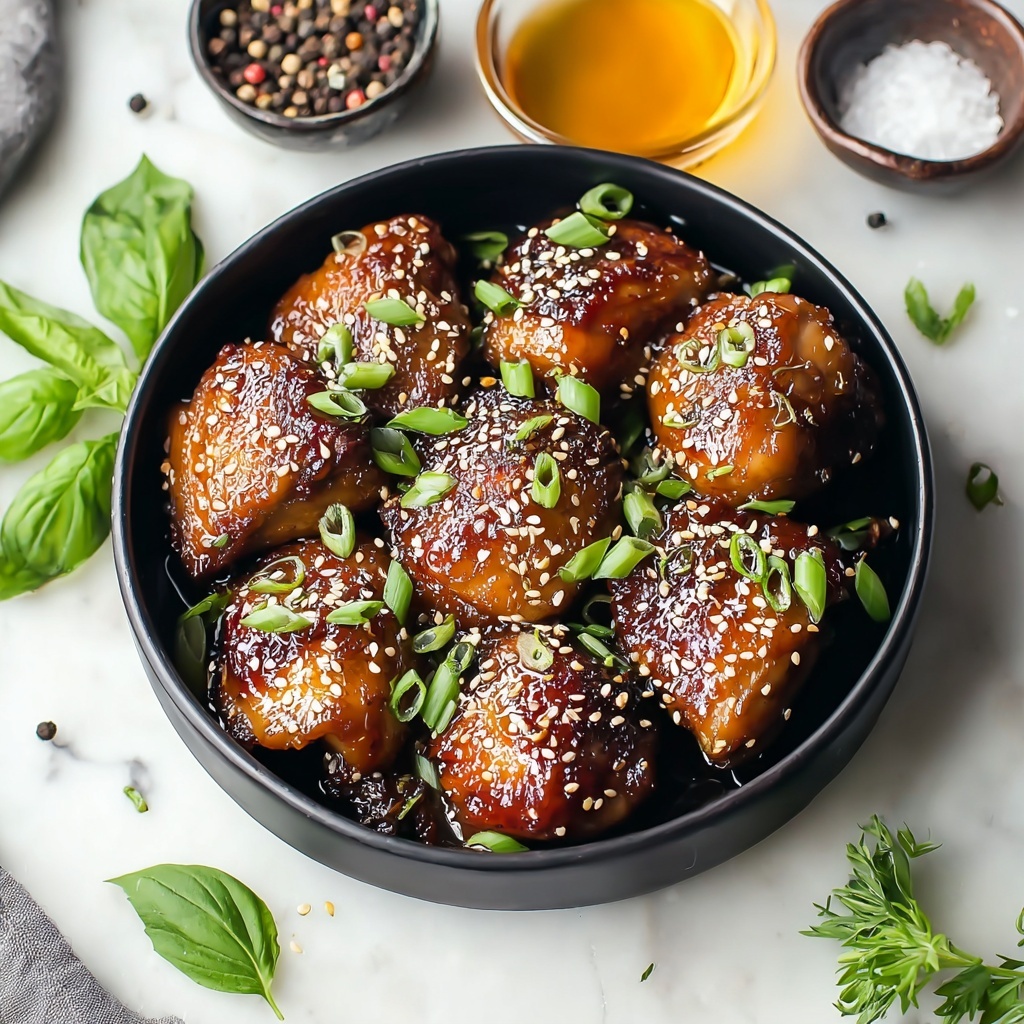
If you are craving a dish that brings together a symphony of sweet, savory, and slightly tangy flavors, look no further than this Sticky Honey Chicken Recipe. It’s the kind of meal that feels like a warm hug on a plate, perfectly balancing tender chicken coated in a luscious honey glaze that clings lovingly to every bite. Whether you’re cooking for family, friends, or just treating yourself, this recipe is sure to become a go-to classic, bursting with flavor and simple enough to whip up on any weeknight.
Ingredients You’ll Need
Gathering a handful of straightforward but vital ingredients is all it takes to make this Sticky Honey Chicken Recipe come alive. Each component plays a crucial role, from seasoning the chicken perfectly to creating that irresistible sticky glaze.
- Chicken breasts: Four boneless skinless pieces provide juicy, tender meat that soaks up the sauce beautifully.
- All-purpose flour: Helps create a light crispy coating that allows the sauce to cling just right.
- Salt and black pepper: Basic seasonings that bring out the natural flavors of the chicken.
- Garlic powder and onion powder: Add a savory depth and aroma without overwhelming the dish.
- Olive oil: For pan-searing the chicken to a golden-brown perfection.
- Soy sauce: Imparts a salty, umami richness essential for the honey glaze.
- Honey: The star ingredient—its sweetness creates that quintessential sticky effect you’ll love.
- Rice vinegar: Adds a subtle tang that balances sweetness with brightness.
- Cornstarch: Thickens the sauce to a luscious texture that coats the chicken beautifully.
- Water: Used to dissolve the cornstarch and ensure a smooth sauce.
- Red pepper flakes (optional): A little kick for those who like a subtle heat to contrast the sweetness.
- Sesame seeds (optional): Provide a toasty crunch and nutty flavor when sprinkled on top.
- Green onions (optional): Fresh and colorful garnish that lifts the dish visually and flavor-wise.
How to Make Sticky Honey Chicken Recipe
Step 1: Prepare the Chicken
Start by preheating your oven to 375°F (190°C) and grease your baking dish lightly. Then, place the chicken breasts between sheets of plastic wrap and gently pound them to an even thickness of about 1/2 inch. This ensures they cook uniformly and stay tender.
Step 2: Season and Flour the Chicken
Mix together the flour, salt, black pepper, garlic powder, and onion powder in a shallow dish. Dredge each chicken breast in this aromatic flour blend, coating both sides evenly before shaking off any excess. This light coating will give the chicken a slight crispiness and help the sauce cling later.
Step 3: Sear the Chicken
Heat olive oil over medium heat in a large skillet. When the oil is hot, add the coated chicken breasts and cook for about 4-5 minutes per side until they become golden brown and reach an internal temperature of 165°F (75°C). Depending on your skillet size, you may need to brown the chicken in batches.
Step 4: Make the Sticky Honey Sauce
Remove the cooked chicken and keep it aside. In the same skillet, combine soy sauce, honey, and rice vinegar, stirring to blend. Bring this mixture to a gentle simmer. Meanwhile, dissolve the cornstarch in water until smooth and slowly add it to the simmering sauce. Keep stirring until thick and glossy, about 2–3 minutes.
Step 5: Add Flavor and Coat the Chicken
If you’re using red pepper flakes, stir them into the sauce now for a subtle heat balance. Return the chicken breasts to the pan, turning them to coat fully with the sticky glaze. Let the chicken simmer in the sauce for a few minutes so every bite absorbs that wonderful flavor.
Step 6: Bake for a Sticky Finish
Transfer the sauced chicken into your pre-greased baking dish, spooning extra sauce on top. Bake for 10–12 minutes, allowing the flavors to meld and the sauce to become gloriously sticky and thickened right on the chicken.
Step 7: Garnish and Serve
Remove the chicken from the oven and, if you like, sprinkle with sesame seeds and fresh chopped green onions for added texture and an inviting pop of color. Now, your Sticky Honey Chicken Recipe is ready to enjoy!
How to Serve Sticky Honey Chicken Recipe
Garnishes
Simple garnishes like sesame seeds add a delightful crunch and subtle nuttiness, while chopped green onions provide a fresh, peppery contrast. These little touches make each serving look as good as it tastes and add exciting textural layers with every bite.
Side Dishes
Serve the sticky honey chicken over fluffy white rice or steamed jasmine for soaking up every luscious drop of sauce. Alternatively, pair it with sautéed greens or crunchy Asian-style slaw to introduce a refreshing balance and make the meal even more vibrant and nutritious.
Creative Ways to Present
For a fun twist, slice the chicken into thin strips and serve atop a crisp salad or pile it into lettuce wraps for a lighter, hands-on eating experience. You can also place it over noodles with a sprinkle of toasted sesame seeds to give it an ultra-satisfying, restaurant-style vibe at home.
Make Ahead and Storage
Storing Leftovers
After enjoying your Sticky Honey Chicken Recipe, store any leftovers in an airtight container in the refrigerator. It will stay fresh and flavorful for up to 3 days, making it a convenient option for quick meals later in the week.
Freezing
If you want to save some for longer, freeze the cooked chicken and sauce in a freezer-safe container or bag. It’s best eaten within 2 months for optimal taste and texture. Just make sure to cool it completely before freezing to keep that sticky goodness intact.
Reheating
Reheat leftovers gently in a pan over low heat, adding a splash of water if needed to loosen the sauce. Avoid the microwave when possible to maintain the chicken’s texture and the sauce’s shine. Reheated Sticky Honey Chicken Recipe tastes almost as good as freshly made!
FAQs
Can I use chicken thighs instead of breasts?
Absolutely! Chicken thighs will add extra juiciness and richness to the dish. Just adjust the cooking time slightly to ensure they’re cooked through and tender.
Is there a way to make this recipe gluten-free?
Yes, simply swap the all-purpose flour for a gluten-free flour blend and use tamari or a gluten-free soy sauce. The flavors and texture will still shine beautifully.
Can I make the sauce spicier?
Definitely. Increase the red pepper flakes or add a dash of chili garlic sauce to the simmering sauce for a bolder kick. The sweetness of the honey beautifully balances the heat.
What’s the best way to pound chicken without a meat mallet?
If you don’t have a meat mallet, use a rolling pin or even the bottom of a heavy saucepan. Just cover the chicken with plastic wrap to prevent tears and pound gently to an even thickness.
Can this recipe be cooked entirely on the stovetop?
Yes, you can skip the oven step and simmer the chicken in the sauce for a few extra minutes on the stove until the sauce thickens and becomes sticky. The oven step adds a nice finish but is optional.
Final Thoughts
This Sticky Honey Chicken Recipe is a true treasure for your recipe box—easy to make, packed with flavor, and guaranteed to impress. It’s one of those dishes you’ll want to revisit often, whether for a cozy weeknight dinner or a special occasion. So go ahead and give it a try—you won’t regret inviting this sticky, sweet delight into your kitchen!
Print
Sticky Honey Chicken Recipe
- Prep Time: 15 minutes
- Cook Time: 25 minutes
- Total Time: 40 minutes
- Yield: 4 servings
- Category: Main Course
- Method: Stovetop
- Cuisine: Asian
Description
This Sticky Honey Chicken recipe features tender boneless chicken breasts coated in a flavorful, golden crust and enveloped in a luscious honey-soy glaze. Combined with hints of garlic, onion, and a touch of heat from optional red pepper flakes, the chicken bakes to juicy perfection with a sticky, sweet-savory sauce. Garnished with sesame seeds and green onions, this quick and easy dish is perfect for a comforting weeknight dinner served over rice or your favorite sides.
Ingredients
Chicken and Coating
- 4 boneless skinless chicken breasts
- 1/4 cup all-purpose flour
- 1/2 teaspoon salt
- 1/4 teaspoon black pepper
- 1/2 teaspoon garlic powder
- 1/2 teaspoon onion powder
Sauce
- 1 tablespoon olive oil
- 1/4 cup soy sauce
- 1/4 cup honey
- 1 tablespoon rice vinegar
- 1 tablespoon cornstarch
- 2 tablespoons water
- 1/2 teaspoon red pepper flakes (optional)
Garnish
- 1 tablespoon sesame seeds (optional)
- 1/4 cup green onions, chopped (optional)
Instructions
- Preheat Oven and Prepare Baking Dish: Preheat your oven to 375°F (190°C) and lightly grease a baking dish with cooking spray or oil to prevent sticking and facilitate easy cleanup.
- Pound Chicken Evenly: Place chicken breasts between two sheets of plastic wrap or parchment. Gently pound with a meat mallet or rolling pin until about 1/2 inch thick, ensuring even cooking.
- Mix Flour Coating: In a shallow bowl, combine flour, salt, black pepper, garlic powder, and onion powder. Stir thoroughly to blend the seasoning evenly throughout the flour.
- Coat Chicken: Dredge each chicken breast in the seasoned flour mixture, coating both sides well. Shake off any excess flour and set aside.
- Brown Chicken in Skillet: Heat olive oil in a large skillet over medium heat. Add the coated chicken breasts carefully, cooking them until golden brown, about 4-5 minutes per side, and ensure internal temperature reaches 165°F (75°C). Work in batches if needed.
- Remove Chicken and Reserve Oil: Take the browned chicken from the skillet and place it on a plate. Leave the remaining oil in the skillet.
- Make Sauce Base: Add soy sauce, honey, and rice vinegar to the skillet. Stir to combine, then bring the mixture to a simmer over medium heat.
- Prepare Cornstarch Slurry: In a small bowl, dissolve cornstarch in water by stirring until smooth and lump-free.
- Thicken Sauce: Pour the cornstarch mixture into the simmering sauce while stirring continuously. Let the sauce cook 2-3 minutes until it thickens into a syrupy consistency.
- Add Spice (Optional): Stir in red pepper flakes now if using, to infuse subtle heat into the sauce.
- Coat Chicken with Sauce: Return the chicken breasts to the skillet, turning them to coat evenly with the thickened sauce. Simmer for another 2-3 minutes so the chicken soaks in the flavors.
- Transfer to Baking Dish: Remove the skillet from heat and transfer the chicken breasts to the prepared baking dish. Spoon extra sauce over the top of each piece.
- Bake: Place the baking dish in the preheated oven and bake for 10-12 minutes to ensure the chicken is fully cooked through and the sauce becomes beautifully sticky.
- Garnish: After baking, sprinkle sesame seeds and chopped green onions atop the chicken for added texture and fresh flavor.
- Serve: Serve the sticky honey chicken hot, ideally over steamed rice or your favorite side dish, drizzling any remaining sauce from the baking dish over the top for an extra burst of flavor.
Notes
- To ensure even cooking, pounding the chicken to uniform thickness is important.
- You can adjust the amount of red pepper flakes according to your preferred heat level or omit for a milder flavor.
- Using boneless, skinless chicken breasts yields tender and easy-to-eat pieces, but thighs can be used for juicier results with slightly longer cooking.
- The sauce can be prepared ahead and reheated as needed, though best served fresh for stickiness.
- Serve over rice, noodles, or steamed vegetables for a complete meal.
- Make sure to cook chicken to an internal temperature of 165°F (75°C) for safe consumption.