
If you’re a fan of cozy, comforting desserts that fill your kitchen with irresistible aromas, the Shredded Apple Pie Recipe is an absolute gem to add to your baking repertoire. This version puts a delightful spin on the classic apple pie by using finely shredded apples that create a luscious, tender filling with a unique texture you’re going to adore. With just a handful of simple ingredients coming together in one deep-dish pie shell, this pie is not only easy to make but delivers a depth of flavor infused with cinnamon and vanilla that will warm your heart and your taste buds.
Ingredients You’ll Need
Gathering the right ingredients is the first step toward baking a perfect Shredded Apple Pie Recipe. Each component plays an essential role—some add sweetness, others bring richness or spice, and the apples provide that fresh, fruity base with a beautiful texture.
- Granulated sugar: Sweetens the pie naturally and balances the tartness of the apples.
- Salted butter (softened): Adds creaminess and richness to the filling, ensuring it’s smooth and velvety.
- All-purpose flour: Helps bind the filling ingredients and gives the pie a nice structure.
- Vanilla extract: Infuses the filling with warm, aromatic notes that elevate the apple flavor.
- Ground cinnamon: Brings that classic pie-spice warmth that makes this a comfort food favorite.
- Tiny pinch of salt: Enhances all the flavors, keeping the sweetness balanced.
- Large eggs: Bind the ingredients together and contribute to a custardy texture.
- Red Delicious apples (peeled and grated): The star of the show, shredded finely to create a tender and juicy filling.
- Unbaked frozen deep-dish pie shell: Convenient and perfect for creating a flaky, buttery crust that holds all the deliciousness inside.
How to Make Shredded Apple Pie Recipe
Step 1: Prep Your Apples and Oven
Begin by preheating your oven to 350 degrees Fahrenheit so it’s ready when your pie is assembled. Peel the Red Delicious apples, then shred them using a cheese grater to get about 3 cups of finely shredded apple. After shredding, gently squeeze out any excess liquid from the apples—this step is key to prevent a soggy pie while keeping every bite juicy and flavorful.
Step 2: Mix Your Filling
In a large mixing bowl, combine the granulated sugar, softened salted butter, all-purpose flour, vanilla extract, ground cinnamon, a tiny pinch of salt, and the eggs. Using an electric hand mixer on medium speed, beat everything together until the mixture is smooth and well combined. This mixture will create a creamy, aromatic base to complement the shredded apples perfectly.
Step 3: Fold in the Shredded Apples
Once your filling base is ready, gently fold in the shredded apples until they are evenly coated. This folding method ensures the shredded apples stay tender and maintain their delicate texture rather than breaking down too much, which is essential for this unique pie.
Step 4: Assemble and Bake
Pour the apple filling into your unbaked frozen deep-dish pie shell, spreading it out evenly with a spatula. Place the pie on a large cookie sheet for easy handling and to catch any drips. Bake in your preheated oven for 50 minutes to 1 hour. Start checking at the 50-minute mark—the pie should be set in the center but still beautifully moist.
Step 5: Cool and Rest
Carefully remove your pie from the oven and let it cool for about an hour. This resting time is essential as it allows the filling to set up fully, giving you clean, perfect slices. Serve warm for the best experience.
How to Serve Shredded Apple Pie Recipe
Garnishes
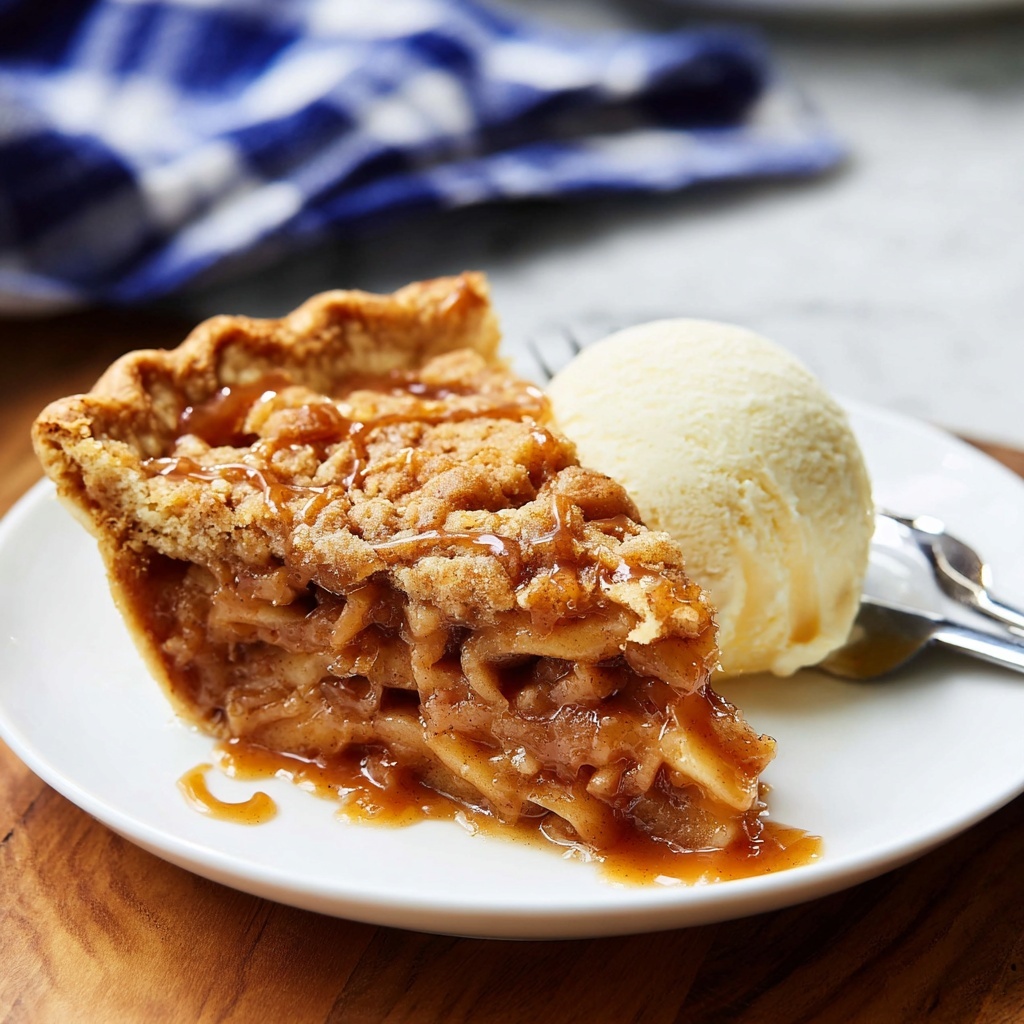
For a luxurious finish, add a scoop of rich vanilla ice cream directly on top of each slice, allowing it to melt slightly over the warm pie. A drizzle of caramel sauce adds a lovely buttery sweetness that pairs wonderfully with the cinnamon and apples. A light dusting of powdered sugar or a sprinkle of crushed nuts can also add a delightful textural contrast.
Side Dishes
This pie shines as a dessert after a hearty meal, but if you want to turn it into a cozy snack or brunch item, try serving it alongside a cup of spiced chai tea or hot apple cider. The warm spices and comforting drinks perfectly complement the sweet and tender apple filling.
Creative Ways to Present
Want to impress your guests? Serve individual mini pies using muffin tins filled with the same shredded apple mixture and top each with a lattice crust or a crumble topping. Another fun idea is to scoop the filling warm into small bowls and top with a dollop of whipped cream and cinnamon for an easy deconstructed shredded apple pie experience.
Make Ahead and Storage
Storing Leftovers
Your homemade Shredded Apple Pie Recipe keeps beautifully when stored in the refrigerator. Cover it tightly with plastic wrap or foil to preserve freshness. It will stay delicious for up to 4 days, and each slice tastes even better after the flavors have had time to meld together overnight.
Freezing
If you want to save some pie for later, you can freeze it. Wrap the pie (or individual slices) securely in plastic wrap and then in foil to prevent freezer burn. Frozen pie will keep well for up to 3 months. When ready to enjoy, thaw overnight in the fridge for the best texture.
Reheating
To wake your Shredded Apple Pie Recipe back to life, reheat slices gently in a preheated oven at 325 degrees Fahrenheit for about 10-15 minutes. Avoid microwaving if you can, as the oven helps preserve the flaky crust and tender filling without turning soggy.
FAQs
Can I use other apple varieties for this shredded apple pie recipe?
Absolutely! While Red Delicious apples are great for their sweetness and texture when shredded, you can mix or substitute with Granny Smith for tartness or Fuji for a crisp bite. Just remember to adjust sugar levels if you use tarter apples.
Why do we need to squeeze out excess liquid from the shredded apples?
Great question! Apples naturally release a lot of juice when shredded, and squeezing out the excess prevents the pie filling from becoming watery or soggy, helping the pie to bake perfectly firm with an ideal texture.
Can I make this pie with a homemade crust instead of frozen?
Of course! A homemade flaky pie crust works wonderfully if you prefer. Just be sure to use a deep-dish crust to hold all that fantastic shredded apple filling, and bake according to your crust’s instructions combined with the filling time.
Is the shredded apple pie recipe gluten-free?
The traditional recipe includes all-purpose flour, which contains gluten. However, you can substitute with a gluten-free flour blend in equal amounts to make it gluten-free, but make sure to check your pie crust if using a store-bought version.
What’s the best way to serve the pie for special occasions?
Serve slices warm topped with vanilla bean ice cream and a drizzle of homemade caramel sauce, surrounded by fresh apple slices or cinnamon sticks for a festive, beautiful presentation that will impress everyone at your table.
Final Thoughts
This Shredded Apple Pie Recipe is truly a heartwarming delight that combines the ease of simple ingredients with an extraordinary twist on a classic favorite. Once you try it, you’ll love the tender texture of the shredded apples and the cozy spices that make every bite feel like a hug. Don’t hesitate to bake one for your next gathering or simply when you want to treat yourself—it’s a pie that will quickly become a cherished favorite in your kitchen!
Print
Shredded Apple Pie Recipe
- Prep Time: 20 minutes
- Cook Time: 1 hour
- Total Time: 1 hour 20 minutes
- Yield: 8 servings
- Category: Dessert
- Method: Baking
- Cuisine: American
Description
This Shredded Apple Pie is a unique twist on the classic apple pie, featuring grated apples folded into a rich cinnamon-scented custard filling baked in a flaky deep-dish pie shell. The combination of tender baked apples and a creamy, spiced batter offers a delightful texture and comforting flavor perfect for dessert lovers looking for a quick, no-fuss homemade pie.
Ingredients
Filling Ingredients
- 1 cup granulated sugar
- 1/2 cup salted butter, softened
- 2 tablespoons all-purpose flour
- 2 teaspoons vanilla extract
- 1 teaspoon ground cinnamon
- Tiny pinch of salt
- 2 large eggs
- 3 large Red Delicious apples, peeled and grated (about 3 cups grated apple with excess liquid squeezed out)
Pie Shell
- 1 unbaked frozen deep-dish pie shell (such as Marie Callender’s)
Instructions
- Preheat Oven and Prepare Apples: Preheat your oven to 350°F (175°C). After peeling and grating the apples, be sure to squeeze out any excess liquid to avoid a soggy pie.
- Make the Filling: In a large bowl, use an electric hand mixer on medium speed to beat together the sugar, softened butter, all-purpose flour, vanilla extract, ground cinnamon, a tiny pinch of salt, and eggs until well combined and smooth.
- Combine Apples and Filling: Gently fold the shredded, drained apples into the mixed batter until evenly incorporated. Pour this mixture evenly into the unbaked deep-dish pie shell, spreading it out to fill the crust.
- Bake the Pie: Place the filled pie on a large cookie sheet to catch any drips and bake in the preheated oven for 50 minutes to 1 hour. Start checking the pie at 50 minutes; it is done when the center is set and no longer jiggly.
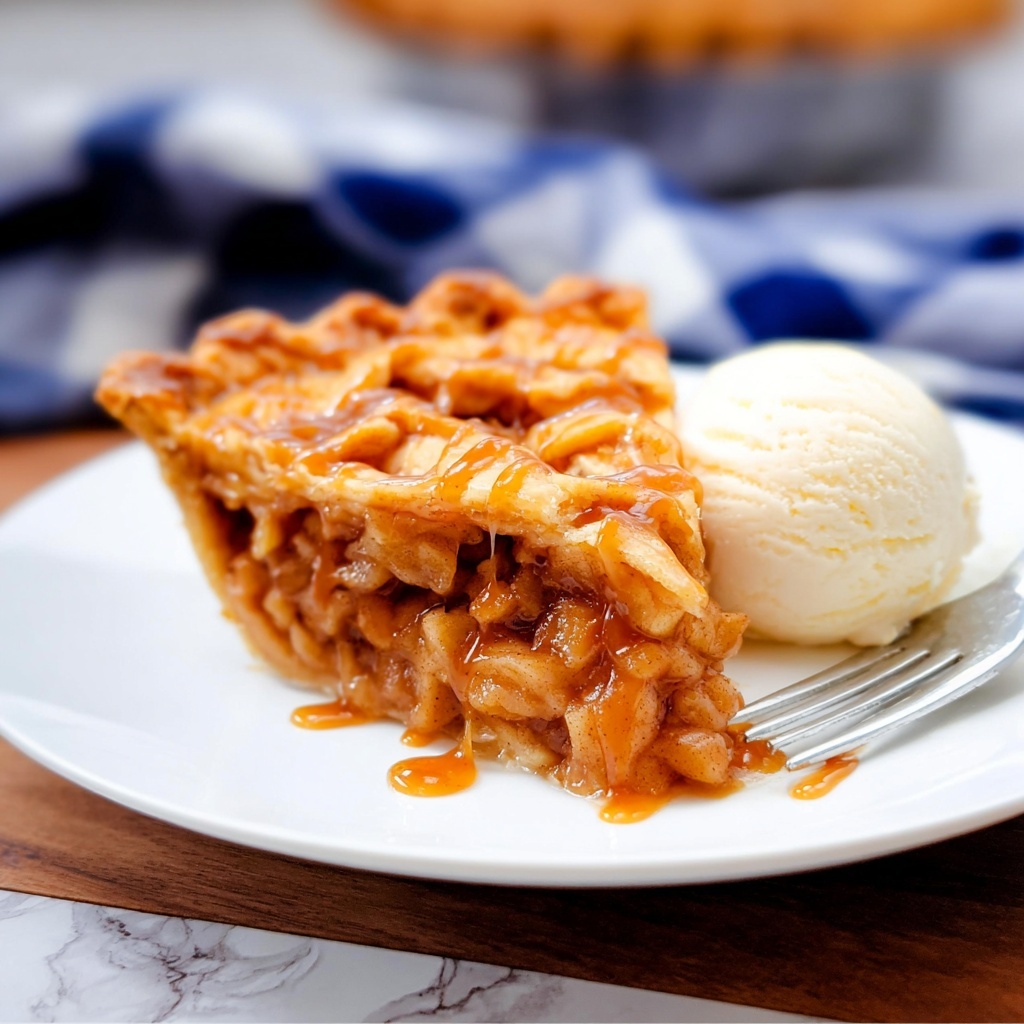
- Cool and Serve: Carefully remove the pie from the oven and let it cool and rest for 1 hour to set properly. Serve slices warm with a scoop of vanilla ice cream and a drizzle of caramel sauce for an extra indulgent treat.
Notes
- Use Red Delicious apples for sweetness and shredding texture, but Granny Smith or Honeycrisp apples can be a good substitute.
- Squeezing out excess apple juice is vital to prevent a soggy crust.
- Placing the pie on a cookie sheet during baking helps catch any overflow and makes removal easier.
- Allowing the pie to cool and set for an hour improves cutting and texture.
- Serving with vanilla ice cream and caramel sauce enhances the flavors.


