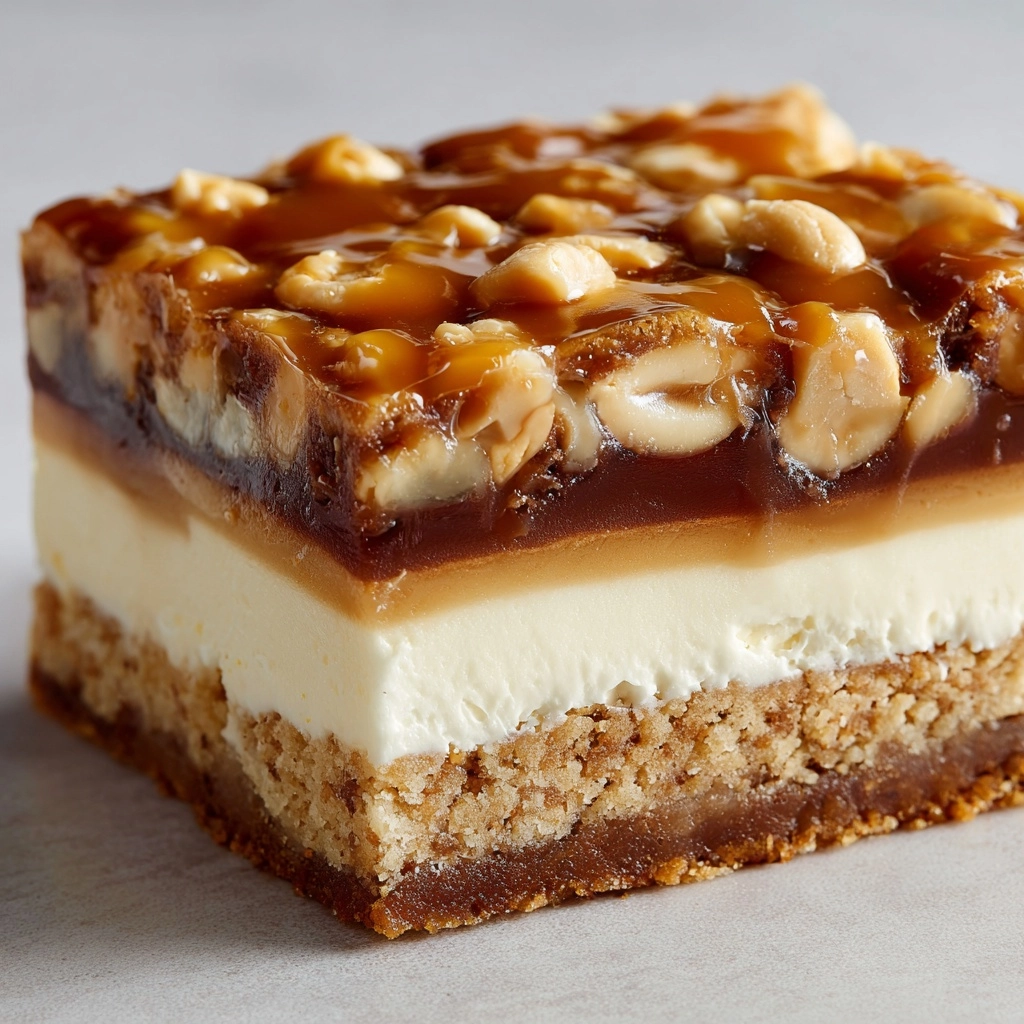
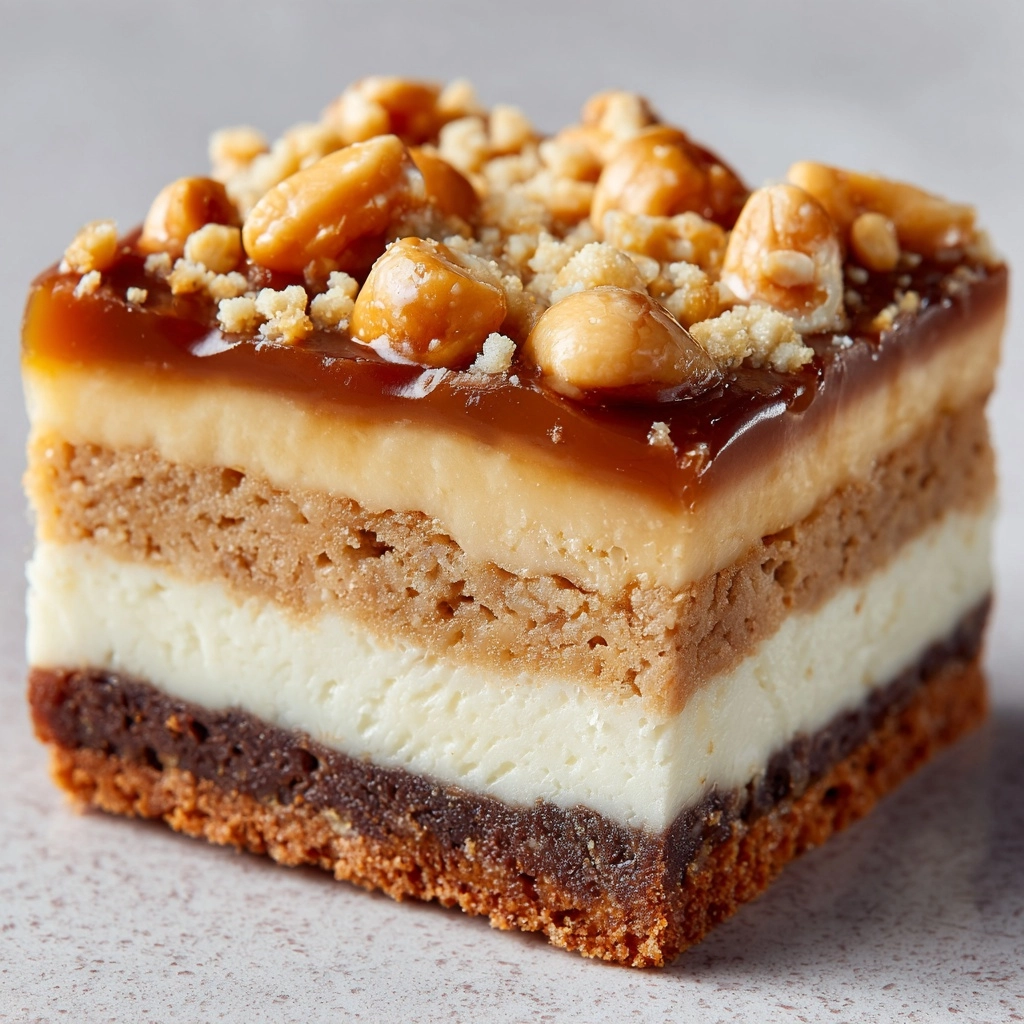
If you’re craving something sweetly nostalgic with the perfect balance of gooey, nutty richness and a pop of chocolate, Peanut Butter Dream Bars are your new obsession. These luscious, chewy bars are everything a peanut butter lover could dream of: golden edges, melt-in-your-mouth centers, and studded with chocolate chips and crunchy peanuts for that unbeatable texture. Whether you’re baking for a party or just need a pick-me-up, these bars are a sure-fire hit that you’ll want to make again and again.
Ingredients You’ll Need
What’s truly wonderful about Peanut Butter Dream Bars is the simplicity of the ingredients—each one matters, coming together for a treat that tastes as irresistible as it looks. Here’s what you’ll need and why it works so well:
- Creamy Peanut Butter: Choose your favorite brand; it’s the heart and soul of the bars, delivering creamy nuttiness throughout.
- Unsalted Butter (softened): Adds rich flavor and tender texture; using unsalted lets you control the salt level.
- Granulated Sugar: Brings sweetness and helps with that classic chewy bar consistency.
- Light Brown Sugar (packed): Adds extra moisture and depth, with a soft caramel undertone.
- Large Eggs: Key for binding, giving structure, and creating that dreamy chew.
- Vanilla Extract: Just a splash brings warmth and highlights all the other flavors.
- All-Purpose Flour: The sturdy base that ties our decadent dough together.
- Baking Powder: Essential for just the right lift—keeps the bars from being dense.
- Salt: A pinch balances sweetness and sharpens each flavor note.
- Semi-Sweet Chocolate Chips: Melty pockets of chocolate make these bars truly dreamy!
- Chopped Peanuts (optional): Adds a pleasant crunch and enhances the peanutty magic; use roasted for extra punch.
How to Make Peanut Butter Dream Bars
Step 1: Prepare Your Pan and Preheat
Start by preheating your oven to 350°F (175°C). Get your 9×13-inch baking pan ready by either greasing it lightly or lining it with parchment paper. This step makes sure your Peanut Butter Dream Bars are easy to lift out and cut later—no sticking, no mess, just perfect bars every time.
Step 2: Cream the Butters and Sugars
In a large mixing bowl, blend the creamy peanut butter, softened unsalted butter, granulated sugar, and light brown sugar together. Use a hand mixer or stand mixer for about two to three minutes until everything’s light, fluffy, and glossy. This creates a lush base for the bars and ensures a melt-in-your-mouth texture.
Step 3: Add Eggs and Vanilla
Crack in the eggs and pour in the vanilla extract. Mix until the batter’s completely smooth. This step helps build the structure of your bars and adds that sweet, aromatic vanilla background.
Step 4: Combine Dry Ingredients
In a separate bowl, whisk together the all-purpose flour, baking powder, and salt. Whisking instead of stirring aerates the mixture, promoting a perfect, even crumb for your Peanut Butter Dream Bars.
Step 5: Mix Wet and Dry Ingredients
Gradually add the flour mixture into your peanut butter mixture. Stir gently until everything is just combined—don’t overmix! This gentle approach keeps the bars ultra-tender and prevents them from getting tough.
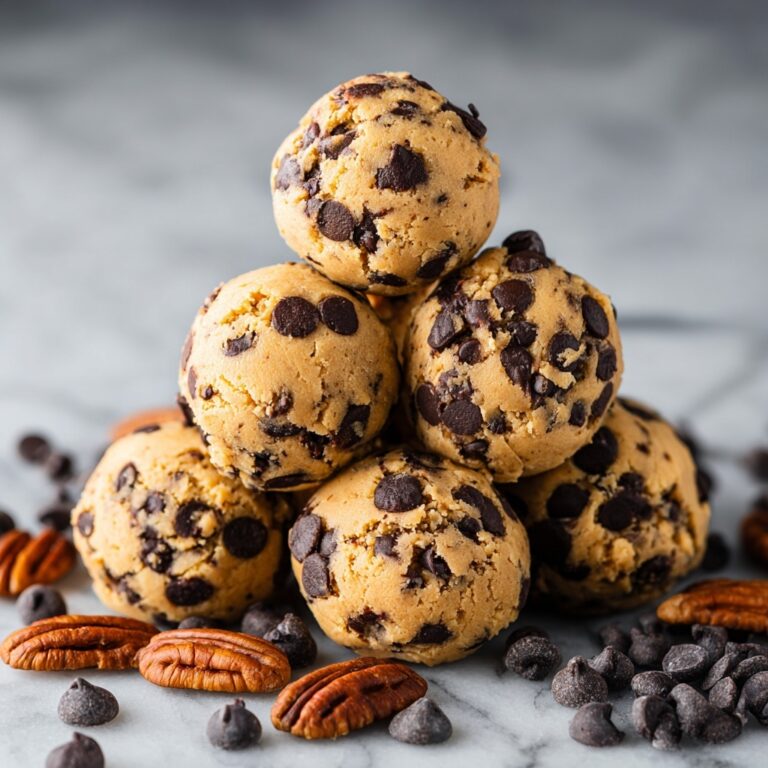
Step 6: Fold in Chocolate and Peanuts
Now for the magic! Gently fold in the semi-sweet chocolate chips and chopped peanuts (if using). These mix-ins give your bars pops of melty chocolate and that irresistible nutty bite that makes them special.
Step 7: Spread and Bake
Evenly spread the batter into your prepared pan, smoothing the top with a spatula. Bake for 25 to 30 minutes, until the edges are beautifully golden and a toothpick inserted in the center comes out mostly clean. Don’t overbake—you want that dreamy, just-underdone center.
Step 8: Cool and Cut
Let the bars cool completely in the pan before slicing. This patience pays off, giving you clean, gorgeous squares. For an over-the-top finish, drizzle with melted chocolate or peanut butter glaze if you’re feeling fancy!
How to Serve Peanut Butter Dream Bars

Garnishes
These bars are delicious on their own, but you can really make them shine by adding a swirl of melted chocolate or a decadent drizzle of peanut butter glaze over the top. For a little extra crunch and some eye-catching appeal, sprinkle with a handful of chopped peanuts before serving. Even a dusting of flaky sea salt will do wonders for that sweet-salty magic!
Side Dishes
Pair Peanut Butter Dream Bars with a tall glass of cold milk for the ultimate nostalgic treat, or serve alongside a scoop of vanilla ice cream for a true dessert splurge. Fresh berries or a light fruit salad can add a refreshing balance if you’re serving these after a big meal.
Creative Ways to Present
Cut the bars into fun shapes with cookie cutters for parties, or layer crumbled Peanut Butter Dream Bars into parfait glasses with ice cream and whipped cream for a playful spin. You can also wrap individual bars in wax paper and tie them with string for a charming gift or picnic snack!
Make Ahead and Storage
Storing Leftovers
Store leftover Peanut Butter Dream Bars in an airtight container at room temperature, where they’ll stay soft and delicious for up to four days. If your kitchen is extra warm, pop them in the fridge to maintain that perfect texture and prevent any melty chocolate messes.
Freezing
For longer storage, these bars freeze beautifully. Arrange them in a single layer between sheets of parchment paper in an airtight container or freezer-safe zip bag. They’ll keep for up to two months. Thaw at room temperature or in the fridge overnight whenever you need a quick treat.
Reheating
If you like your bars slightly warm or want to refresh the texture, heat them for about 10 seconds in the microwave. This brings back that gooey, just-baked feel and really brings the chocolate to life!
FAQs
Can I use crunchy peanut butter instead of creamy?
Absolutely! Crunchy peanut butter adds a fun, extra-nutty texture to the bars. It’s a great swap for anyone who loves a little extra crunch in every bite.
What’s the best way to cut Peanut Butter Dream Bars cleanly?
Letting the bars cool completely is key. Then, use a sharp, non-serrated knife and wipe the blade clean between cuts. For extra neat squares, you can chill the pan in the fridge before slicing.
Can these bars be made gluten free?
Yes, you can substitute a good-quality 1:1 gluten-free all-purpose flour blend for the regular flour. The results are still fabulously chewy and rich!
Are there any nut-free variations?
If you need a nut-free version, try using sunflower seed butter instead of peanut butter and skip the chopped peanuts. Always check labels to ensure all your ingredients are safe for nut allergies.
Can I double the recipe for a crowd?
Definitely! Just use two 9×13 pans or a very large sheet pan. You may need to add a few minutes to the baking time, so keep an eye on the bars and test with a toothpick for doneness.
Final Thoughts
If you love a homemade treat that’s simple to make and impossible to resist, Peanut Butter Dream Bars are going to be your new go-to. I can’t recommend them enough for bake sales, potlucks, or just an afternoon pick-me-up. Try them once and I promise, they’ll be a dreamy addition to your favorite recipes!
Print
Peanut Butter Dream Bars Recipe
- Prep Time: 15 minutes
- Cook Time: 25 minutes
- Total Time: 40 minutes
- Yield: 16 bars
- Category: Dessert
- Method: Baking
- Cuisine: American
- Diet: Vegetarian
Description
Indulge in the dreamy combination of creamy peanut butter and rich chocolate with these Peanut Butter Dream Bars. These decadent bars are easy to make and perfect for satisfying your sweet tooth cravings.
Ingredients
For the Bars:
- 1 cup creamy peanut butter
- 1/2 cup unsalted butter, softened
- 1 cup granulated sugar
- 1/2 cup packed light brown sugar
- 2 large eggs
- 2 teaspoons vanilla extract
- 1 1/2 cups all-purpose flour
- 1 teaspoon baking powder
- 1/2 teaspoon salt
For Topping:
- 1 cup semi-sweet chocolate chips
- 1/2 cup chopped peanuts (optional)
Instructions
- Preheat Oven: Preheat the oven to 350°F (175°C) and prepare a 9×13-inch baking pan with parchment paper.
- Mix Wet Ingredients: In a large bowl, cream together peanut butter, softened butter, granulated sugar, and brown sugar until light and fluffy. Add eggs and vanilla extract, mixing until smooth.
- Combine Dry Ingredients: In a separate bowl, whisk together flour, baking powder, and salt. Gradually add the dry ingredients to the wet mixture, stirring until just combined.
- Add Mix-Ins: Fold in chocolate chips and chopped peanuts, if using. Spread the batter evenly into the prepared pan.
- Bake: Bake for 25 to 30 minutes until the edges are golden and a toothpick inserted in the center comes out clean. Let cool completely before cutting into bars.
Notes
- For an extra indulgent touch, drizzle melted chocolate or a peanut butter glaze over the cooled bars.
- You can also use crunchy peanut butter for added texture.
Nutrition
- Serving Size: 1 bar
- Calories: 285
- Sugar: 22g
- Sodium: 140mg
- Fat: 17g
- Saturated Fat: 6g
- Unsaturated Fat: 9g
- Trans Fat: 0g
- Carbohydrates: 30g
- Fiber: 2g
- Protein: 6g
- Cholesterol: 30mg
