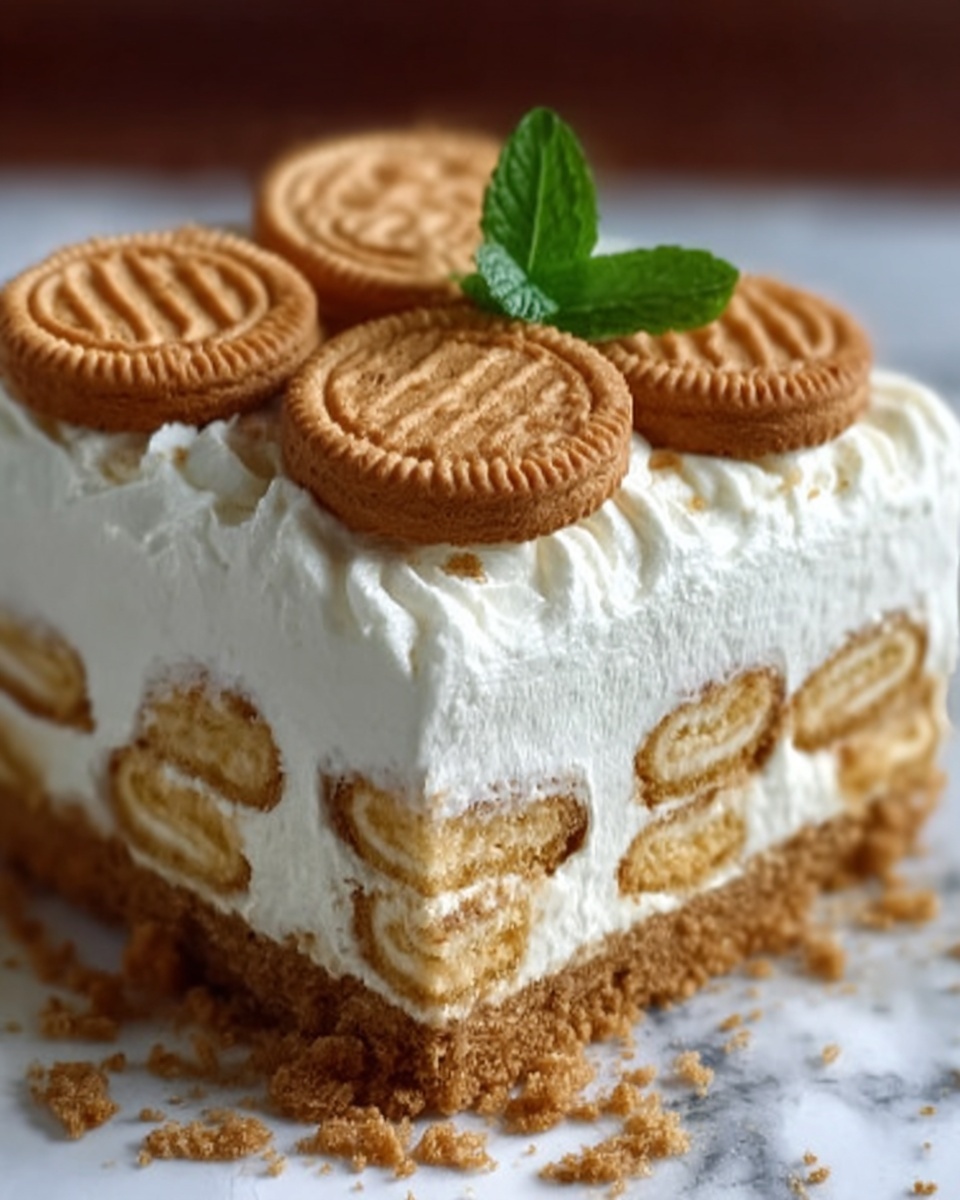
If you have a sweet tooth and love all things peanut buttery, you are in for a real treat with this Nutter Butter Ice Box Cake Recipe. This no-bake dessert is a delightful layered creation that combines the nostalgic crunch of Nutter Butter cookies with a creamy, fluffy peanut butter filling and whipped topping. Every bite offers a perfect harmony of textures and flavors that feels both indulgent and refreshingly light. Whether you’re bringing it to a party or craving a comforting treat at home, this easy-to-make cake is bound to become one of your favorites.
Ingredients You’ll Need
Gathering simple, everyday ingredients is all it takes to whip up this show-stopping dessert. Each item plays a crucial role in balancing the rich peanut butter, the creamy filling, and the delightful crunch of the cookies.
- Nutter Butter cookies (1 package, 16 oz): These form the crunchy yet softening layers that define the cake’s texture.
- Cream cheese (8 oz, softened): Adds creamy tang and richness to the filling.
- Cool Whip whipped topping (8 oz): Creates a light, fluffy layer that tops the cake and keeps it refreshing.
- Powdered sugar (1 cup): Sweetens the filling perfectly without any grittiness.
- Peanut butter (1/2 cup, smooth or chunky): The star ingredient providing that iconic nutty flavor.
- Vanilla extract (1 tsp): Enhances the overall flavor with subtle warmth.
- Milk (1/4 cup, whole or 2%): Helps achieve a delightfully smooth and fluffy filling.
How to Make Nutter Butter Ice Box Cake Recipe
Step 1: Prepare the Cream Cheese Filling
Start by beating the softened cream cheese and peanut butter together in a large bowl until the mixture is smooth and creamy. This combination is the heart of your filling and brings that irresistible peanut butter tang. Gradually mix in the powdered sugar, vanilla extract, and milk. Continue beating until the filling becomes light, fluffy, and perfectly spreadable. This creamy filling will soften the cookies while adding layers of luscious flavor.
Step 2: Layer the Cake
Grab a 9×13-inch baking dish and arrange a single layer of Nutter Butter cookies at the bottom. This crunchy base sets the stage for your icebox cake’s texture. Spread about one-third of your peanut butter filling evenly over the cookies, smoothing it out carefully to get a perfect layer. Keep layering cookies and filling alternately until you run out, finishing with the peanut butter mixture on top. These layers will meld together as the cake chills to create that melt-in-your-mouth magic.
Step 3: Top with Cool Whip
The luscious finishing touch is an even spread of Cool Whip over the top layer of peanut butter filling. This fluffy topping brings a lovely lightness, balancing the rich peanut butter. For a little extra flair, you can drizzle melted peanut butter or chocolate syrup on top — it’s an optional step that takes this cake from great to show-stopping.
Step 4: Chill the Cake
Cover the cake tightly with plastic wrap or foil and refrigerate it for at least four hours, but overnight is best. Chilling is key because it lets the cookies soften and the layers meld into one beautifully cohesive dessert that slices easily without crumbling.
Step 5: Serve and Enjoy
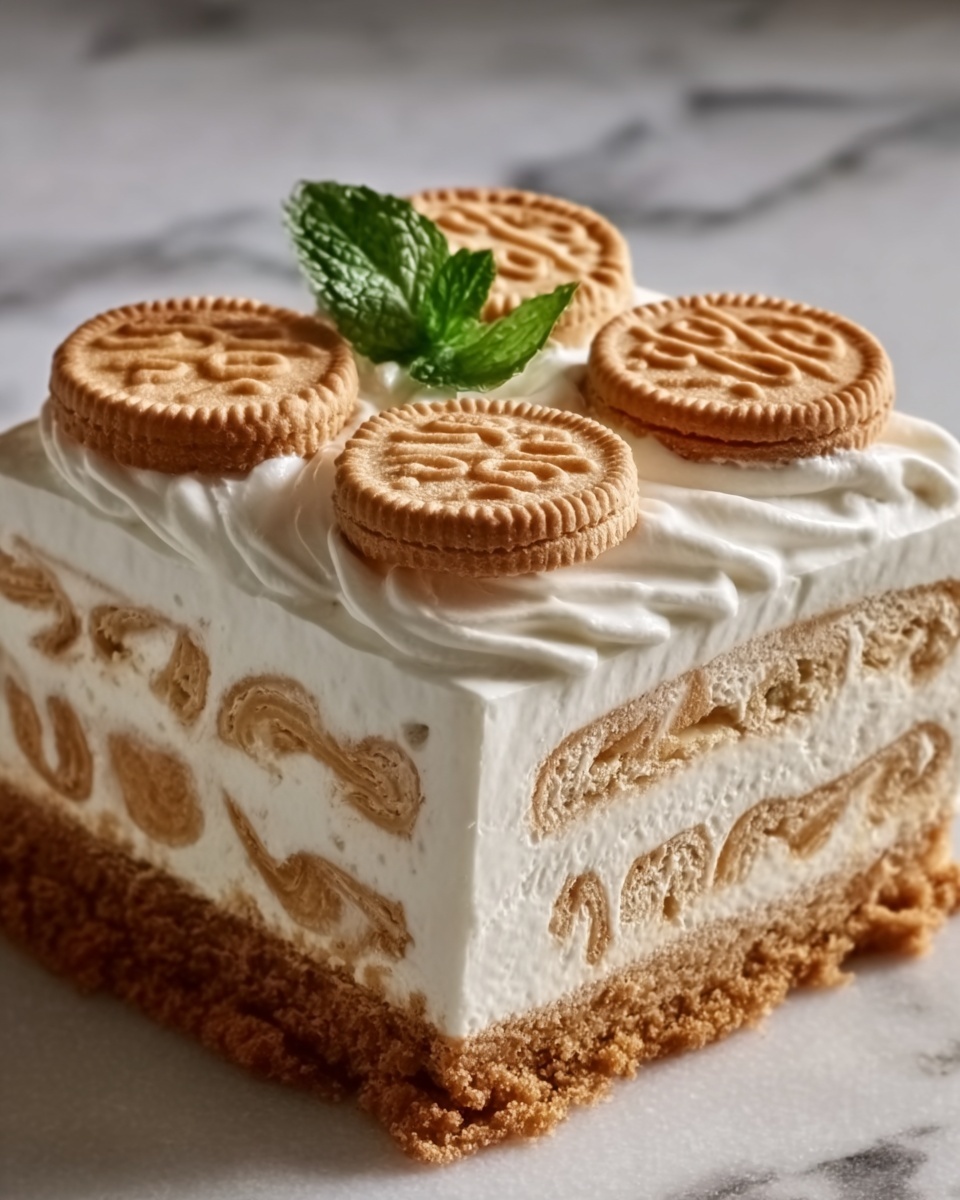
Once fully chilled, slice your Nutter Butter Ice Box Cake into generous squares and serve. The cookies will have softened to a tender, cake-like texture, while the peanut butter filling remains creamy and decadent. It’s an unbeatable combo that brings comfort and delight with every bite.
How to Serve Nutter Butter Ice Box Cake Recipe
Garnishes
Adding garnishes can turn this already stunning cake into a centerpiece. Crushed Nutter Butter cookies sprinkled on top create an appealing crunch. Alternatively, a light dusting of cocoa powder or a swirl of peanut butter drizzle gives it a gourmet look and added flavor bursts that guests will adore.
Side Dishes
While the Nutter Butter Ice Box Cake is fulfilling on its own, pairing it with fresh fruit like sliced bananas or strawberries offers a refreshing contrast. A scoop of vanilla ice cream alongside elevates the indulgence and makes the dessert feel extra special.
Creative Ways to Present
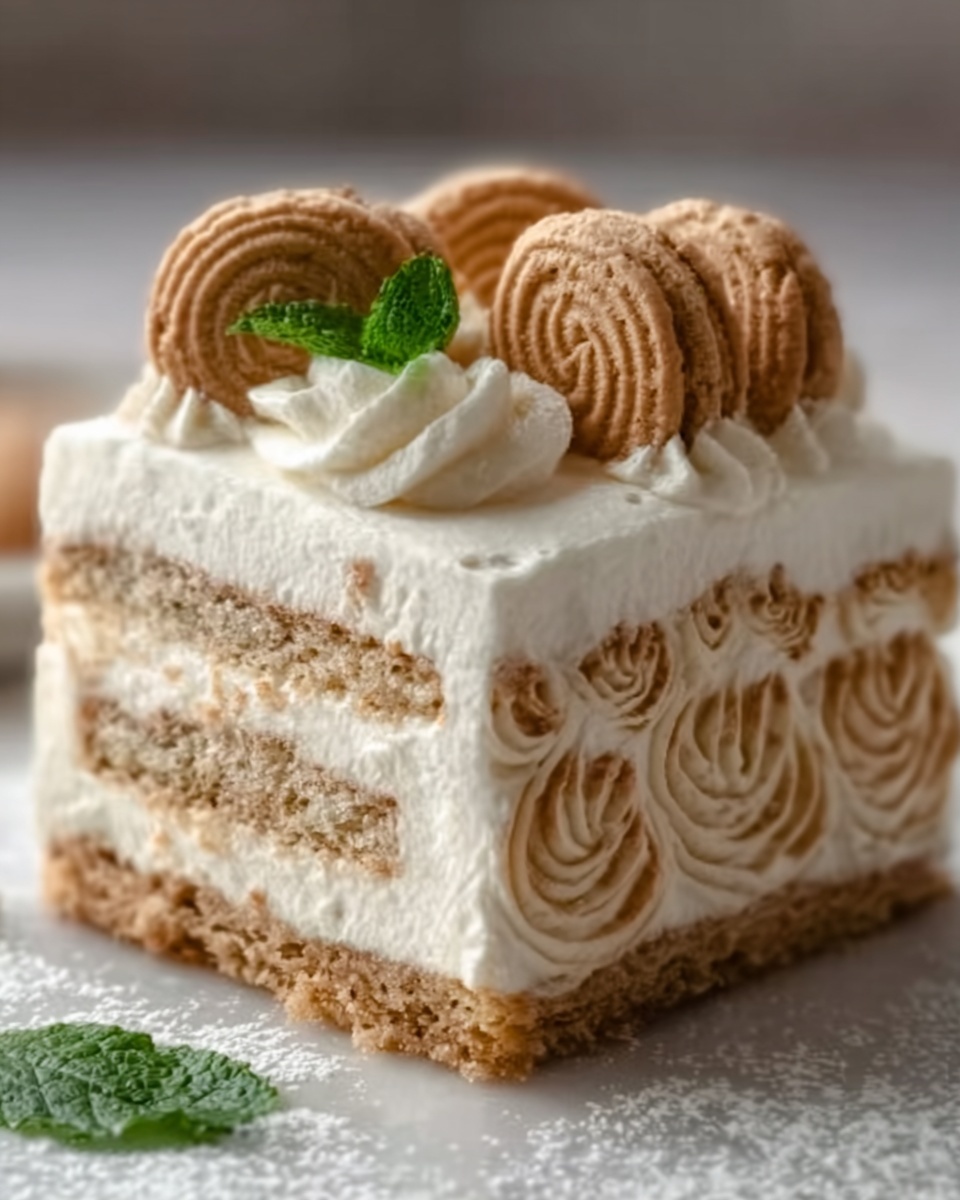
Consider serving this cake in clear glass dishes to show off the beautiful cookie and filling layers, or cut into small squares and arrange on a festive platter for parties. You can also use individual serving glasses for a fun, portion-controlled twist that lets everyone enjoy their own slice of peanut buttery heaven.
Make Ahead and Storage
Storing Leftovers
Store any leftovers covered tightly in the refrigerator. The flavors actually develop further, and the texture stays soft and creamy. It’s best eaten within 3 to 4 days to enjoy the freshest taste and texture.
Freezing
This cake freezes beautifully if you want to prepare it in advance. Wrap it tightly in plastic wrap followed by foil to prevent freezer burn. When ready to enjoy, thaw it in the refrigerator overnight before serving for the best texture.
Reheating
Because this is a chilled icebox dessert, reheating is not recommended. The cake is meant to be enjoyed cold so the creamy peanut butter filling holds its texture and the cookies remain soft but intact.
FAQs
Can I use crunchy peanut butter instead of smooth?
Absolutely! Using crunchy peanut butter will add little bits of texture to the filling, enhancing the overall experience without overpowering the cake’s delicate layers.
Do I have to use Cool Whip, or can I substitute it?
You can substitute Cool Whip with homemade whipped cream or another whipped topping of your choice. Just make sure it holds its shape to keep the topping light and airy.
How long should I chill the cake before serving?
For the best results, chill the cake for at least 4 hours, but overnight chilling is ideal. This allows all the flavors to meld beautifully and the cookies to soften perfectly.
Can I make this gluten free?
The classic Nutter Butter cookies contain gluten, so to make it gluten free, look for a similar peanut butter cookie that’s certified gluten free as a substitute in the layers.
Is this recipe suitable for a crowd?
Yes! This cake serves about 12 generous portions, making it perfect for gatherings or parties. It’s easy to scale up by doubling the ingredients and using a larger dish.
Final Thoughts
This Nutter Butter Ice Box Cake Recipe is one of those magical desserts that feels both nostalgic and fresh. It’s simple to make, effortless to impress, and endlessly satisfying. Next time you want a peanut buttery treat that requires no oven yet delivers all the deliciousness, grab those Nutter Butters and whip up this cake. I promise, it will quickly become a favorite in your recipe collection and one you’ll want to share with everyone you know.
Print
Nutter Butter Ice Box Cake Recipe
- Prep Time: 20 minutes
- Cook Time: 0 minutes
- Total Time: 4 hours 20 minutes (including chilling time)
- Yield: 12 servings
- Category: Dessert
- Method: No-Cook
- Cuisine: American
Description
This Nutter Butter Ice Box Cake is a no-bake dessert featuring layers of crunchy Nutter Butter cookies and smooth, creamy peanut butter filling, topped with whipped topping. Chilled overnight to meld flavors, it’s an easy, crowd-pleasing treat perfect for peanut butter lovers.
Ingredients
Cookies
- 1 package (16 oz) Nutter Butter cookies (about 36 cookies)
Peanut Butter Filling
- 1 (8 oz) package cream cheese, softened
- 1/2 cup peanut butter (smooth or chunky)
- 1 cup powdered sugar
- 1 tsp vanilla extract
- 1/4 cup milk (whole milk or 2%)
Topping
- 1 (8 oz) tub Cool Whip (whipped topping)
Instructions
- Prepare the Cream Cheese Filling: In a large bowl, beat the softened cream cheese and peanut butter together until smooth and creamy. Gradually add the powdered sugar, vanilla extract, and milk. Continue beating until the mixture is smooth and fluffy. This will form your peanut butter filling.
- Layer the Cake: Line the bottom of a 9×13-inch baking dish with a single layer of Nutter Butter cookies. Spread about one-third of the peanut butter filling evenly over the cookies, smoothing it out with a spatula. Add another layer of cookies followed by another layer of the peanut butter filling. Repeat layering until all cookies and filling are used, finishing with a layer of the peanut butter filling on top.
- Top with Cool Whip: Spread the Cool Whip evenly over the top layer of the cake, covering it completely. For extra flavor and decoration, you can optionally drizzle melted peanut butter or chocolate syrup over the top.
- Chill the Cake: Cover the cake with plastic wrap or foil and refrigerate for at least 4 hours, preferably overnight, to allow the flavors to meld and the cake to set.
- Serve and Enjoy: Once chilled, slice the cake into squares and serve. The cookie layers will soften, creating a creamy, peanut buttery dessert that’s perfect for sharing.
Notes
- For best results, chill the cake overnight to allow cookies to soften properly and flavors to meld.
- You can use smooth or chunky peanut butter depending on your texture preference.
- Substitute Cool Whip with homemade whipped cream or another whipped topping if preferred.
- Optional toppings such as melted peanut butter or chocolate syrup add extra flavor but are not necessary.
- Store leftovers covered in the refrigerator for up to 3 days.

