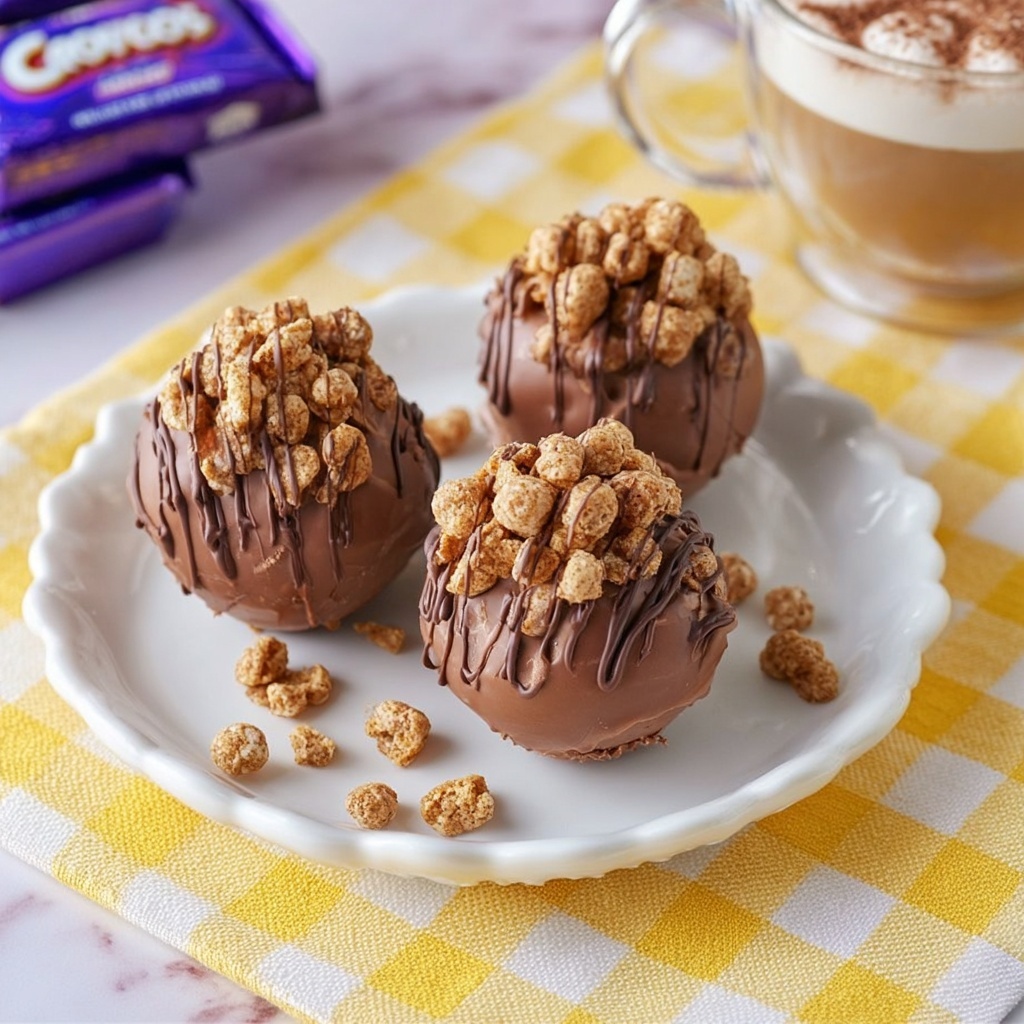
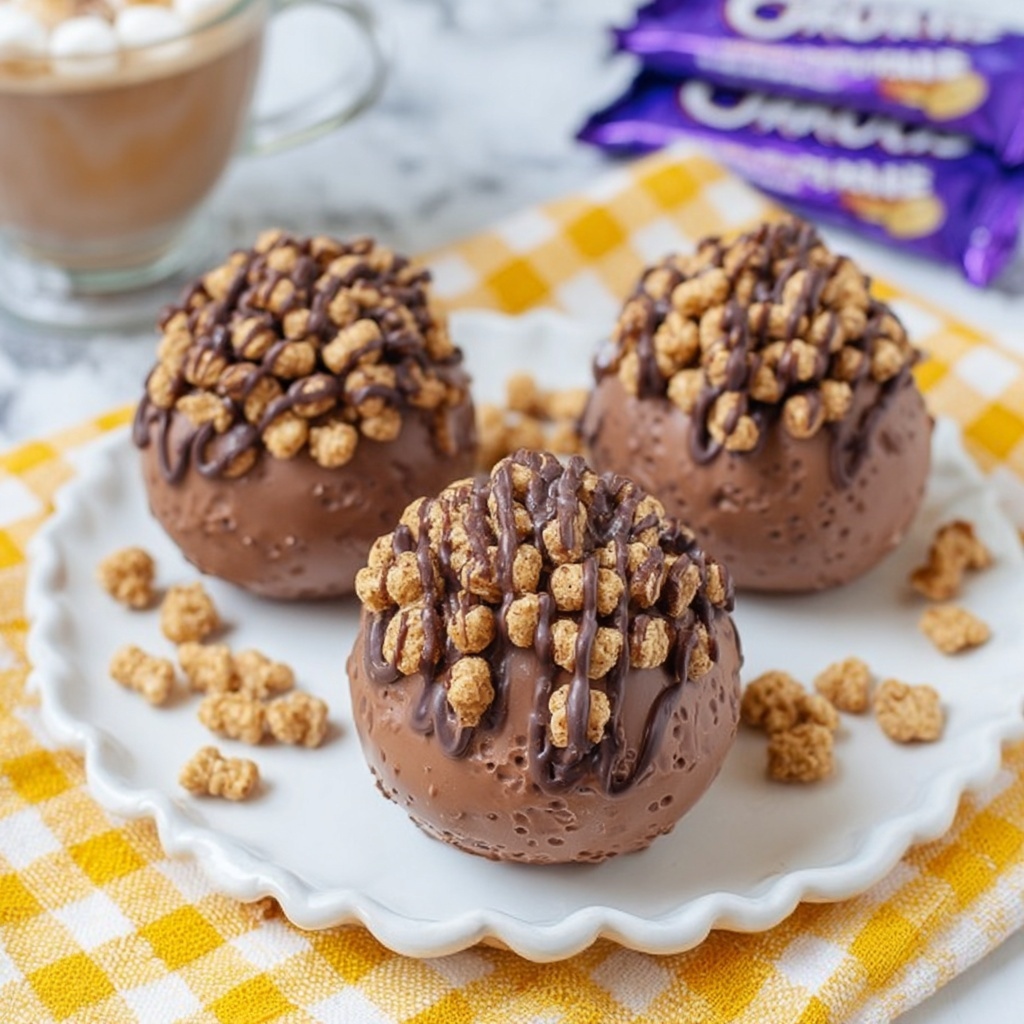
If you’re searching for a magical winter treat that brings a burst of chocolatey delight with every sip, look no further than the Nestle Crunch Hot Cocoa Bombs Recipe. These little spheres of wonder combine rich, velvety milk chocolate shells with a surprise of Nestle Crunch bits and hot cocoa mix inside, creating a playful and indulgent experience. When you pour hot milk over them, they happily burst open, releasing their cocoa treasure and the signature crunch that elevates every mug of hot chocolate to a cozy celebration.
Ingredients You’ll Need
Don’t be fooled by the simplicity of the ingredients; each plays a vital role in making these hot cocoa bombs a showstopper. From the creamy melting chocolate forming the delicate shells to the Nestle Crunch bits adding that unmistakable crunch, every component contributes perfect harmony of flavor and texture.
- 12 ounces of milk chocolate melting chocolate: This forms the smooth, glossy shell that holds all the goodness inside, so choose a high-quality chocolate for the best results.
- 2 packets of hot cocoa mix with mini marshmallows: These create the classic rich cocoa flavor along with a fluffy marshmallow surprise inside each bomb.
- 6 cups of hot milk: The warming liquid that brings your cocoa bomb to life by melting the chocolate and mixing with the hot cocoa.
- 1 box of Nestle Crunch bits: Crunchy, chocolatey, and oh-so-satisfying; this is the secret ingredient that sets these hot cocoa bombs apart.
How to Make Nestle Crunch Hot Cocoa Bombs Recipe
Step 1: Melt the Chocolate
Start by melting your milk chocolate melting chocolate in a microwave-safe dish. Heat it for about one minute, then stir gently to encourage even melting. If the chocolate is fully melted, you’re good to go; if not, give it a few more seconds but watch closely to avoid burning. This luscious melted chocolate is the foundation for your cocoa bomb shells.
Step 2: Form the Chocolate Shells
Next, spoon or pour the melted chocolate into silicone molds designed for spheres. Use the back of a spoon to spread it evenly and coat the entire inside of each mold. Then, pop the molds into the refrigerator for 30 minutes to allow the chocolate to set firmly into smooth, shiny shells.
Step 3: Remove Shells from Molds
Once chilled and hardened, carefully peel the chocolate shells from their molds. Handle them gently as these delicate spheres can be fragile. Set them aside on a clean surface, ready to be filled with cocoa magic.
Step 4: Prepare the Filling
Gather your hot cocoa mix with mini marshmallows and a generous sprinkle of Nestle Crunch bits. This combo will create a rich and textured surprise when your cocoa bomb dissolves in hot milk.
Step 5: Melt the Edges and Fill
Using a small skillet over low heat, carefully melt the edge of one chocolate shell just enough to become tacky—this acts like edible glue. Quickly fill this shell with a heaping tablespoon of hot cocoa mix and a few Nestle Crunch bits, then get ready to seal the bomb.
Step 6: Seal the Cocoa Bombs
Melt the edge of another chocolate shell the same way, then press it gently onto the filled half to seal the two pieces together. Hold them for a few seconds until they stick. Repeat this process with the remaining shells. When complete, you have perfectly sealed Nestle Crunch Hot Cocoa Bombs, ready to melt your heart.
Step 7: Enjoy Your Creation
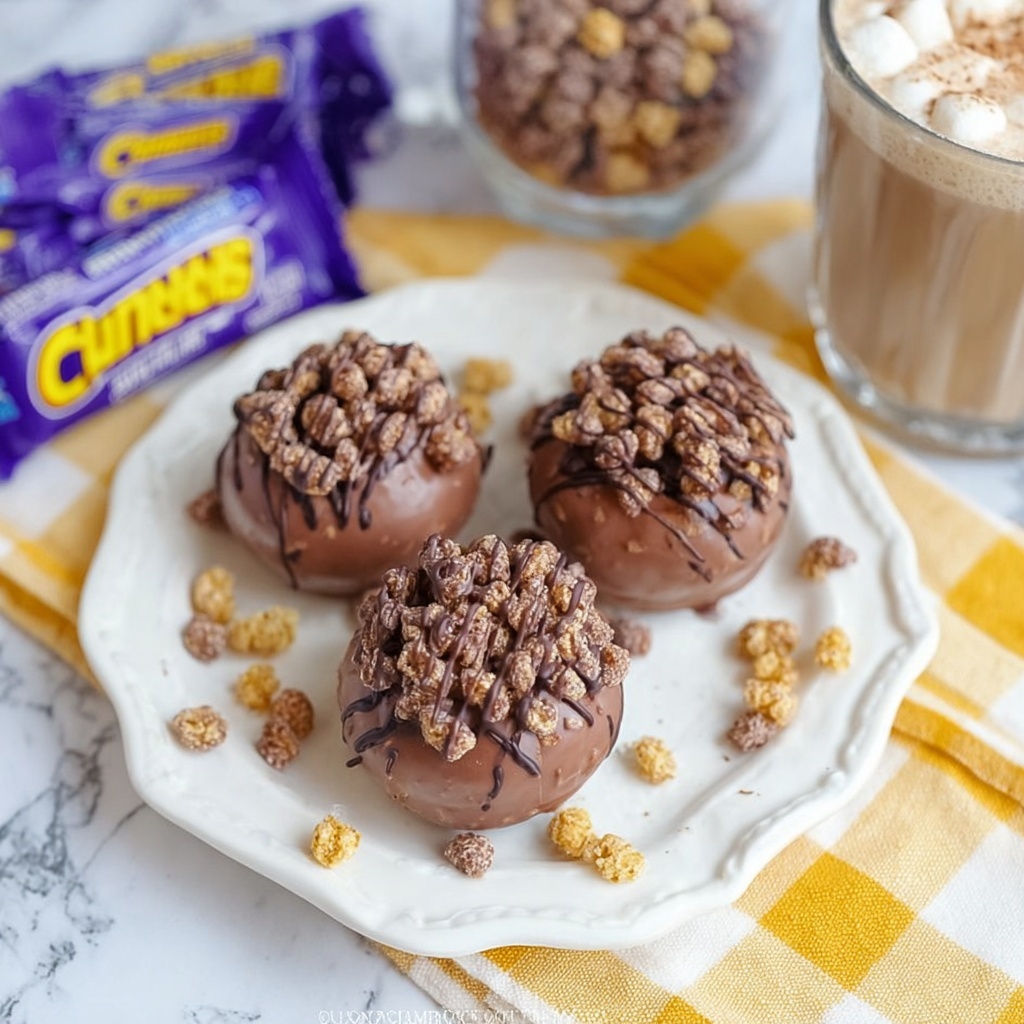
Place a cocoa bomb in your favorite mug, then pour 6 cups of steaming hot milk over the top. Watch the magic happen as the chocolate shell melts and spills its rich cocoa mix and crunchy bits into the cup. Stir well and top with whipped cream and extra Nestle Crunch pieces to add even more festive joy.
How to Serve Nestle Crunch Hot Cocoa Bombs Recipe
Garnishes
Top your hot cocoa with fluffy homemade whipped cream or marshmallows for an extra creamy texture. Don’t forget to sprinkle a few more Nestle Crunch bits on top for that irresistible crunch and a beautiful presentation that will impress friends and family alike.
Side Dishes
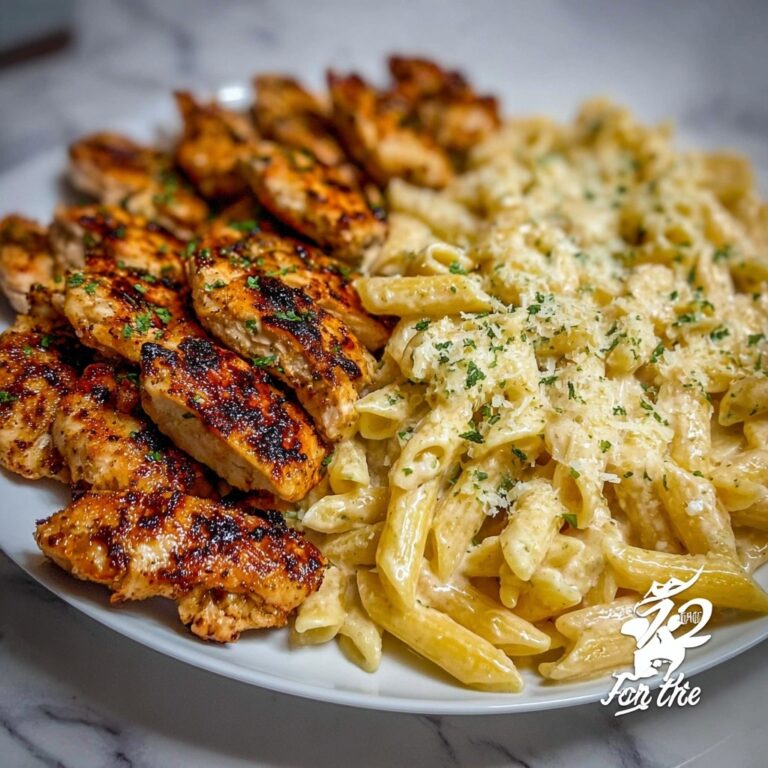
Pair your hot cocoa bombs with cozy treats like freshly baked chocolate chip cookies, buttery shortbread, or even a warm slice of cinnamon bread. These sides complement the rich chocolate flavor and keep your snack time delightfully balanced.
Creative Ways to Present
Present your Nestle Crunch Hot Cocoa Bombs Recipe in clear glass mugs so everyone can see the chocolate melting away like a mini science experiment. For parties, arrange them in festive boxes tied with ribbons or place them on a dessert tray surrounded by candy canes and mini marshmallows for a whimsical touch.
Make Ahead and Storage
Storing Leftovers
Once assembled, store your Nestle Crunch Hot Cocoa Bombs in an airtight container at room temperature in a cool, dry place. They will keep well for up to two weeks, making them a perfect make-ahead gift or treat to enjoy slowly through the season.
Freezing
If you want to keep your cocoa bombs fresh for longer, place them in a single layer on a baking sheet to freeze initially, then transfer to a sealed freezer-friendly container. Properly frozen, they can last up to 3 months without losing their texture or flavor.
Reheating
Reheating isn’t necessary since these bombs dissolve in hot milk, but if they’ve been stored in the fridge or freezer, allow them to come to room temperature before using. This prevents condensation and keeps the delicate shells from becoming soggy.
FAQs
Can I use dark or white chocolate instead of milk chocolate?
Absolutely! While milk chocolate offers the classic creamy flavor, you can experiment with dark or white chocolate to customize the richness or sweetness of your cocoa bombs. Just be sure to choose good-quality melting chocolate for the best texture.
How can I prevent the chocolate shells from cracking?
Make sure you chill the chocolate thoroughly and handle the shells gently after removing them from the molds. Also, apply an even layer of chocolate when molding to create sturdy shells less prone to cracking.
Can I make these without Nestle Crunch bits?
Yes, but the Nestle Crunch bits add a delightful crunch and unique texture that’s hard to replicate. If unavailable, consider substituting other crisped rice chocolates or small candies that won’t melt instantly.
What type of molds work best?
Silicone half-sphere molds designed for chocolate bombs work perfectly because they’re flexible and help create smooth, uniform shapes. Metal molds can be challenging due to sticking and breakage risks.
How long do the hot cocoa bombs last once made?
Stored properly in an airtight container away from heat and moisture, the bombs stay fresh for up to two weeks. For longer storage, freezing is an excellent option as described above.
Final Thoughts
I can’t wait for you to try the Nestle Crunch Hot Cocoa Bombs Recipe—it’s truly a game-changer for cozy winter moments and festive gatherings. There’s something so joyful about watching the chocolate shell melt and unleashing that crunchy, chocolatey surprise. Whether for yourself or as a thoughtful gift, these cocoa bombs add a fun and delicious twist to a classic treat that everyone will love. Cozy up and enjoy every warm, crunchy sip!
Print
Nestle Crunch Hot Cocoa Bombs Recipe
- Prep Time: 5 minutes
- Cook Time: 0 minutes
- Total Time: 35 minutes
- Yield: 6 hot cocoa bombs
- Category: Dessert
- Method: Stovetop
- Cuisine: American
Description
Delight in the irresistible Nestle Crunch Hot Cocoa Bombs, perfect for cozying up on a chilly day. These chocolate spheres are filled with hot cocoa mix and crunchy Nestle bits, melting into a rich, creamy, and chocolatey beverage when hot milk is poured over them. A fun and interactive treat that’s easy to make and sure to impress!
Ingredients
Chocolate Shell
- 12 ounces milk chocolate melting chocolate (chips or almond bark)
Filling
- 2 packets hot cocoa mix with mini marshmallows (about 1 heaping tablespoon per cocoa bomb)
- 1 box Nestle Crunch bits
- 6 cups hot milk (for serving)
Instructions
- Melting Chocolate: Begin by melting the milk chocolate in a microwave-safe dish for about 1 minute. Stir well, and if fully melted, remove from the microwave to prevent burning.
- Forming Chocolate Shells: Fill each mold with the melted chocolate, ensuring an even coating. Place the molds in the refrigerator for 30 minutes to allow the chocolate to fully set and harden.
- Removing Shells: Carefully pop the solidified chocolate shells out of the molds and set them aside, taking care not to crack them.
- Preparing Filling Ingredients: Gather hot cocoa mix packets and Nestle Crunch bits for the filling of each bomb.
- Sealing Cocoa Bombs: Heat a small skillet on the stove over low heat. Gently melt the edges of one chocolate shell in the skillet, then quickly fill it with hot cocoa mix and a few Nestle Crunch pieces.
- Completing the Bombs: Melt the edge of another chocolate shell similarly and seal it over the filled half, pressing gently to close. Repeat this process for all cocoa bombs.
- Serving: Place a cocoa bomb in your favorite mug. Pour 1 cup of hot milk over the bomb, stirring as it melts. Top with whipped cream and extra Nestle Crunch pieces for garnish. Enjoy your rich and crunchy hot chocolate!
Notes
- Ensure chocolate is fully melted but not overheated to avoid graininess.
- Use a silicone mold designed for chocolate bombs for best results.
- Store unopened cocoa bombs in a cool, dry place to maintain shape.
- For a dairy-free version, use non-dairy chocolate and milk alternatives.
- Experiment with different types of chocolate or flavored hot cocoa to customize your bombs.


