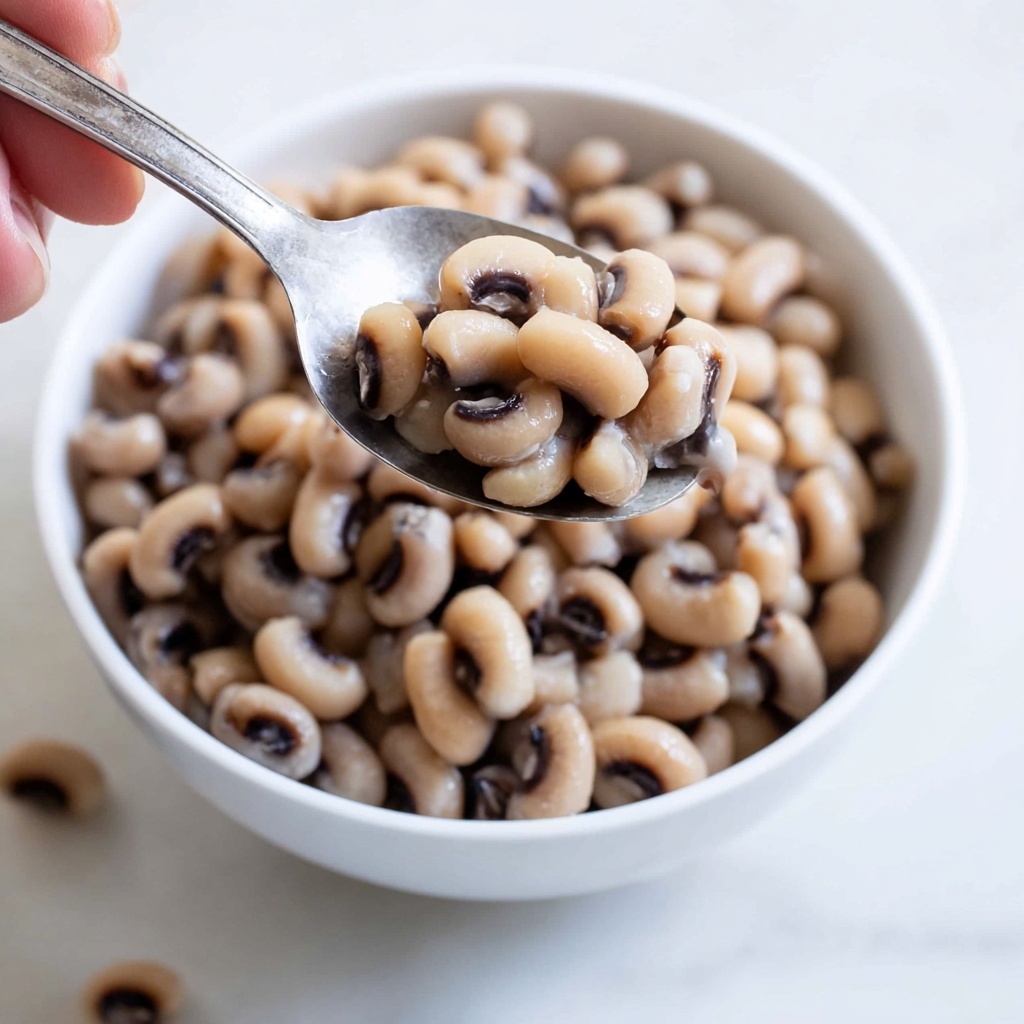
If you’re craving a comforting, hearty dish that comes together in a flash, this Instant Pot Black Eyed Peas Recipe is exactly what you need. Perfectly tender and bursting with flavor, these black eyed peas make for a nourishing side or a main that feels like a warm hug on a plate. Thanks to the magic of the Instant Pot, you can have these legumes cooked to perfection in just about 30 minutes, making them ideal for busy weeknights or whenever you want a soulful meal without fuss. Let’s dive into how to make this delicious dish your new favorite!
Ingredients You’ll Need
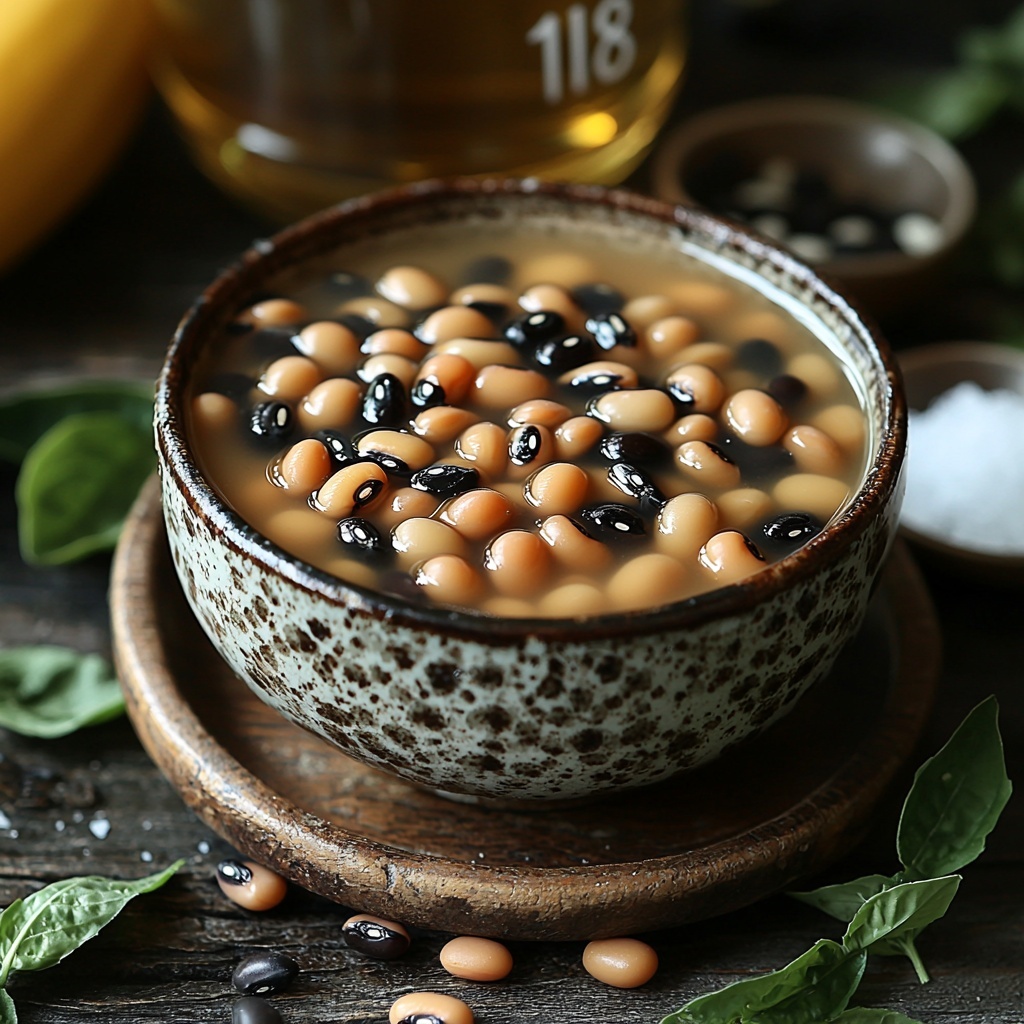
The beauty of this Instant Pot Black Eyed Peas Recipe lies in its simplicity. Each ingredient plays a vital role in creating the earthy, satisfying flavors and creamy texture that make the dish so irresistible. Getting these essentials right is the first step to success.
- 1 cup black eyed peas (dried): The star ingredient, packed with protein and fiber, providing that classic creamy texture when cooked.
- 1 ½ cups water (chicken or vegetable broth): The cooking liquid adds moisture and depth, with broth bringing extra savory notes.
- ½ teaspoon salt (optional): Just a pinch enhances the natural flavors without overpowering the peas.
How to Make Instant Pot Black Eyed Peas Recipe
Step 1: Sort Peas
This may sound simple, but sorting your black eyed peas is crucial for a smooth eating experience. Make sure to sift through the peas carefully, removing any odd bits like stones or clumps that sometimes sneak in from packaging. This ensures every bite is pure pleasure without unpleasant surprises.
Step 2: Add Ingredients to the Pot
Once the peas are sorted, it’s time to add them to your Instant Pot along with the water or broth and salt. Using a 4 or 6-quart pressure cooker works perfectly here. The broth lends some extra savory richness, but water keeps it neutral if you want a clean base to season later.
Step 3: Cook in Instant Pot
Seal the Instant Pot and set it to high pressure for 13 to 14 minutes, depending on how tender you want your peas. This timing cooks them through while keeping them intact, with just the right bite. After cooking, let the pressure release naturally for 10 minutes—this gentle release helps the peas finish cooking and absorb the flavors beautifully.
Step 4: Release Pressure and Serve
After the natural release, carefully switch the pressure release valve to venting and wait for all steam to escape before opening the lid. Now your black eyed peas are ready to enjoy! You can add a bit more salt and fresh cracked black pepper to taste or use them as a wonderful ingredient in soups, stews, or salads. The flexibility here means you get exactly what you want out of this recipe.
How to Serve Instant Pot Black Eyed Peas Recipe
Garnishes
Sprinkle chopped fresh herbs like parsley or cilantro on top to add a burst of color and brightness. A little drizzle of olive oil or a squeeze of lemon juice brings freshness that perfectly contrasts with the creamy peas. For heat lovers, a dash of hot sauce or red pepper flakes is always a welcome kick.
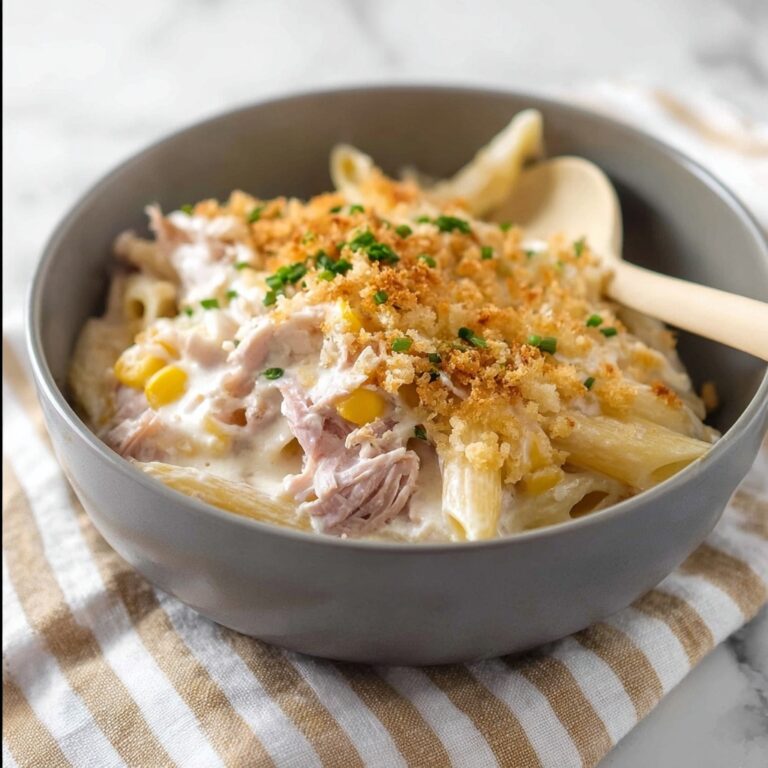
Side Dishes
This Instant Pot Black Eyed Peas Recipe pairs wonderfully with fluffy rice, cornbread, or even roasted vegetables. The creamy peas balance out crisp, fresh sides beautifully, making your meal both filling and exciting. Consider serving alongside a fresh green salad for a complete and balanced dinner.
Creative Ways to Present
Get adventurous and use your black eyed peas as a hearty filling for tacos, mix them into quinoa bowls for texture, or blend into dips for a nutritious snack. Their mild flavor and creamy texture mean they work well in a variety of creative dishes that go far beyond the bowl.
Make Ahead and Storage
Storing Leftovers
Leftover black eyed peas keep well in an airtight container in the refrigerator for up to 4 days. Storing them properly helps preserve their texture and flavor so you can enjoy them later without losing any of the deliciousness.
Freezing
If you want to keep black eyed peas on hand for even longer, freezing is a great option. Portion them into freezer-safe containers or bags and freeze for up to 3 months. When thawed, they remain just as tasty and ready to feature in soups, salads, or side dishes.
Reheating
Reheat gently on the stove over low heat or in the microwave with a splash of water or broth to prevent them from drying out. Stir occasionally to warm evenly and maintain the creamy consistency you love about this Instant Pot Black Eyed Peas Recipe.
FAQs
Do I need to soak the black eyed peas before cooking?
Great question! With the Instant Pot’s pressure cooking capabilities, soaking isn’t necessary. The peas cook quickly and thoroughly, saving you prep time without sacrificing texture.
Can I add other ingredients when cooking the peas?
Absolutely! Feel free to layer in aromatics like garlic, onions, or smoked paprika before sealing the pot for added depth. Just be mindful of the added liquid so the pressure cooker works safely.
What if I prefer softer or firmer peas?
Simply adjust the cooking time by a minute or two to reach your preferred texture. Shorter cooks yield firmer peas, while longer cooking makes them creamier.
Is this recipe suitable for vegetarians?
Definitely! Using vegetable broth keeps it vegetarian-friendly, but you can switch to chicken broth if you want a non-vegetarian boost of flavor.
Can I scale the recipe up or down?
Yes! Just keep the pea-to-liquid ratio consistent and use a suitably sized Instant Pot. This recipe scales well, whether making a small batch or feeding a crowd.
Final Thoughts
I can’t recommend this Instant Pot Black Eyed Peas Recipe enough for anyone looking to add a simple, satisfying, and versatile dish to their repertoire. With minimal ingredients and effort, you’re rewarded with a delicious and nourishing meal that feels like homemade comfort food. Give it a try, and I’m sure it will become a cherished staple in your kitchen as it has in mine!
Print
Instant Pot Black Eyed Peas Recipe
- Prep Time: 5 minutes
- Cook Time: 14 minutes
- Total Time: 29 minutes
- Yield: 6 servings
- Category: Side Dish
- Method: Instant Pot
- Cuisine: Southern, American
Description
This Instant Pot Black Eyed Peas recipe is a quick and easy way to prepare tender and flavorful black eyed peas using a pressure cooker. Perfect for a nutritious side dish or a hearty addition to your favorite recipes, this method significantly reduces cooking time while preserving the rich taste and texture of the peas.
Ingredients
Ingredients
- 1 cup black eyed peas (dried)
- 1 ½ cups water (or chicken or vegetable broth)
- ½ teaspoon salt (optional)
Instructions
- Sort peas: Carefully sort through the dried black eyed peas to remove any clumps, stones, dirt, or debris. This ensures your peas cook evenly and are free from unwanted materials.
- Add ingredients: Place the sorted black eyed peas into a 4 or 6-quart Instant Pot pressure cooker. Add 1 ½ cups of water or broth along with ½ teaspoon of salt if using. This combination infuses the peas with flavor and aids in cooking smoothly.
- Cook in Instant Pot: Seal the Instant Pot lid and set the pressure cooker to high pressure. Cook the peas for 13 to 14 minutes, adjusting based on your preferred tenderness—less time for firmer peas, more for softer ones.
- Natural pressure release: After the cooking time finishes, allow the Instant Pot to naturally release pressure for 10 minutes. This helps the peas finish cooking gently and avoids splattering.
- Release remaining pressure: Carefully move the pressure release valve to the venting position to release any remaining steam. Only open the lid once the float valve drops, indicating safe opening.
- Serve: Immediately serve the cooked black eyed peas seasoned with additional salt and black pepper to taste, or incorporate them into your favorite recipes for a nutritious boost. Enjoy this versatile and wholesome dish!
Notes
- Soaking the black eyed peas is not necessary when using the Instant Pot, which saves prep time.
- If using broth instead of water, reduce added salt to avoid oversalting.
- For a creamier texture, you can mash some of the cooked peas before serving.
- Leftovers can be refrigerated for up to 4 days or frozen for up to 3 months.
- Adjust seasoning after cooking to your preferred taste.
