
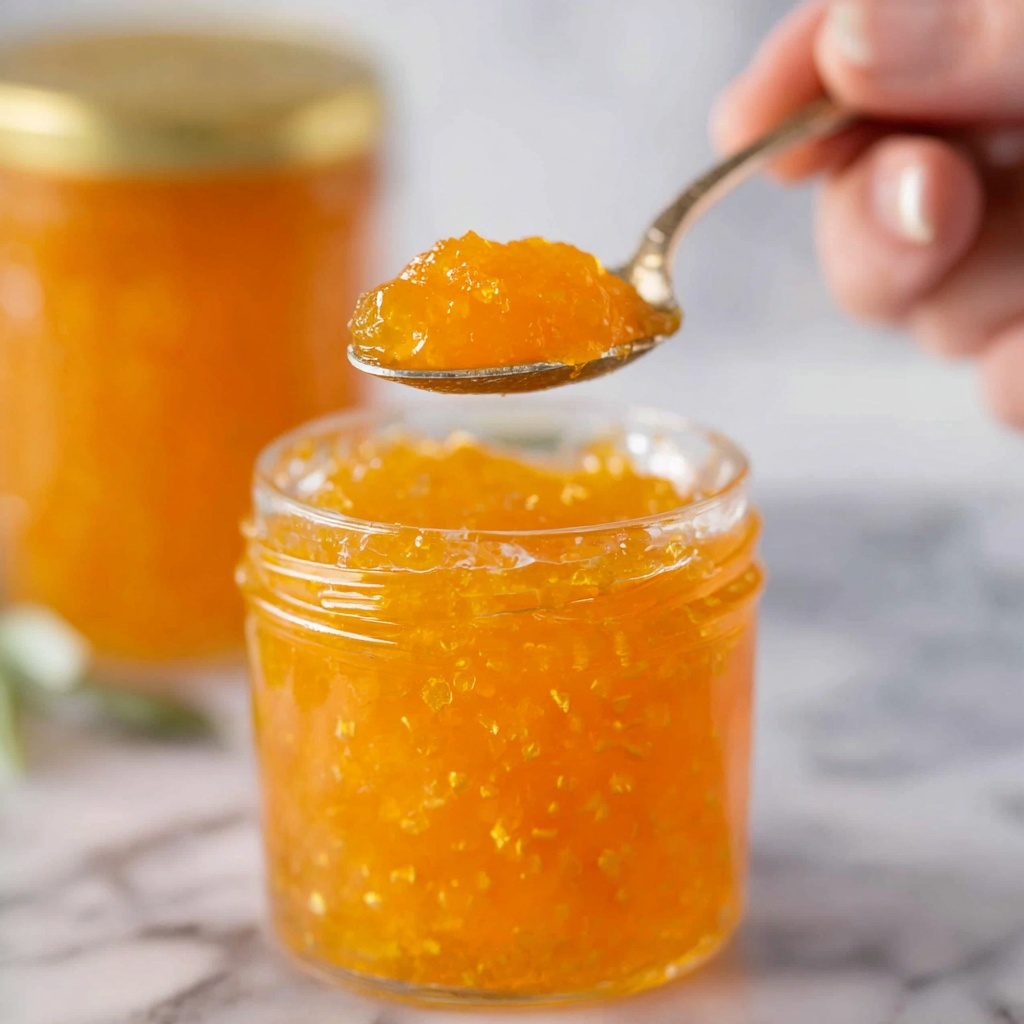
If you have a fondness for bright, zesty flavors that brighten your breakfast table, then this Homemade Orange Marmalade Recipe is exactly what you need to add that perfect touch of sunny sweetness to your morning. Bursting with fresh orange goodness, this marmalade manages to capture the vibrant citrus flavors and balance them with just the right sweetness and a hint of lemony zing. Making your own marmalade at home is not only rewarding but also incredibly simple, and it transforms ordinary toast, scones, or even yogurt into a gourmet treat.

Ingredients You’ll Need
Getting started with this Homemade Orange Marmalade Recipe is a breeze because the ingredients are straightforward but vital to achieving the perfect taste, texture, and that gorgeous golden hue. Each one plays an important role in delivering the classic marmalade flavor you love.
- 4 Medium Oranges: Fresh, juicy oranges provide the essential citrus foundation and natural pectin for the marmalade’s signature texture.
- 4 Cups White Granulated Sugar: Sugar balances the tartness of the oranges and helps set the marmalade as it cooks down.
- 2 Tablespoons Lemon Juice: Adds a bright acidity that enhances the citrus flavor and aids in setting the marmalade.
- 1 Tablespoon Lemon Zest: Gives the marmalade an extra punch of aromatic citrus notes that elevate its complexity.
- ⅓ Cup Water: Helps dissolve the sugar and softens the fruit as it cooks.
How to Make Homemade Orange Marmalade Recipe
Step 1: Prepare the Oranges
Start off by chopping the ends off your oranges to remove the bitter tips, then cut each orange into eighths. This size is perfect for quick mincing while preserving just enough peel to give your marmalade that classic texture.
Step 2: Finely Mince the Oranges
Place the orange pieces in a food processor and pulse for about 30 seconds until the fruit is finely minced. This step is key to ensuring the marmalade has plenty of zest and pulp without becoming chunky, striking that desired balance.
Step 3: Combine Ingredients in a Saucepot
Transfer the minced oranges into a medium or large saucepot. Add in the lemon juice, lemon zest, sugar, and water. Each ingredient works together here to build the flavor base and prepare for the cooking process that sets the marmalade.
Step 4: Cook and Reach Setting Temperature
Turn your stovetop to medium heat and bring the mixture to a temperature of 220 degrees Fahrenheit, stirring sporadically to prevent sticking. Once that temperature is reached, let it simmer for 2 minutes to fully develop the marmalade’s consistency and flavor.
Step 5: Cool Briefly
Remove the pot from heat and allow the marmalade to cool for a couple of minutes. This helps it thicken slightly while making it easier to handle for the next step.
Step 6: Jar Your Marmalade
Carefully fill your jars with the warm marmalade and secure the lids. This is a great moment to prepare for storage or gifting, as the marmalade looks beautifully vibrant and inviting.
Step 7: Let It Reach Room Temperature
Set the jars on your countertop and let them come to room temperature completely. Once cooled, retighten the lids to ensure a good seal for freshness.
Step 8: Refrigerate Overnight
Place your sealed jars in the refrigerator and let the marmalade chill overnight. This final step allows flavors to meld perfectly, making it ready to enjoy the very next day.
How to Serve Homemade Orange Marmalade Recipe
Garnishes
For a charming touch, sprinkle a little fresh orange zest or a thin lemon twist over a dish topped with this marmalade. It adds a fresh pop of color and aroma that enhances every bite.
Side Dishes
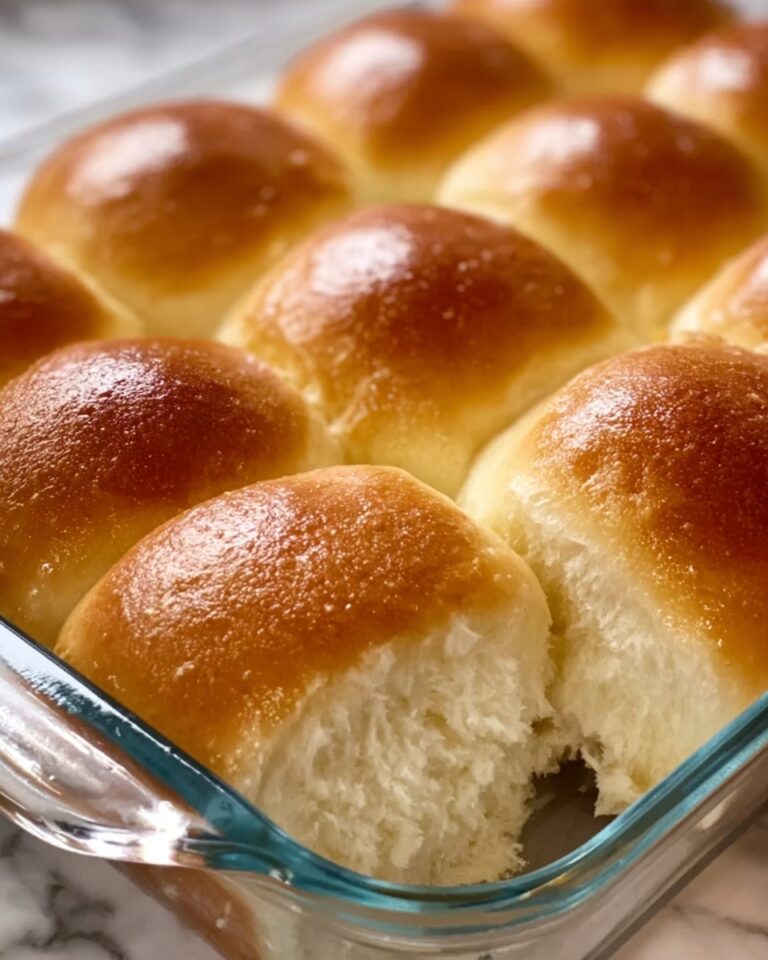
This marmalade pairs wonderfully with buttery toast, warm croissants, or creamy ricotta cheese. It’s also delightful alongside a cheese platter, balancing out rich and salty flavors with its bright citrus notes.
Creative Ways to Present
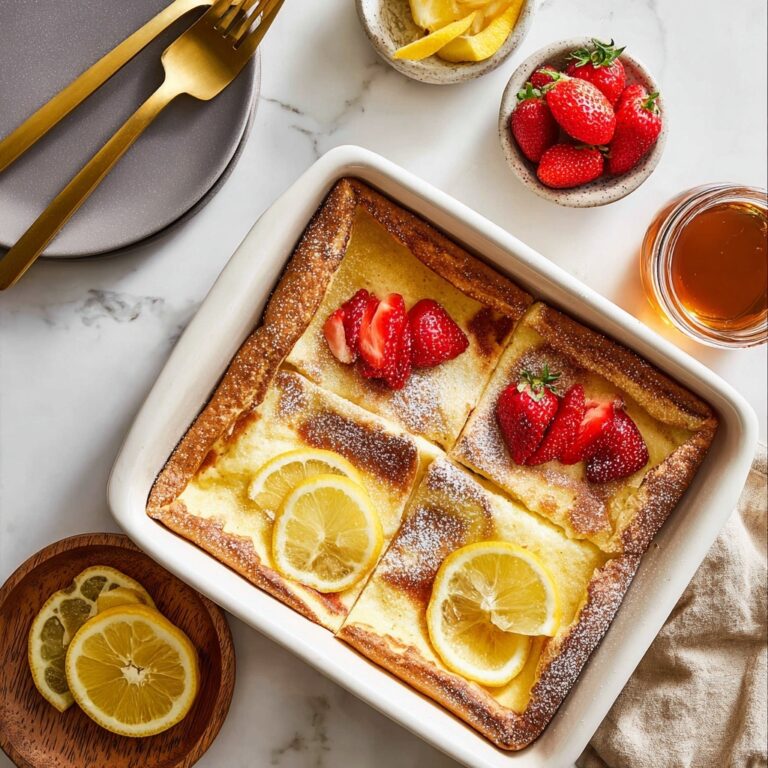
Try spreading this Homemade Orange Marmalade Recipe over Greek yogurt with a sprinkle of toasted almonds for a delightful breakfast or snack. Drizzle it over vanilla ice cream or swirl it into pancake batter for an unexpected twist that is sure to impress!
Make Ahead and Storage
Storing Leftovers
Once opened, store your marmalade jars in the refrigerator. Properly sealed and refrigerated, the marmalade stays fresh for up to a month, preserving that bright and tangy flavor.
Freezing
If you want to keep your marmalade longer, you can freeze it in airtight containers. While freezing may slightly change the texture, the flavor remains delicious for up to six months.
Reheating
Before serving from the fridge, allow the marmalade to come to room temperature or gently warm it in a microwave-safe container to restore its spreadable texture without altering the taste.
FAQs
Can I use other citrus fruits for this marmalade?
Absolutely! While this Homemade Orange Marmalade Recipe is designed for oranges, you can experiment with lemons, grapefruits, or even a mix for unique flavor twists.
Why is it important to reach 220 degrees when cooking the marmalade?
This temperature is key because it signals the mixture has reached the setting point, ensuring your marmalade will thicken properly without being too runny or overly stiff.
Do I need special jars to store the marmalade?
You can use any clean, airtight glass jars. Mason jars are a popular choice, but as long as the lids seal tightly, your marmalade will keep well.
How long does homemade marmalade last?
Stored in the refrigerator, your marmalade will stay fresh and tasty for about 1 month, though if sealed and preserved properly, it can last even longer.
Can I reduce the sugar in this recipe?
You can reduce sugar slightly, but keep in mind sugar is not only for sweetness but also for preservation and texture. Reducing it too much might affect the final set and shelf life.
Final Thoughts
This Homemade Orange Marmalade Recipe is a fantastic way to bring a bit of sunshine into your kitchen and breakfast routine. It’s simple, rewarding, and packed with the kind of bright flavor that makes you smile with every bite. I wholeheartedly encourage you to give this recipe a try — once you taste homemade marmalade, there’s no going back to store-bought!
Print
Homemade Orange Marmalade Recipe
- Prep Time: 10 minutes
- Cook Time: 40 minutes
- Total Time: 50 minutes
- Yield: 40 ounces (approximately 5 cups)
- Category: Condiment
- Method: Stovetop
- Cuisine: American
Description
This classic Orange Marmalade recipe transforms fresh oranges into a sweet, tangy preserve perfect for spreading on toast or using as a glaze. Made with simple ingredients and cooked on the stovetop, this homemade marmalade boasts vibrant citrus flavors balanced with lemon zest and juice. The recipe yields about 40 ounces of marmalade, ready to store in jars and enjoy for breakfast or baking.
Ingredients
Ingredients
- 4 Medium Oranges
- 4 Cups White Granulated Sugar
- 2 Tablespoons Lemon Juice
- 1 Tablespoon Lemon Zest
- ⅓ Cup Water
Instructions
- Prepare Oranges: Chop the ends off your oranges and cut them into eighths, making them easier to process.
- Process Oranges: Place the orange pieces into a food processor and chop for about 30 seconds or until finely minced.
- Combine Ingredients: Add the minced oranges, lemon juice, lemon zest, sugar, and water into a medium or large saucepan.
- Cook Mixture: Heat the mixture over medium heat, stirring occasionally and randomly, until it reaches 220°F (104°C). Maintain the temperature and let it simmer for 2 minutes to set the marmalade.
- Cool Slightly: Remove the pot from heat and allow the marmalade to cool for a couple of minutes before handling.
- Jar the Marmalade: Spoon the marmalade into clean jars and seal with lids.
- Cool to Room Temperature: Let the jars sit at room temperature until the marmalade is completely cooled, then retighten the lids to ensure a good seal.
- Refrigerate Overnight: Place the sealed jars in the refrigerator overnight to allow the marmalade to fully set and develop flavor. Enjoy your homemade orange marmalade!
Notes
- Use ripe, firm oranges for the best flavor and consistency.
- Measuring the temperature with a candy thermometer ensures proper setting.
- Store marmalade in the refrigerator and consume within a few weeks for best freshness.
- Make sure jars and lids are sterilized before filling to prolong shelf life.
- This recipe can be scaled up or down depending on the quantity desired.


