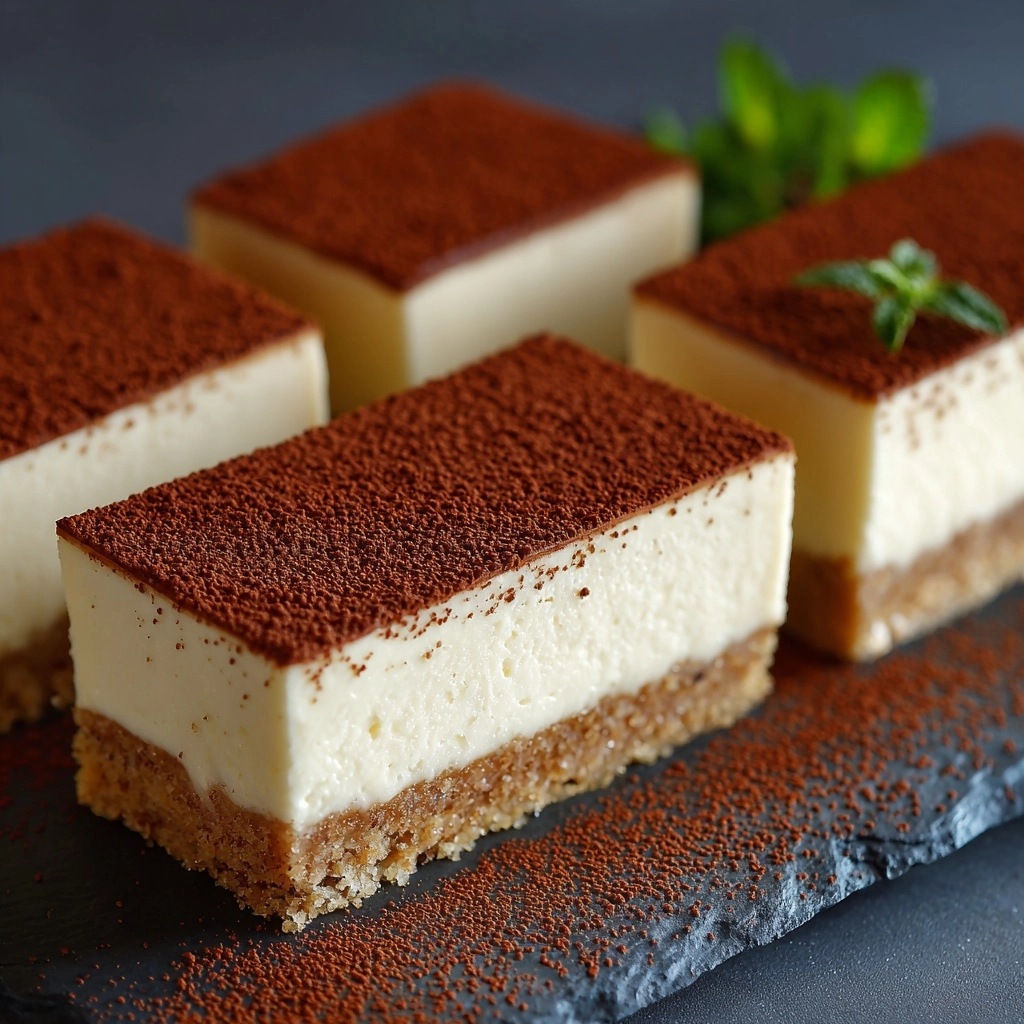
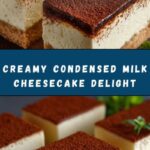
If you crave a lusciously creamy dessert that’s both easy to make and utterly irresistible, look no further than this Condensed Milk Cheesecake. This recipe takes classic cheesecake and gives it a velvety twist with sweetened condensed milk, creating a wonderfully smooth, tangy, and rich treat. With its buttery graham crust and bright citrus finish, it’s not only a showstopper at gatherings but also a go-to favorite when you want something truly special with minimal fuss.
Ingredients You’ll Need
The ingredients for this Condensed Milk Cheesecake are simple staples, each bringing a vital role to the party—think creamy, crunchy, buttery, and tangy. Let’s break down what you need and a few pro tips for each element to ensure your cheesecake turns out flawless every time.
- Graham cracker crumbs: These provide that classic, slightly sweet and crunchy base for your cheesecake; crushing them finely gives the crust a perfect texture.
- Granulated sugar: Just a touch enhances the subtle sweetness and helps bind the crust together too.
- Unsalted butter (melted): Butter adds richness and ensures the crust stays firm and flavorful—use unsalted so you can control the saltiness yourself.
- Cream cheese (softened): The star of the show! Softened cream cheese blends smoothly and creates the ultimate creamy filling that melts in your mouth.
- Sweetened condensed milk: This is what gives the cheesecake its signature silky texture and sweet, rich flavor—it’s the magic ingredient that sets this recipe apart.
- Lemon juice (freshly squeezed): Fresh lemon juice brightens up the filling, cuts through the richness, and helps set the texture just right.
- Vanilla extract: Adds warmth and depth, bringing together all the flavors into a harmony that tastes like home.
- Fresh berries or fruit topping (optional): These are perfect for a burst of color, freshness, and a pleasantly tart contrast to the creamy cheesecake.
How to Make Condensed Milk Cheesecake
Step 1: Prepare and Preheat
Start by preheating your oven to 325°F (163°C). Give your springform pan a quick run with some parchment paper or a light greasing on the bottom to make removing your Condensed Milk Cheesecake a total breeze later.
Step 2: Create the Graham Cracker Crust
In a medium bowl, combine the graham cracker crumbs, granulated sugar, and melted butter. Use a fork or your hands to mix until everything’s evenly moistened—it should feel like damp sand. Press this crumbly mixture firmly into the bottom of your 9-inch springform pan. For a truly even, compact crust, use the bottom of a measuring cup or glass to level and tighten the layer. Pop it in the oven for 8 to 10 minutes until it’s just golden and fragrant, then let it cool while you whip up the filling.
Step 3: Blend the Cream Cheese Mixture
Using a large mixing bowl and electric mixer, beat the softened cream cheese until it’s perfectly smooth and creamy, with no lumps in sight. This sets the stage for the silky finish you want. Gradually pour in the sweetened condensed milk, beating at medium speed. Your mixture should look glossy and rich by the time you’re done.
Step 4: Add Citrus and Vanilla
Next comes the freshly squeezed lemon juice and vanilla extract. Mix them into the creamy base just until combined—don’t overbeat at this stage. The acid from the lemon juice will both enhance the flavor and help the cheesecake set beautifully when baked.
Step 5: Assemble and Bake
Pour the creamy filling over your cooled crust, then smooth the top with a spatula. Place the pan in the oven and bake for 30 to 35 minutes. You’ll know it’s ready when the center is mostly set, with just a gentle jiggle in the very middle. This ensures the Condensed Milk Cheesecake stays perfectly creamy when chilled.
Step 6: Cool and Chill
Let the cheesecake cool at room temperature so it finishes setting and prevents cracks. Then, cover and refrigerate for at least 4 hours (though overnight will give you the dreamiest texture). The waiting game can be tough, but trust me—the results are worth every minute.
How to Serve Condensed Milk Cheesecake

Garnishes
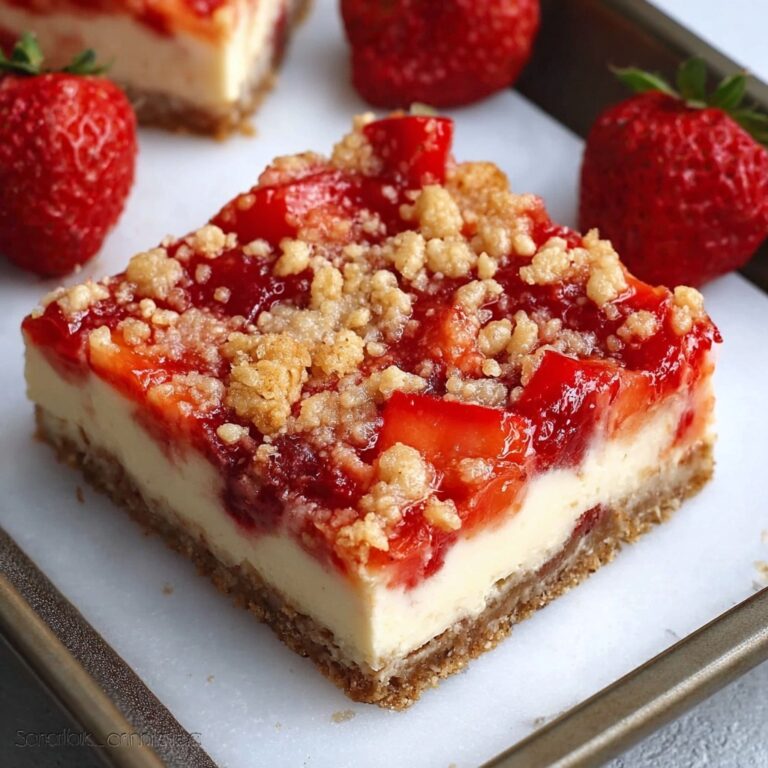
No classic Condensed Milk Cheesecake is complete without a little flourish. Fresh berries like strawberries, raspberries, blueberries, or blackberries scatter color and a touch of tartness on every slice. If you’re feeling fancy, a dusting of powdered sugar or a drizzle of fruit compote takes things up another notch with hardly any effort.
Side Dishes
Serve slices of this cheesecake with light accompaniments like a fruit salad, a few slices of citrus, or a cup of hot tea or coffee. The rich, tangy goodness pairs beautifully with anything that’s either refreshing or robust, making sure every bite feels balanced (and never too heavy).
Creative Ways to Present
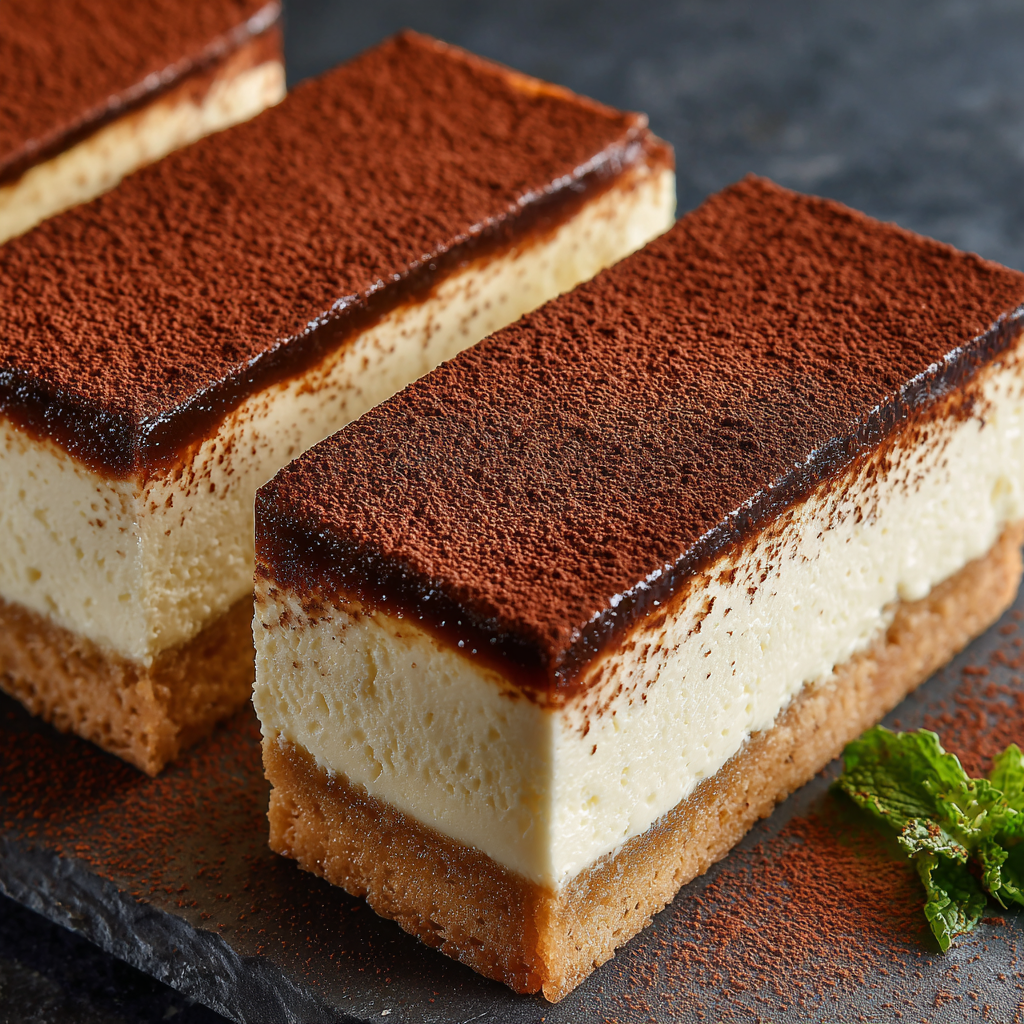
For a celebration, transform your Condensed Milk Cheesecake by serving parfait-style in clear glasses, layered with fruit and cookie crumbles. Or cut it into bite-sized squares for party platters—easy for guests to grab-and-go, and just as delectable. Mini cheesecakes in muffin tins are fun for picnics or picnics too!
Make Ahead and Storage
Storing Leftovers
Your cheesecake will keep its flavor and texture beautifully if you store slices or the whole cake covered in the refrigerator. Make sure to use an airtight container or wrap the springform pan tightly with plastic wrap—this keeps it from drying out or picking up odors from other foods. Enjoy leftovers within 4 to 5 days for maximum flavor.
Freezing
If you’d like to get ahead, Condensed Milk Cheesecake freezes surprisingly well! Cool the cheesecake completely, then wrap it (whole or in slices) securely in several layers of plastic wrap and foil. Freeze for up to 2 months—thaw overnight in the fridge before serving, and it’ll taste freshly made.
Reheating
While this cheesecake shines when cold or at room temperature, if you prefer a slightly warmer bite, briefly leave a slice out on the counter for 15 to 20 minutes before serving. Avoid microwaving, as direct heat will alter the texture and make it lose its swoon-worthy creaminess.
FAQs
Can I make this Condensed Milk Cheesecake without baking?
Absolutely! For a no-bake version, skip the oven steps, press the crust in your pan as usual, spread the filling over it, and chill for at least six hours until set. The result will be delightfully creamy and slightly softer, but every bit as delicious.
What can I use instead of graham crackers for the crust?
If graham crackers aren’t available, try digestive biscuits, vanilla wafers, or even Biscoff cookies. Each option brings its unique twist and pairs deliciously with the sweet, creamy filling.
Can I substitute lime juice for lemon juice?
Yes, lime juice swaps in seamlessly! It gives the Condensed Milk Cheesecake an extra zing and slightly different citrus aroma, perfect for a refreshing change of pace.
Why did my cheesecake crack on top?
Cracks in cheesecake are often due to rapid temperature changes or overbaking. To help prevent cracks, let the cheesecake cool gradually, avoid overmixing the filling after adding lemon, and don’t overbake—remember, a slight jiggle in the center is just right.
How do I get the smoothest cheesecake texture?
Always use room-temperature cream cheese and beat until no lumps remain before adding other ingredients. Mixing slowly and only until combined after adding liquid ingredients helps avoid incorporating too much air, which can lead to a super-smooth, luscious Condensed Milk Cheesecake every time.
Final Thoughts
It’s almost impossible not to fall in love with Condensed Milk Cheesecake—from its creamy texture to its crave-worthy flavor and unfussy method. Whether you bake it or go for the no-bake shortcut, each bite feels like a celebration you can share with your favorite people. Give it a try—your kitchen (and your tastebuds) will thank you!
Print
Condensed Milk Cheesecake Recipe
- Prep Time: 15 minutes
- Cook Time: 35 minutes
- Total Time: 4 hours 50 minutes (including chilling)
- Yield: 8 servings
- Category: Dessert
- Method: Baking
- Cuisine: American
- Diet: Non-Vegetarian
Description
Indulge in the creamy decadence of this Condensed Milk Cheesecake. A luscious dessert that strikes the perfect balance of sweetness and tanginess, this baked cheesecake is sure to impress with its velvety texture and rich flavors.
Ingredients
Graham Cracker Crust:
- 1 1/2 cups graham cracker crumbs
- 1/4 cup granulated sugar
- 1/2 cup unsalted butter, melted
Cheesecake Filling:
- 16 ounces cream cheese, softened
- 1 can (14 ounces) sweetened condensed milk
- 1/4 cup freshly squeezed lemon juice
- 1 teaspoon vanilla extract
Garnish:
- Fresh berries or fruit topping (optional)
Instructions
- Preheat the oven: Preheat the oven to 325°F (163°C).
- Prepare the crust: Mix graham cracker crumbs, sugar, and melted butter. Press into a 9-inch springform pan and bake for 8-10 minutes.
- Make the filling: Beat cream cheese until smooth. Add condensed milk, lemon juice, and vanilla extract, mix until smooth.
- Assemble: Pour filling over crust and bake for 30-35 minutes until set. Cool, then refrigerate for at least 4 hours.
- Serve: Garnish with berries or fruit topping before serving.
Notes
- For a no-bake version, chill the cheesecake without baking for at least 6 hours.
- Use lime juice for a citrus twist.
- A water bath isn’t necessary but helps prevent cracking.
Nutrition
- Serving Size: 1 slice
- Calories: 410
- Sugar: 30g
- Sodium: 240mg
- Fat: 27g
- Saturated Fat: 16g
- Unsaturated Fat: 9g
- Trans Fat: 0g
- Carbohydrates: 35g
- Fiber: 0g
- Protein: 6g
- Cholesterol: 95mg
