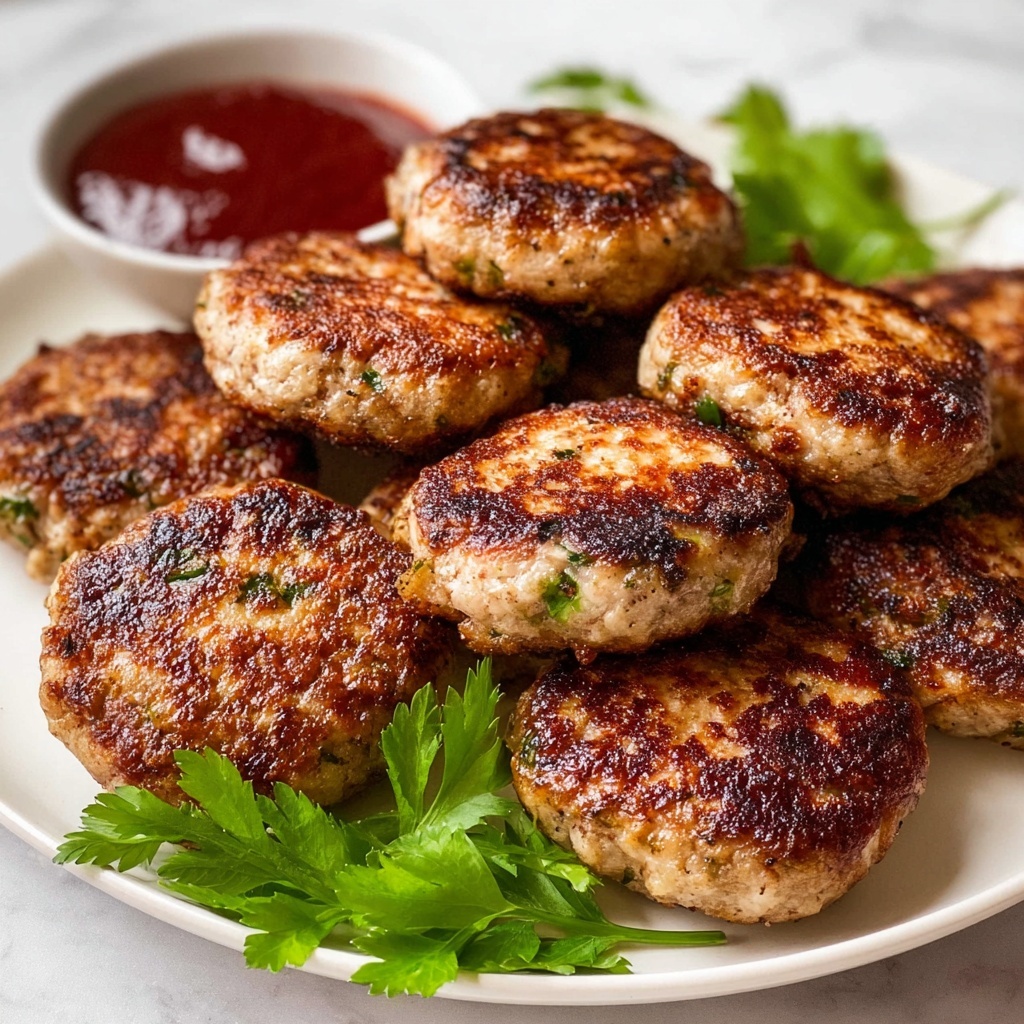
If you’re looking for a deliciously comforting dish that’s a true crowd-pleaser, this Chicken Rissoles Recipe is the answer. These golden, tender patties are packed with juicy chicken mince and the vibrant freshness of grated carrot and zucchini, all melted together with gooey cheese and light, crisp breadcrumbs. Each bite offers a perfect harmony of flavors and textures that’s simply irresistible. Whether you’re feeding a hungry family or preparing finger food for guests, this recipe elevates simple ingredients into a snack or meal you’ll want to make again and again.
Ingredients You’ll Need
This Chicken Rissoles Recipe calls for straightforward ingredients you might already have in your kitchen. Each component plays a crucial role in creating the perfect texture, moisture, and flavor balance that makes these rissoles so memorable.
- 500g chicken mince: The lean protein base provides a tender and juicy texture once cooked.
- 1 medium carrot, grated: Adds natural sweetness and a subtle crunch, boosting color and nutrition.
- 1 medium zucchini, grated: Keeps the rissoles moist and tender while enhancing the veggie content.
- 1 egg: Acts as the binding agent to hold the mixture together beautifully.
- 1 1/2 cup shredded Colby cheese: Or your favorite cheese variety, for melty, savory goodness in every bite.
- 3/4 cup panko breadcrumbs: Light and airy to help with the right texture and keep the rissoles from falling apart.
- 1 tbsp finely chopped parsley (optional): Adds a fresh, herby note and a pop of green color.
- 1 tsp kosher salt: Essential to highlight all the flavors perfectly.
- 1/2 tsp black pepper: Provides a mild kick and depth.
- 2 tbsp canola oil: For frying the rissoles to a gorgeous golden crisp.
- Ketchup: The classic dipping sauce that complements the savory richness of the rissoles.
How to Make Chicken Rissoles Recipe
Step 1: Preheat and prepare
Start by preheating your oven to 100°C (210°F). This warm setting is perfect for placing cooked rissoles on a rack over a tray, so they stay warm while you finish cooking the rest. Keeping them warm this way guarantees every bite is just as satisfying as the first.
Step 2: Combine all the ingredients
In a large bowl, mix together the chicken mince, grated carrot and zucchini, egg, shredded cheese, and panko breadcrumbs. Add parsley, salt, and pepper for seasoning. Stir gently with a wooden spoon until everything is evenly combined. This mixture is the magic that brings the Chicken Rissoles Recipe to life, blending fresh veggies with protein and cheese into one cohesive, flavorful filling.
Step 3: Shape your rissoles
Wet your hands slightly to prevent sticking and scoop just shy of 1/4 cup of the mixture. Press and mold it into a flat patty about 6cm (2.4 inches) wide and 1.5cm (0.6 inches) thick. If the mixture feels too loose, you can add a bit more breadcrumbs to firm it up. Forming them to the right size and thickness helps the rissoles cook evenly and ensures a perfect bite every time.
Step 4: Cook to golden perfection
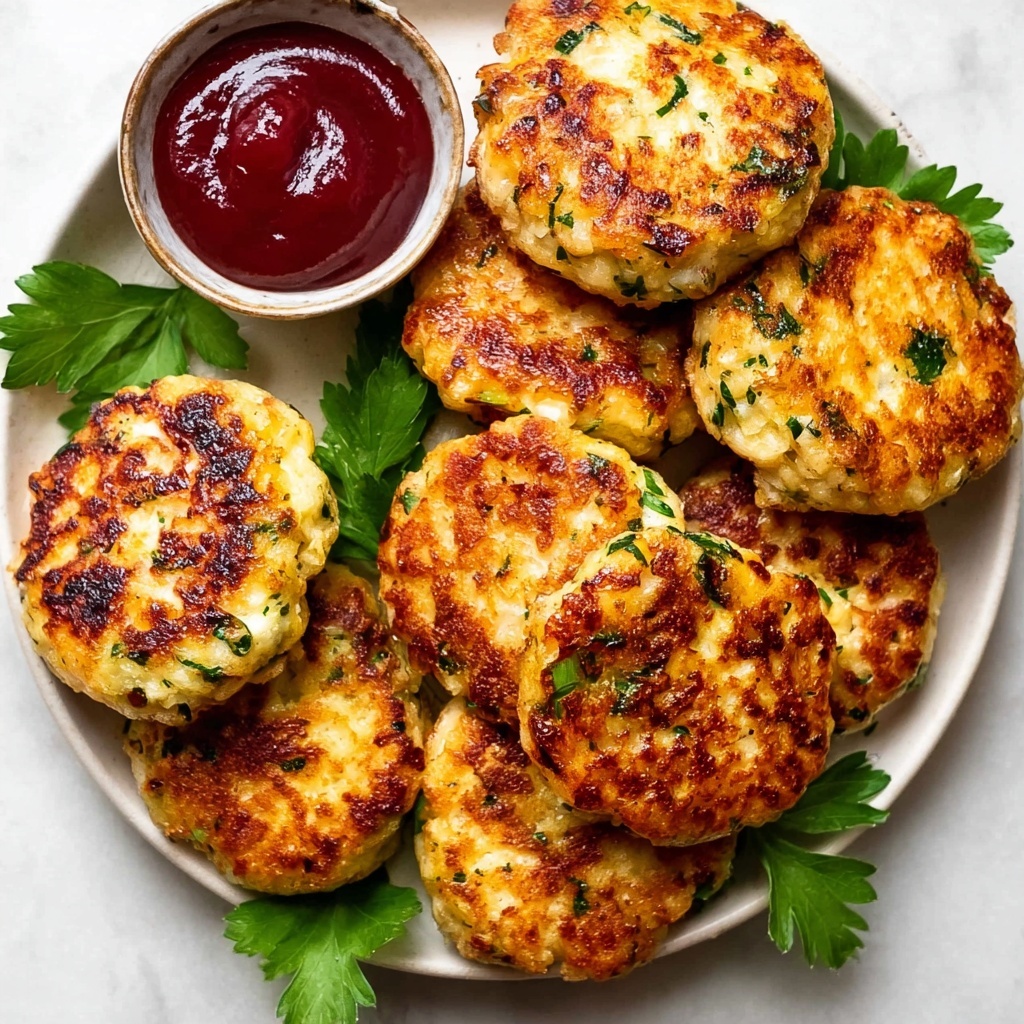
Heat 1 tablespoon of canola oil in a large non-stick pan over medium-high heat. Carefully add 5 to 6 rissoles, allowing space for easy turning. Cook each side for 3 to 4 minutes until they’ve developed a stunning golden-brown crust. This step locks in moisture and builds the irresistible crispy outer layer that makes these rissoles downright addictive. If you prefer baking, see Note 5 on alternatives.
Step 5: Keep warm while cooking remaining batches
Transfer the cooked rissoles onto the preheated rack and tray in your oven to keep them warm. Add more oil to the pan as needed, and continue cooking the rest of your rissoles in batches until all are perfectly browned and cooked through. This way, everyone can enjoy warm rissoles at the same time, straight from the oven.
Step 6: Serve and enjoy!
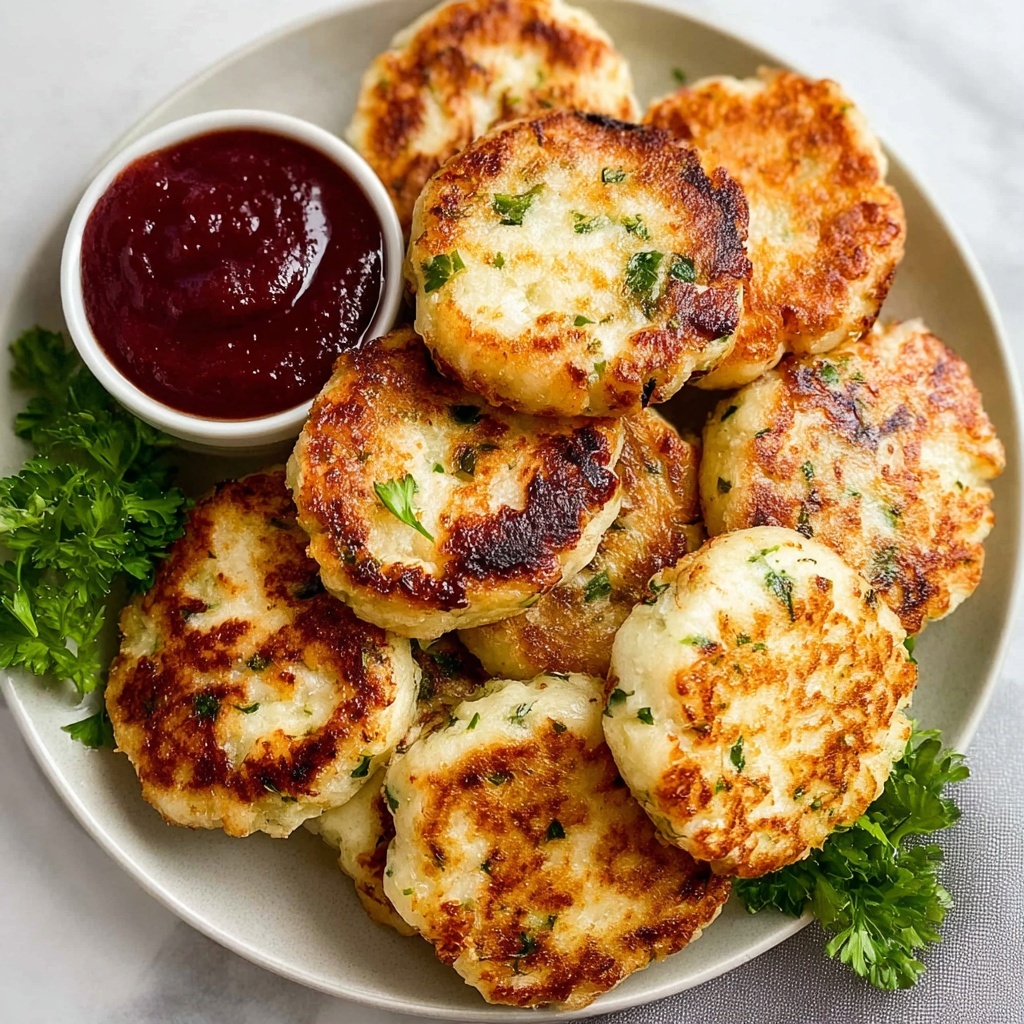
Serve your freshly cooked Chicken Rissoles Recipe immediately while they’re warm and crispy. Don’t forget the ketchup for dipping—this classic pairing is a surefire way to bring everyone to the table with smiles.
How to Serve Chicken Rissoles Recipe
Garnishes
Simple garnishes like a sprinkle of fresh chopped parsley or a squeeze of lemon juice can brighten the flavors and add a fresh aroma. For an indulgent twist, serve with a dollop of creamy aioli or a tangy mustard sauce to complement the mild chicken and cheese filling.
Side Dishes
These rissoles pair beautifully with a light salad, such as mixed greens dressed in a zesty vinaigrette, or some oven-roasted vegetables. For a heartier meal, creamy mashed potatoes or buttery corn on the cob make fabulous side dishes that soak up all the savory goodness.
Creative Ways to Present
Elevate your Chicken Rissoles Recipe by turning them into sliders on mini buns with cheese, lettuce, and your favorite sauces. Alternatively, serve as finger food at gatherings alongside a variety of dipping sauces like sweet chili, BBQ, or tzatziki for a fun and flavorful spread.
Make Ahead and Storage
Storing Leftovers
If you have leftover rissoles, pop them into an airtight container and refrigerate for up to 3 days. They stay delicious and just as satisfying when reheated gently.
Freezing
Chicken rissoles freeze beautifully. Arrange uncooked rissoles on a baking tray and freeze until solid, then transfer to a labeled freezer bag or container. They will keep well for up to 3 months. When ready to enjoy, cook them straight from frozen, just adding a few extra minutes to the cooking time.
Reheating
To reheat, place the rissoles on a baking tray and warm them in an oven at 180°C (350°F) for around 10 minutes or until heated through. Avoid microwaving if you want to preserve their lovely crispy exterior.
FAQs
Can I make Chicken Rissoles Recipe gluten-free?
Absolutely! Just substitute the panko breadcrumbs with gluten-free breadcrumbs or crushed gluten-free crackers. The result will be just as tasty and perfect for those with gluten sensitivities.
What cheese works best in this recipe?
Colby cheese offers great meltiness and flavor, but cheddar, Monterey Jack, or even tasty cheese are wonderful alternatives. Feel free to experiment to find your favorite cheesy twist.
Can I bake the chicken rissoles instead of frying?
Yes, baking is a great option for a lighter version. Place the formed rissoles on a baking tray lined with parchment paper and bake at 200°C (400°F) for about 20-25 minutes, flipping halfway to achieve even browning.
How do I know when rissoles are cooked through?
The rissoles should be golden brown on the outside and reach an internal temperature of 74°C (165°F). The meat should be opaque with no traces of pink inside.
Can I add other vegetables or herbs?
Definitely! Feel free to add finely chopped spinach, corn kernels, or herbs like thyme and oregano to personalize your Chicken Rissoles Recipe and suit your taste preferences.
Final Thoughts
There’s something truly special about homemade comfort food, and this Chicken Rissoles Recipe brings together simple ingredients to create a warm, satisfying meal anyone will adore. With easy steps and flexible options for serving, it’s a recipe to keep in your go-to collection for busy weeknights or fun gatherings. Give it a try—you’re going to love every golden, cheesy bite!
Print
Chicken Rissoles Recipe
- Prep Time: 15 minutes
- Cook Time: 20 minutes
- Total Time: 35 minutes
- Yield: 16 rissoles
- Category: Main Course
- Method: Frying
- Cuisine: Australian
Description
These Chicken Rissoles are flavorful and juicy patties made with ground chicken, grated carrot and zucchini, shredded Colby cheese, and seasoned with parsley, salt, and pepper. Pan-fried until golden brown, they’re easy to prepare and perfect for a quick lunch or dinner served with ketchup.
Ingredients
Main Ingredients
- 500g / 1 lb chicken mince (ground chicken), excess liquid drained and discarded
- 1 medium carrot, grated on a shallow angle
- 1 medium zucchini, grated on a shallow angle
- 1 egg
- 1 1/2 cup Colby cheese, shredded (or cheddar, tasty, Monterey Jack)
- 3/4 cup panko breadcrumbs
- 1 tbsp finely chopped parsley (optional)
- 1 tsp cooking/kosher salt
- 1/2 tsp black pepper
- 2 tbsp canola oil
- Ketchup – for dipping
Instructions
- Preheat Oven: Preheat the oven to 100°C/210°F to keep the cooked rissoles warm. Place a rack over a tray.
- Prepare Mixture: In a bowl, mix together the chicken mince, grated carrot, grated zucchini, egg, shredded cheese, panko breadcrumbs, parsley, salt, and pepper thoroughly using a wooden spoon until well combined.
- Form Patties: Wet your hands to prevent sticking, then measure out just shy of 1/4 cup of the mixture and shape into patties about 6 cm wide and 1.5 cm thick. If the mixture is too loose, adjust by adding more breadcrumbs.
- Cook Rissoles: Heat 1 tablespoon of canola oil in a large non-stick pan over medium-high heat. Cook 5 to 6 rissoles at a time for 3 to 4 minutes on each side or until they are beautifully golden brown and cooked through.
- Keep Warm: Transfer the cooked rissoles to the rack on the tray placed in the warm oven to keep them hot. Add more oil to the pan as needed and cook the remaining rissoles the same way.
- Serve: Serve the warm chicken rissoles immediately with ketchup for dipping for a delicious meal or snack.
Notes
- If your chicken mince mixture is too wet or loose, drain excess liquid or add more panko breadcrumbs to firm it up.
- Grating the carrot and zucchini on a shallow angle helps achieve the best texture and moisture balance in the rissoles.
- You can substitute Colby cheese with cheddar, tasty, or Monterey Jack cheese as preferred.
- Panko breadcrumbs provide a light, crispy coating and help bind the mixture better than regular breadcrumbs.
- Alternatively, for a healthier version, you can bake the rissoles in a preheated oven at 200°C/400°F for about 15-18 minutes, turning halfway through until golden and cooked through.
