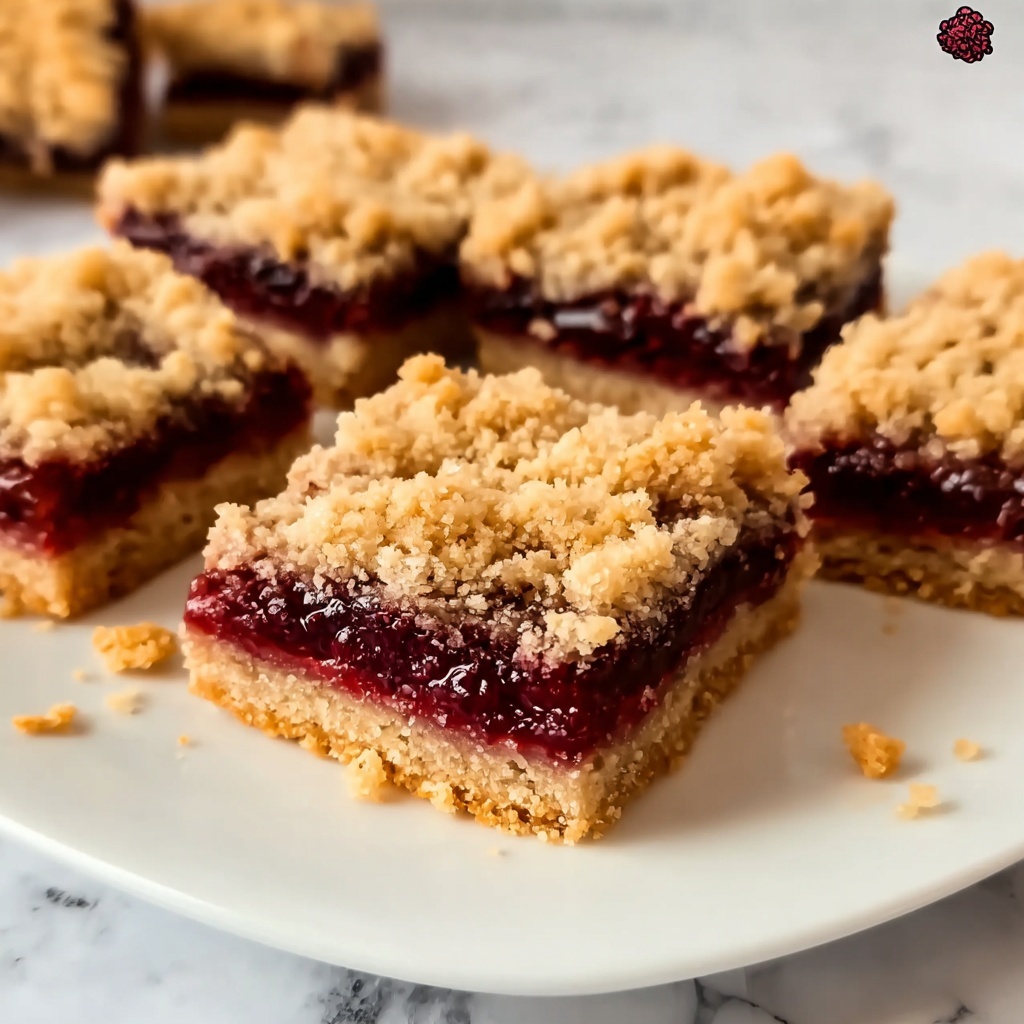
If you have a soft spot for irresistible fruit desserts, you are going to fall head over heels for this Cherry Pie Bars Recipe. Imagine layers of buttery, crumbly crust paired with a luscious, tangy cherry filling that bursts with flavor in every bite. These bars take all the charm of a classic cherry pie and transform it into a convenient, sliceable treat that’s perfect for sharing or savoring solo. Whether it’s for a cozy family gathering or a festive potluck, this recipe brings a perfect balance of sweetness and tartness that instantly creates warm, happy moments.
Ingredients You’ll Need
Keep it simple, keep it fresh. This Cherry Pie Bars Recipe calls for straightforward pantry staples and juicy cherries that work together to create a vibrant, textured dessert bursting with flavor. Each ingredient plays a key role in creating that perfect harmony of crust and filling.
- 1 and 1/2 cups all-purpose flour: The foundation for a sturdy yet tender crust that holds the bars together beautifully.
- 1 cup + 2 tablespoons old-fashioned rolled oats: Adds a lovely chewiness and rustic texture to the topping and crust.
- 1/2 cup packed light or dark brown sugar: Brings deep caramel notes that complement the cherries’ tartness.
- 1 teaspoon baking powder: Provides just enough lift to keep the crust from becoming too dense.
- 1 teaspoon lemon zest: Brightens the entire bar with a fresh citrusy zing.
- 1/8 teaspoon salt: Enhances all the flavors and balances the sweetness.
- 10 tablespoons unsalted butter, melted: Infuses the bars with richness and helps bind everything together.
- 1 teaspoon pure vanilla extract: Adds warm, aromatic depth to the crust.
- 1 and 1/2 tablespoons cornstarch: Thickens the cherry filling to that perfect jammy consistency.
- 3 and 1/2 cups frozen sour cherries (do not thaw): The star ingredient delivering juicy bursts of tangy flavor.
- 1/2 cup granulated sugar: Sweetens the cherries just right without overpowering their natural tartness.
- 1 teaspoon fresh lemon juice: Enhances the cherry flavor and adds brightness.
- 1/4 teaspoon almond extract: A subtle nutty hint that elevates the overall cherry profile.
- 1 cup confectioners’ sugar (optional icing): For a luscious, delicate drizzle to finish the bars beautifully.
- 2 tablespoons milk (optional icing): Helps create a smooth, pourable icing consistency.
- 1/4 teaspoon almond extract (optional icing): To echo and amplify the almond notes in the filling.
How to Make Cherry Pie Bars Recipe
Step 1: Prepare Your Pan and Crust
First things first, preheat your oven to 350°F (177°C) and line a 9-inch square baking pan with parchment paper—this will make lifting the bars out so much easier. Then, in a bowl, combine the flour, 1 cup of oats, brown sugar, baking powder, lemon zest, and salt. These dry ingredients blend to create a crumbly, flavorful base full of texture and a hint of citrus freshness.
Step 2: Combine Butter and Vanilla
Next, pour in the melted butter and vanilla extract, stirring until the mixture becomes crumbly yet moist. This step ensures every bite has that satisfying buttery richness and a subtle warm vanilla aroma. Use about two-thirds of this mixture to firmly press into the bottom of your prepared pan, shaping the crust evenly. Pop it in the oven for 10 minutes to start setting the foundation for your cherry bars.
Step 3: Cook the Cherry Filling
While the crust is baking, it’s time to bring the cherry filling to life. In a saucepan over medium heat, combine the frozen sour cherries (straight from the freezer), granulated sugar, and fresh lemon juice. Cook, stirring occasionally, for 4 to 6 minutes until the cherries release their juices and the mixture begins to bubble. This warm, fruity aroma will have your kitchen smelling heavenly!
Step 4: Thicken the Cherry Filling
In a small bowl, whisk a bit of the hot cherry juice into the cornstarch to create a smooth slurry—this technique prevents lumps. Return this mixture to the saucepan and cook for about 10 minutes, stirring frequently until the filling thickens into that perfect jam-like consistency. Stir in the almond extract at the end to add a lovely layer of flavor that complements the cherries beautifully.
Step 5: Assemble the Bars
Spread the luscious cherry filling evenly over the slightly cooled crust. Then, add the remaining 2 tablespoons of oats to the leftover crumb mixture and sprinkle this mixture generously over the cherry layer. Gently press it down—the topping will bake into a golden, crispy finish that contrasts gorgeously with the soft filling underneath.
Step 6: Bake to Golden Perfection
Bake the assembled bars for 40 to 50 minutes until the topping is golden brown and bubbly around the edges. Once baked, allow the bars to cool completely in the pan before slicing. For quicker cooling, you can pop the pan in the refrigerator, but patience will reward you with perfectly set bars.
Step 7: Optional Icing Drizzle
If you want to add a little extra pizzazz, mix confectioners’ sugar, milk, and almond extract to create a smooth icing. Drizzle this over the cooled bars to add a sweet, glossy finish that looks as good as it tastes. Then slice into 16 generous pieces and get ready to enjoy!
How to Serve Cherry Pie Bars Recipe
Garnishes
A simple dusting of powdered sugar or a light drizzle of the almond icing creates an elegant touch. Fresh mint leaves or a few whole cherries placed on top can add color and freshness, making these bars look like they came straight from a bakery display.
Side Dishes
Serve the bars alongside a scoop of vanilla ice cream or a dollop of whipped cream to amplify the creamy contrast to the tart cherry filling. A cup of hot coffee or a fragrant herbal tea also pairs wonderfully, helping to balance the sweetness and complete your dessert experience.
Creative Ways to Present
For a casual get-together, arrange the bars on a rustic wooden board surrounded by fresh cherries and small ramekins of almond nuts for guests to nibble on. For a more refined gathering, serve each bar on individual plates drizzled with extra icing and garnished thoughtfully with edible flowers or citrus zest curls to wow your guests visually and gastronomically.
Make Ahead and Storage
Storing Leftovers
Cherry Pie Bars are a fantastic make-ahead treat. Store any leftovers in an airtight container at room temperature for up to two days, or refrigerate for up to a week to keep them fresh and flavorful. The bars hold their texture well and maintain a moist, fruity interior.
Freezing
If you want to enjoy these bars later, freeze them in a sealed container for up to 3 months. For best results, separate layers with parchment paper to prevent sticking. Thaw overnight in the refrigerator before serving to preserve that delightful texture.
Reheating
To bring back a just-baked warm feeling, microwave individual bars for about 20 seconds or heat in a preheated oven at 325°F (160°C) for 5 to 7 minutes. This revitalizes the soft cherry filling and slightly melts the topping, creating an irresistible aroma that will draw everyone to the table.
FAQs
Can I use fresh cherries instead of frozen in this Cherry Pie Bars Recipe?
Absolutely! Just make sure to pit them and reduce the cooking time slightly since fresh cherries release juice faster. Using fresh cherries can add a lovely natural sweetness and texture.
Is it possible to make this recipe gluten-free?
Yes! Substitute the all-purpose flour with a gluten-free blend, and ensure your oats are certified gluten-free. This swap maintains texture without compromising taste significantly.
What can I do if I don’t have almond extract on hand?
If almond extract is not available, vanilla extract alone works well, though the unique nutty note will be missing. For a different twist, a drop of almond-flavored liqueur can also be a creative alternative.
How do I know when the cherry filling is thick enough?
The filling should coat the back of a spoon and hold its shape momentarily when lifted. Cooking the filling until it is noticeably thick and jam-like ensures it won’t runny once baked.
Can I double this recipe for a larger batch?
Yes, you can easily double the ingredients and bake in a larger pan. Just keep an eye on baking time, which might increase slightly. The bars should be golden and bubbly when done.
Final Thoughts
There’s something truly magical about the way a Cherry Pie Bars Recipe can bring joy with every single bite. This recipe takes simplicity to a whole new level, delivering layers of flavor and texture that feel like a hug in dessert form. Give it a go—you’ll find these bars quickly becoming a beloved favorite in your kitchen and yours to share with everyone you care about.
Print
Cherry Pie Bars Recipe
- Prep Time: 20 minutes
- Cook Time: 50 minutes
- Total Time: 1 hour 10 minutes
- Yield: 16 servings
- Category: Dessert
- Method: Baking
- Cuisine: American
Description
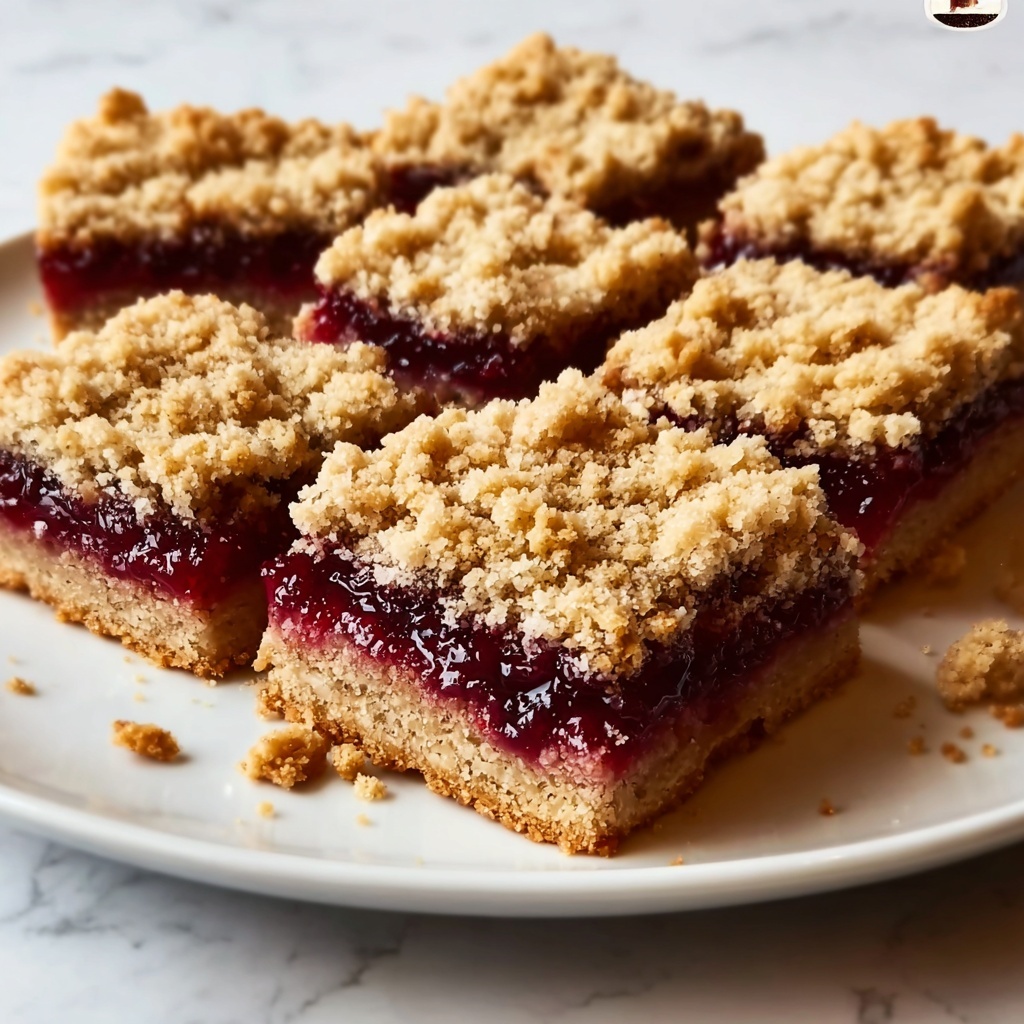
Delight in these delicious Cherry Pie Bars featuring a buttery oat crust, luscious sour cherry filling, and an optional almond glaze. Perfectly balanced with sweet and tart flavors, these bars bake to golden perfection and are easy to slice for sharing.
Ingredients
Crust and Topping
- 1 and 1/2 cups (188g) all-purpose flour
- 1 cup (85g) old-fashioned rolled oats
- 1/2 cup (100g) packed light or dark brown sugar
- 1 teaspoon baking powder
- 1 teaspoon lemon zest
- 1/8 teaspoon salt
- 10 Tablespoons (142g) unsalted butter, melted
- 1 teaspoon pure vanilla extract
- 2 Tablespoons (11g) old-fashioned rolled oats (for topping)
Cherry Filling
- 3 and 1/2 cups (525g) frozen sour cherries (do not thaw)
- 1/2 cup (100g) granulated sugar
- 1 teaspoon fresh lemon juice
- 1 and 1/2 Tablespoons (11g) cornstarch
- 1/4 teaspoon almond extract
Optional Icing
- 1 cup (120g) confectioners’ sugar
- 2 Tablespoons (30ml) milk
- 1/4 teaspoon almond extract
Instructions
- Preheat Oven and Prepare Pan: Preheat your oven to 350°F (177°C) and line a 9-inch square baking pan with parchment paper to prevent sticking and make bar removal easier.
- Mix Dry Ingredients for Crust: In a large bowl, combine the all-purpose flour, 1 cup of rolled oats, brown sugar, baking powder, lemon zest, and salt until well blended.
- Add Wet Ingredients: Pour in the melted unsalted butter and vanilla extract into the dry ingredients. Stir thoroughly until the mixture becomes crumbly yet moist.
- Form and Bake Crust: Press about two-thirds of this crumbly mixture firmly into the bottom of the prepared baking pan. Bake for 10 minutes, then allow to cool slightly to set the crust.
- Prepare Cherry Filling: In a medium saucepan over medium heat, combine frozen sour cherries, granulated sugar, and fresh lemon juice. Cook for 4 to 6 minutes until cherry juices are released and mixture starts bubbling.
- Thicken the Filling: In a small bowl, whisk the cornstarch into some of the hot cherry juice until smooth to avoid lumps. Return this mixture to the saucepan and cook for about 10 minutes, stirring frequently, until thickened. Stir in the almond extract for added flavor.
- Assemble the Bars: Spread the thickened cherry filling evenly over the pre-baked crust in the pan.
- Add Topping: Mix the remaining 2 tablespoons of oats into the leftover crumb mixture. Sprinkle this oat topping evenly over the cherry filling and press lightly to adhere.
- Bake Until Golden: Return the pan to the oven and bake for 40 to 50 minutes, or until the topping is golden brown and the cherry filling is bubbly around the edges.
- Cool Completely: Remove the bars from the oven and let them cool completely in the pan. Place in the refrigerator if you want to speed up the cooling process.
- Make Optional Icing: If desired, mix confectioners’ sugar, milk, and almond extract in a small bowl until smooth. Drizzle this icing over the cooled bars for a sweet finishing touch.
- Serve: Lift the bars out using the parchment paper, slice into 16 squares, and serve.
Notes
- Do not thaw the frozen cherries before cooking to preserve their texture and prevent excess water in the filling.
- The almond extract in both the filling and icing enhances the natural flavors of the cherries, but it can be omitted or substituted with vanilla extract if preferred.
- For firmer bars, refrigerate after cooling before slicing.
- Use parchment paper with overhang to lift bars easily from the pan.
- You can substitute sour cherries with fresh or tart cherries in season, but adjust cooking time as needed.
