
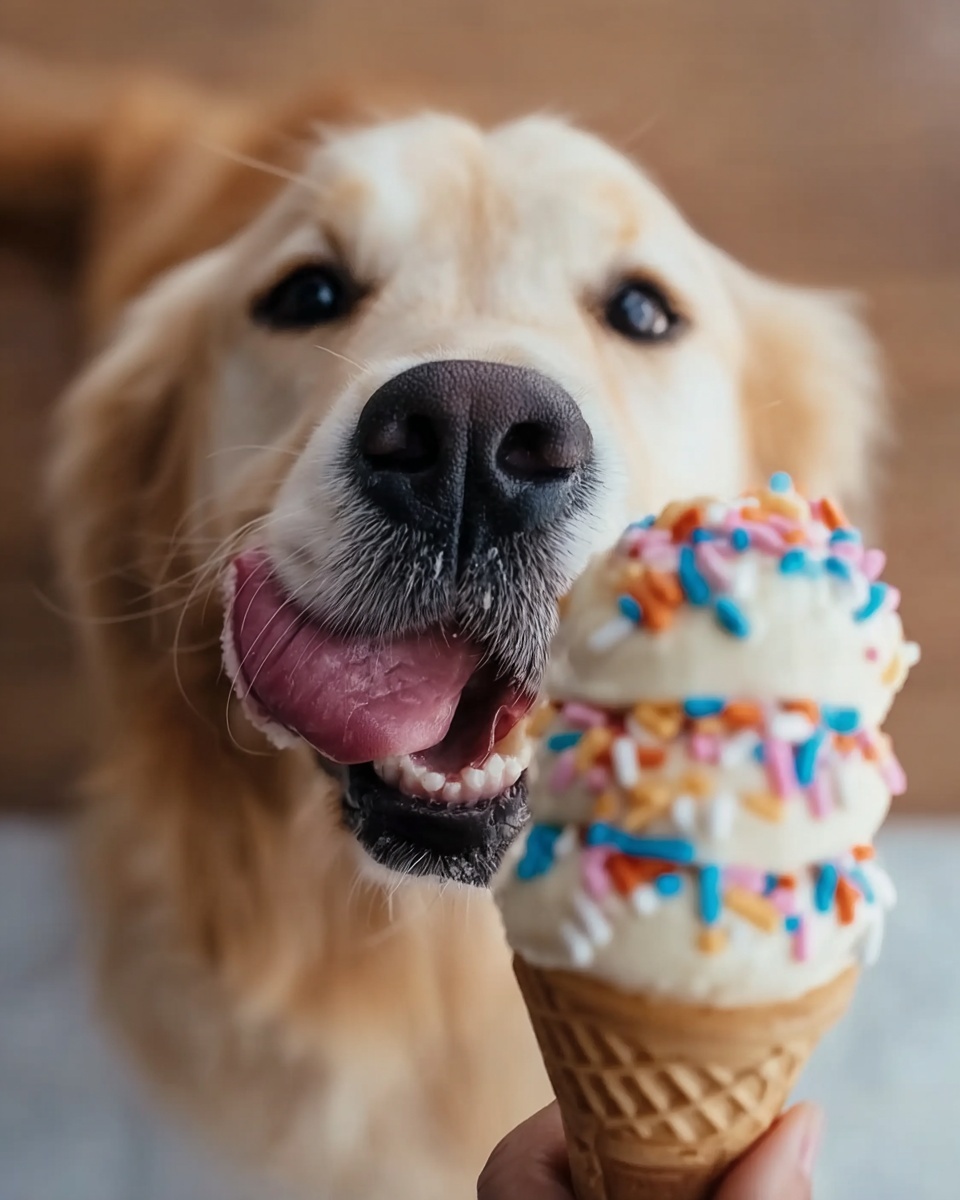
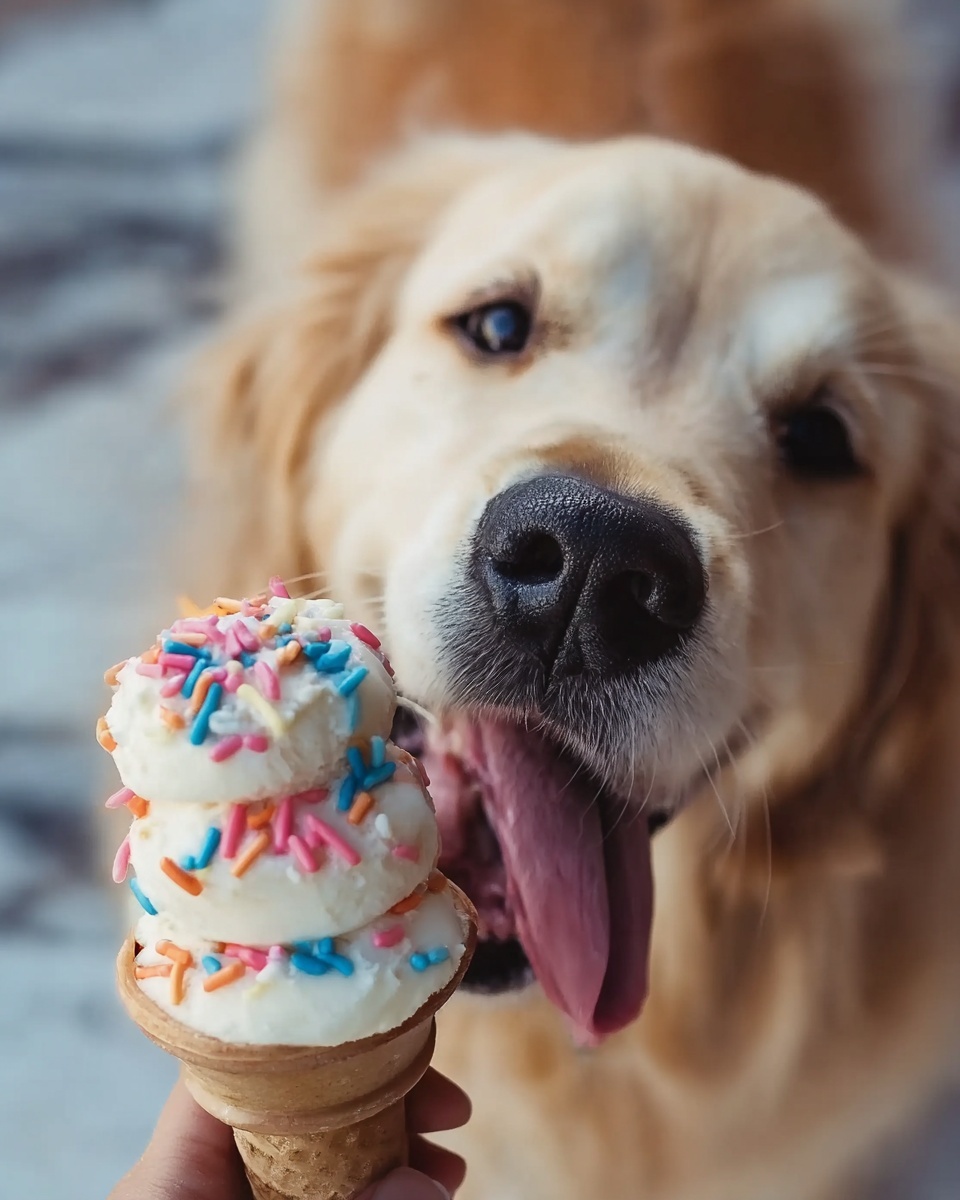
If you’ve ever watched your furry friend eye your ice cream cone with longing, then the DIY Doggy Ice Cream Recipe is about to become your new best secret in the kitchen. This homemade frozen treat is a blissfully simple way to spoil your pup with wholesome, dog-safe ingredients that combine creamy richness from Greek yogurt, natural sweetness from ripe bananas, and that irresistible nutty goodness of peanut butter. It’s a perfect cooler for those sunny days or just a special delight to show your dog some extra love. Plus, it’s so easy to whip up, you’ll wonder why you haven’t made it sooner!
Ingredients You’ll Need
Picking the right ingredients is key, and luckily, this DIY Doggy Ice Cream Recipe uses just a handful of essentials that work wonderfully together. Each ingredient is chosen to deliver creamy texture, delightful flavor, and added nutrition your dog will adore.
- 2 ripe bananas: Naturally sweet and packed with vitamins, contributing smoothness and mild flavor.
- 1 cup plain Greek yogurt (unsweetened): Provides creaminess and protein while being gentle on doggy tummies.
- 1/2 cup natural peanut butter (xylitol-free): Adds that nutty richness every pup goes crazy for—just make sure it’s safe!
- 1/4 cup water or unsweetened coconut milk: Balances the mix for perfect frozen texture without heaviness.
- Optional: 1/4 cup pumpkin puree or finely chopped dog-safe fruit: Offers extra flavor, fiber, and fun bursts of color.
How to Make DIY Doggy Ice Cream Recipe
Step 1: Blend Your Base
Begin by tossing the peeled bananas, creamy Greek yogurt, peanut butter, and your choice of water or coconut milk into a blender or food processor. Blend everything together until the mixture is luxuriously smooth and creamy—this will be the frozen base of your doggy ice cream.
Step 2: Add Optional Flavor Boosts
If you’re feeling adventurous, gently pulse in your optional add-ins such as pumpkin puree or finely chopped blueberries or apples. This step helps mix in extra nutrients and keeps exciting textures in your treats without breaking up the smooth consistency.
Step 3: Portion and Freeze
Pour the blended concoction into silicone molds, ice cube trays, or even small paper cups. The smaller the portions, the easier it will be to serve just the right amount for your pup’s size and appetite. Pop them into the freezer for at least 4 hours, giving them ample time to firm up into delicious frozen bites.
How to Serve DIY Doggy Ice Cream Recipe
Garnishes
A simple garnish can elevate your pup’s treat time. Dusting a tiny pinch of crushed dog biscuits on top or adding a small slice of fresh fruit just before serving adds visual appeal and an extra layer of texture, turning your homemade treat into an irresistible canine dessert.
Side Dishes
This DIY Doggy Ice Cream Recipe can shine as a sweet snack alongside crunchy carrot sticks or a handful of their favorite kibble to balance creaminess with crunch. These side pairings create a fun and interactive treat experience your dog will love.
Creative Ways to Present
Serving the ice cream in themed silicone molds—like bones, paws, or hearts—makes the moment even more special. Alternatively, layering different flavors in a clear cup before freezing creates colorful, enticing stripes that showcase your creativity and spoil your pet delightfully.
Make Ahead and Storage
Storing Leftovers
Once your DIY Doggy Ice Cream Recipe treats have frozen solid, you can store them in an airtight container or freezer bag for up to two months without losing freshness. Keeping them well-sealed prevents freezer burn and preserves the creamy texture dogs adore.
Freezing
Freeze the ice cream portions in individual servings to make treat time quick and mess-free. This method also helps you control your dog’s intake, avoiding accidental overindulgence while ensuring each frozen cube stays perfectly firm until used.
Reheating
Because these treats are best served chilled and refreshing, reheating isn’t necessary and can defeat their purpose. If the bits become too hard out of the freezer, just let them sit at room temperature for 5–10 minutes before serving so they soften slightly and are easier on your dog’s teeth.
FAQs
Is peanut butter safe for dogs?
Yes, but only if it is xylitol-free. Xylitol is a sweetener toxic to dogs, so always check the label before using peanut butter in this DIY Doggy Ice Cream Recipe to keep your pet safe.
Can I use regular yogurt instead of Greek yogurt?
You can, but Greek yogurt is preferred due to its thicker texture and higher protein content. If your dog is sensitive to dairy, consider lactose-free or non-dairy yogurts made from coconut or almond milk.
How often can I give my dog this ice cream treat?
While this DIY Doggy Ice Cream Recipe uses healthy ingredients, moderation is key. Treat your dog once or twice a week depending on their diet and activity level to keep things balanced.
What if my dog is allergic to bananas or peanut butter?
If your dog has allergies, simply omit the offending ingredient and substitute with safe alternatives like pumpkin puree or other dog-safe fruits, adjusting quantities as needed for the right texture.
Can I make this recipe without a blender or food processor?
While a blender or food processor makes the job easier, you can mash ripe bananas and mix the ingredients by hand as long as you stir thoroughly to maintain smoothness for a satisfying ice cream texture.
Final Thoughts
Creating this DIY Doggy Ice Cream Recipe at home is such a rewarding way to pamper your pup with a cool, creamy treat made from wholesome ingredients you trust. It’s not just delicious—the thoughtfulness behind every bite will show your dog just how much you care. Give it a try and watch your furry friend’s tail wag with pure joy!
Print
DIY Doggy Ice Cream Recipe
- Prep Time: 5 minutes
- Cook Time: 0 minutes
- Total Time: 4 hours 5 minutes
- Yield: 12 small servings
- Category: Dog Treats
- Method: No-Cook
- Cuisine: Pet-Friendly
- Diet: Gluten Free
Description
This DIY Doggy Ice Cream is a healthy, easy-to-make frozen treat perfect for your furry friend. Made with natural ingredients like ripe bananas, plain Greek yogurt, and xylitol-free peanut butter, it offers a creamy texture and delicious flavor that dogs love. Optional add-ins like pumpkin puree or dog-safe fruits add extra nutrition and variety. This no-cook recipe requires just blending and freezing, making it a quick way to spoil your pet with a refreshing snack on warm days.
Ingredients
Main Ingredients
- 2 ripe bananas, peeled
- 1 cup plain Greek yogurt (unsweetened)
- 1/2 cup natural peanut butter (xylitol-free)
- 1/4 cup water or unsweetened coconut milk
Optional Add-ins
- 1/4 cup pumpkin puree
- Finely chopped dog-safe fruit like blueberries or apples (about 1/4 cup)
Instructions
- Prepare Ingredients: Peel the bananas and measure out the Greek yogurt, peanut butter, and water or coconut milk. Gather any optional add-ins like pumpkin puree or chopped dog-safe fruit.
- Blend the Base: In a blender or food processor, combine the bananas, Greek yogurt, peanut butter, and water (or coconut milk). Blend until the mixture is smooth and creamy, ensuring all ingredients are fully incorporated.
- Add Optional Mix-Ins: If using pumpkin puree or chopped fruit, pulse them into the blended mixture gently to combine without over-blending, preserving some texture.
- Pour and Freeze: Transfer the mixture into silicone molds, ice cube trays, or small paper cups to portion. Place them in the freezer and allow to freeze for at least 4 hours, or until fully solidified.
- Serve and Store: Serve one frozen treat at a time as a special snack for your dog. Keep any leftovers stored in an airtight container in the freezer for up to 2 months to maintain freshness.
Notes
- Always use xylitol-free peanut butter, as xylitol is highly toxic to dogs.
- You can substitute Greek yogurt with lactose-free or non-dairy alternatives if your dog has dairy sensitivities.
- Adjust serving sizes based on your dog’s size, weight, and dietary needs to avoid overfeeding.
- Ensure fruits used are dog-safe; avoid grapes, raisins, and other toxic produce.
- This treat is intended for occasional use and not as a meal replacement.
