“`html
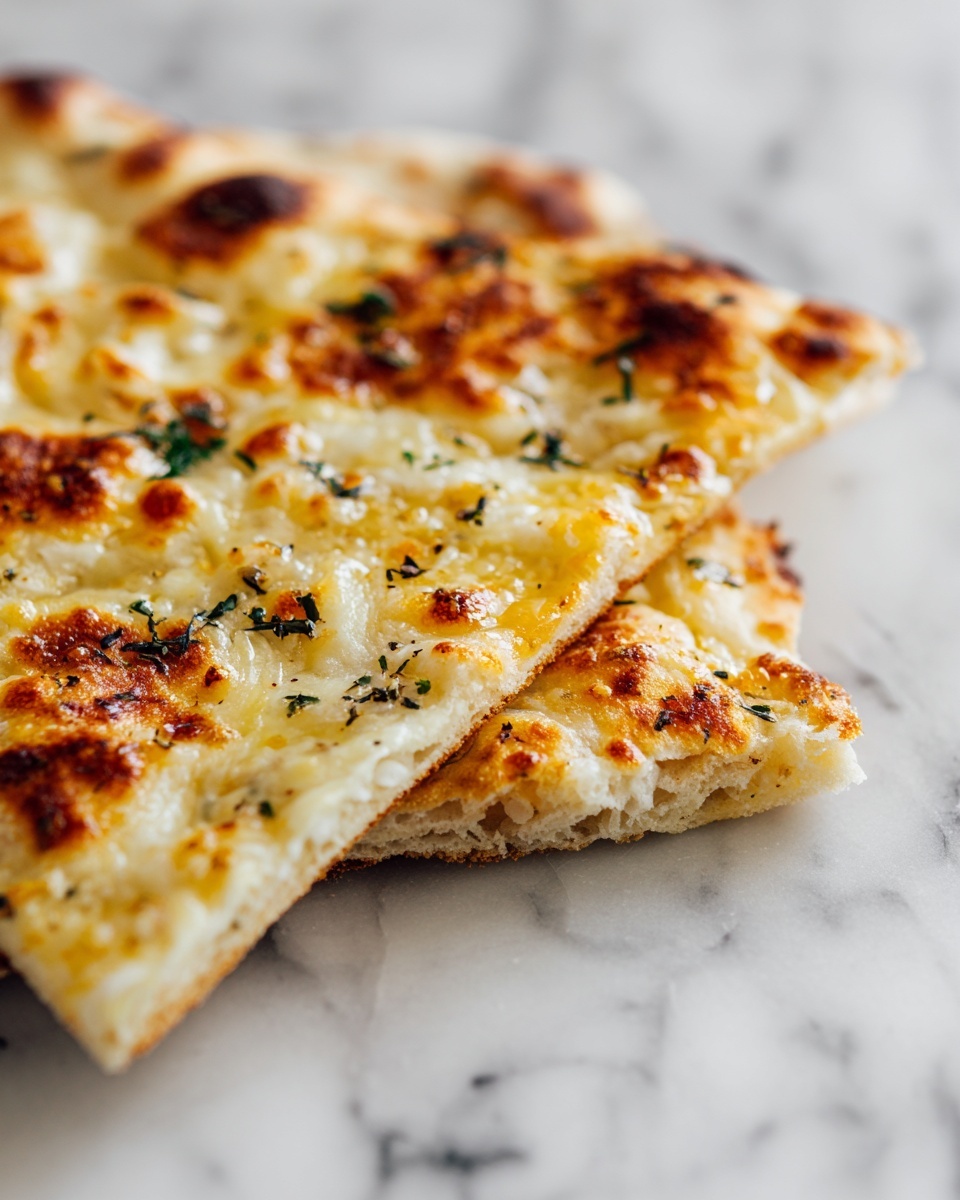
If you’ve ever craved the cozy, melty goodness of pizza but wanted something you can hold in your hands and pop into your mouth one by one, you’re going to absolutely adore this Homemade Easy Cheesy Pizza Pockets Recipe. It’s a simple, delightful twist on classic pizza that packs all your favorite flavors inside a golden, crispy pocket of dough. Perfect for a quick weeknight dinner, lunchbox treat, or party snack, these pockets bring comforting layers of savory sauce, gooey mozzarella, zesty pepperoni, and Italian seasoning all wrapped up in a perfectly baked crust. Trust me, once you try this recipe, homemade won’t just be a choice, it will be your pizza pocket obsession.
Ingredients You’ll Need
Putting together this Homemade Easy Cheesy Pizza Pockets Recipe requires a handful of simple, everyday ingredients, each playing its part to create that perfect balance of flavor, texture, and color you love in a pizza-inspired snack.
- Refrigerated pizza dough (1 can or homemade): The base that turns into a soft, golden pouch with just the right chewiness.
- Pizza sauce (¾ cup): A tangy, savory layer that brings classic Italian flavor right inside the pocket.
- Shredded mozzarella cheese (1½ cups): The melty, creamy hero that makes each bite dreamy and cheesy.
- Mini pepperoni slices or chopped pepperoni (½ cup): Adds that satisfying savory kick and a bit of spice.
- Italian seasoning (1 teaspoon): A fragrant blend of herbs that elevates the whole experience.
- Olive oil (1 tablespoon): For brushing the tops, it gives a beautiful sheen and crispy finish.
- Grated Parmesan cheese (1 tablespoon): Sprinkled on top for an extra burst of umami and a golden crust.
- Optional toppings (chopped bell peppers, mushrooms, or olives): Feel free to mix in your favorites for added color and texture.
How to Make Homemade Easy Cheesy Pizza Pockets Recipe
Step 1: Prepare Your Workspace and Dough
Start by preheating your oven to 400°F (200°C) and lining a baking sheet with parchment paper—this keeps your pockets from sticking and makes cleanup a breeze. Then, roll out the pizza dough on a lightly floured surface. You want it evenly stretched but not too thin, because that dough will puff up and turn beautifully golden while baking.
Step 2: Cut and Fill the Dough
Slice the dough into 6 equal rectangles. I love doing this because each pocket ends up perfectly sized for one delicious serving. Spread a spoonful of pizza sauce right in the center of each rectangle, but be sure to leave a border around the edges—that keeps the sauce from spilling out during baking.
Step 3: Add Cheese and Toppings
Next, pile on shredded mozzarella. Don’t be shy—this cheese is the star! Follow that with pepperoni slices and any optional veggies like bell peppers or mushrooms if you want to sneak in some extra nutrients and flavor. Sprinkle each pocket with a pinch of Italian seasoning for that herby aroma that makes your mouth water.
Step 4: Fold and Seal the Pockets
Carefully fold each rectangle over to cover the fillings, forming a neat pocket. Use a fork to pinch the edges closed—this seals in all the gooey, cheesy goodness and ensures each pocket holds its shape beautifully.
Step 5: Final Touches and Bake
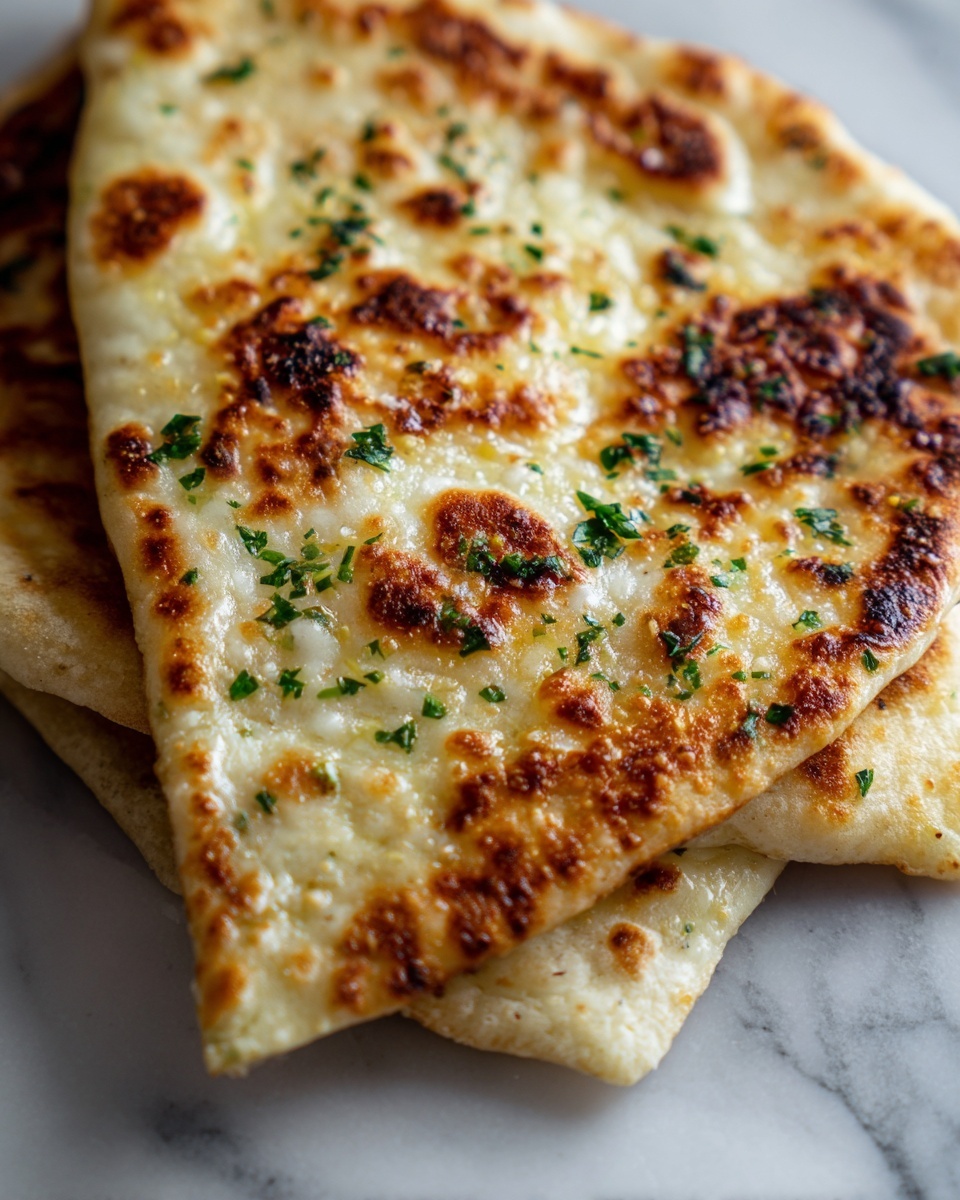
Place the pockets on your prepared baking sheet, brush the tops with olive oil for a gorgeous golden finish, and scatter the grated Parmesan cheese over them. Pop the tray in the oven and bake for 12 to 15 minutes until the pockets are puffed up, golden brown, and bubbling with melted fillings inside. Let them cool just a bit before diving in—because hot cheese deserves a moment to settle!
How to Serve Homemade Easy Cheesy Pizza Pockets Recipe

Garnishes
A simple sprinkle of fresh basil leaves or a dusting of extra Parmesan on top can add a pop of color and hint of freshness to your cheesy pockets. If you like a little heat, a light drizzle of chili oil or a pinch of crushed red pepper flakes is delightful for waking up your taste buds.
Side Dishes
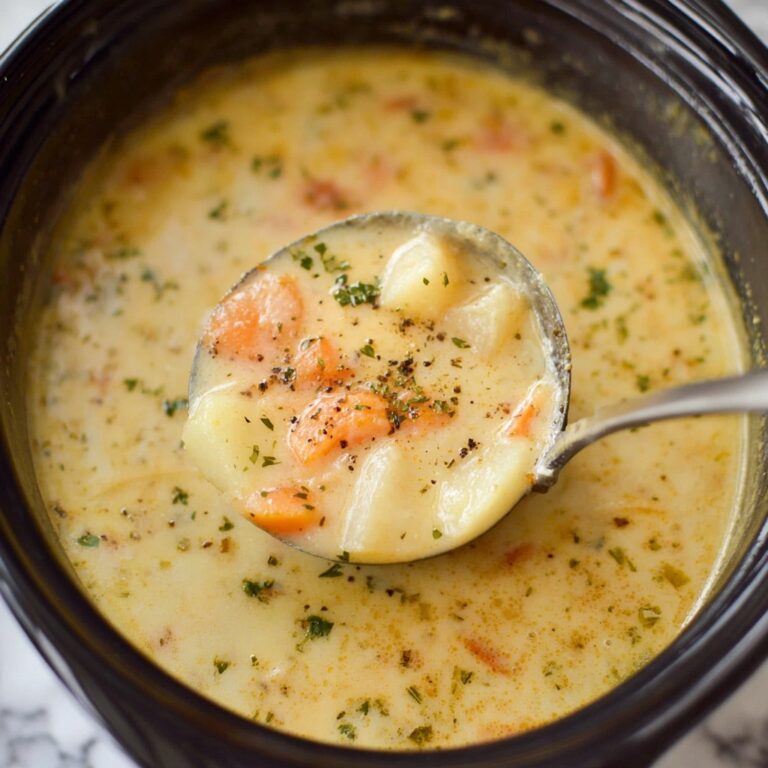
These pizza pockets love company! Pair them with a crisp garden salad tossed in a tangy vinaigrette or a side of crunchy carrot and celery sticks with ranch dip for a fun and balanced meal. A bowl of warm tomato soup makes an especially cozy pairing on chillier days.
Creative Ways to Present
Want to impress family or guests? Arrange the pockets on a rustic wooden board surrounded by bowls of dipping sauces like garlic butter, marinara, or creamy pesto. You can even cut the pockets into smaller bite-sized pieces for appetizer-style serving—perfect for parties or game nights.
Make Ahead and Storage
Storing Leftovers
If you have any leftovers (though that rarely happens!), store them in an airtight container in the refrigerator. They’ll keep well for up to 3 days and make for an easy grab-and-go snack or reheat for a quick meal.
Freezing
One of the best things about the Homemade Easy Cheesy Pizza Pockets Recipe is that you can freeze the pockets before baking. Prepare and seal them on your baking sheet, then freeze until solid. Transfer them to a freezer bag, and they’ll be ready whenever you want a homemade indulgence. Bake directly from frozen at 375°F for 20 to 25 minutes—super convenient and satisfying!
Reheating
To bring your pockets back to life, reheat them in the oven on 350°F for about 10 minutes or until warmed through and crispy once again. Avoid microwaving if you can, as it tends to make the dough a bit soggy instead of delightfully flaky.
FAQs
Can I use homemade pizza dough for this recipe?
Absolutely! Homemade pizza dough works wonderfully and adds a fresh, handcrafted touch. Just roll it out to the same thickness as the store-bought dough for best results.
What if I don’t have pepperoni? Can I substitute it?
Definitely. Feel free to swap pepperoni with cooked sausage, ham, grilled chicken, or go vegetarian with extra veggies like spinach or olives. The beauty of this recipe lies in its flexibility.
Are these pizza pockets kid-friendly?
Yes, they are a huge hit with kids! The handheld size and melty cheese make them perfect for little fingers and picky eaters alike.
Can I make these pockets gluten-free?
Yes, using a gluten-free pizza dough works well. Just be mindful of cook times as gluten-free dough sometimes needs a little extra attention to avoid drying out.
How long do these keep in the fridge?
Store your leftover pizza pockets in an airtight container, and they’ll stay fresh for up to 3 days. Reheat as needed to enjoy their best flavors and textures.
Final Thoughts
I hope you feel inspired to try this Homemade Easy Cheesy Pizza Pockets Recipe because it’s one of those dishes that brings pure joy with every bite. The combination of simple ingredients wrapped in a crispy, cheesy package is a winner every single time. Whether you’re cooking for family or feeding hungry friends, these pockets are bound to become a beloved staple in your kitchen. Grab your favorite toppings, get baking, and share some smiles over something truly delicious!
“`
Print
Homemade Easy Cheesy Pizza Pockets Recipe
- Prep Time: 15 minutes
- Cook Time: 15 minutes
- Total Time: 30 minutes
- Yield: 6 pizza pockets
- Category: Main Course
- Method: Baking
- Cuisine: American
- Diet: Vegetarian
Description
These Homemade Easy Cheesy Pizza Pockets are a delicious and convenient twist on traditional pizza. Made with refrigerated or homemade pizza dough, filled with gooey mozzarella, pepperoni, and your favorite toppings, these pockets bake to a golden, bubbly perfection. Perfect as a kid-friendly dinner or a tasty snack, they can also be prepared ahead and frozen for quick meals anytime.
Ingredients
Dough and Sauce
- 1 can refrigerated pizza dough (or homemade)
- ¾ cup pizza sauce
Filling
- 1½ cups shredded mozzarella cheese
- ½ cup mini pepperoni slices or chopped pepperoni
- Optional: chopped bell peppers, mushrooms, or olives
- 1 teaspoon Italian seasoning
Topping and Finishing
- 1 tablespoon olive oil
- 1 tablespoon grated Parmesan cheese
Instructions
- Preheat Oven: Preheat your oven to 400°F (200°C) and line a baking sheet with parchment paper to prevent sticking and facilitate easy cleanup.
- Prepare the Dough: Roll out the pizza dough on a lightly floured surface and cut it into 6 equal rectangles, ensuring each is large enough to hold the filling comfortably.
- Assemble Pockets: Spread a spoonful of pizza sauce in the center of each rectangle, leaving borders around the edges. Top with shredded mozzarella cheese, pepperoni slices, and any optional vegetables like bell peppers, mushrooms, or olives. Sprinkle with Italian seasoning for added flavor.
- Seal the Pockets: Fold the dough over the filling to form a pocket and firmly pinch the edges using a fork to seal, preventing any filling from leaking during baking.
- Prepare for Baking: Place the sealed pizza pockets on the prepared baking sheet. Brush the tops with olive oil to promote browning and sprinkle with grated Parmesan cheese for an extra cheesy crust.
- Bake: Bake in the preheated oven for 12 to 15 minutes or until the pockets are golden brown and the cheese inside is bubbly, indicating they’re fully cooked.
- Cool and Serve: Remove from the oven and allow the pizza pockets to cool slightly before serving to avoid burns and to let the filling set.
Notes
- These pizza pockets can be made ahead of time and frozen before baking. When ready to use, bake directly from frozen at 375°F for 20–25 minutes.
- Feel free to swap in your favorite fillings such as cooked sausage, spinach, or various cheeses to customize to your taste.
- Ensure the edges are well sealed to prevent any filling from leaking out during baking.


