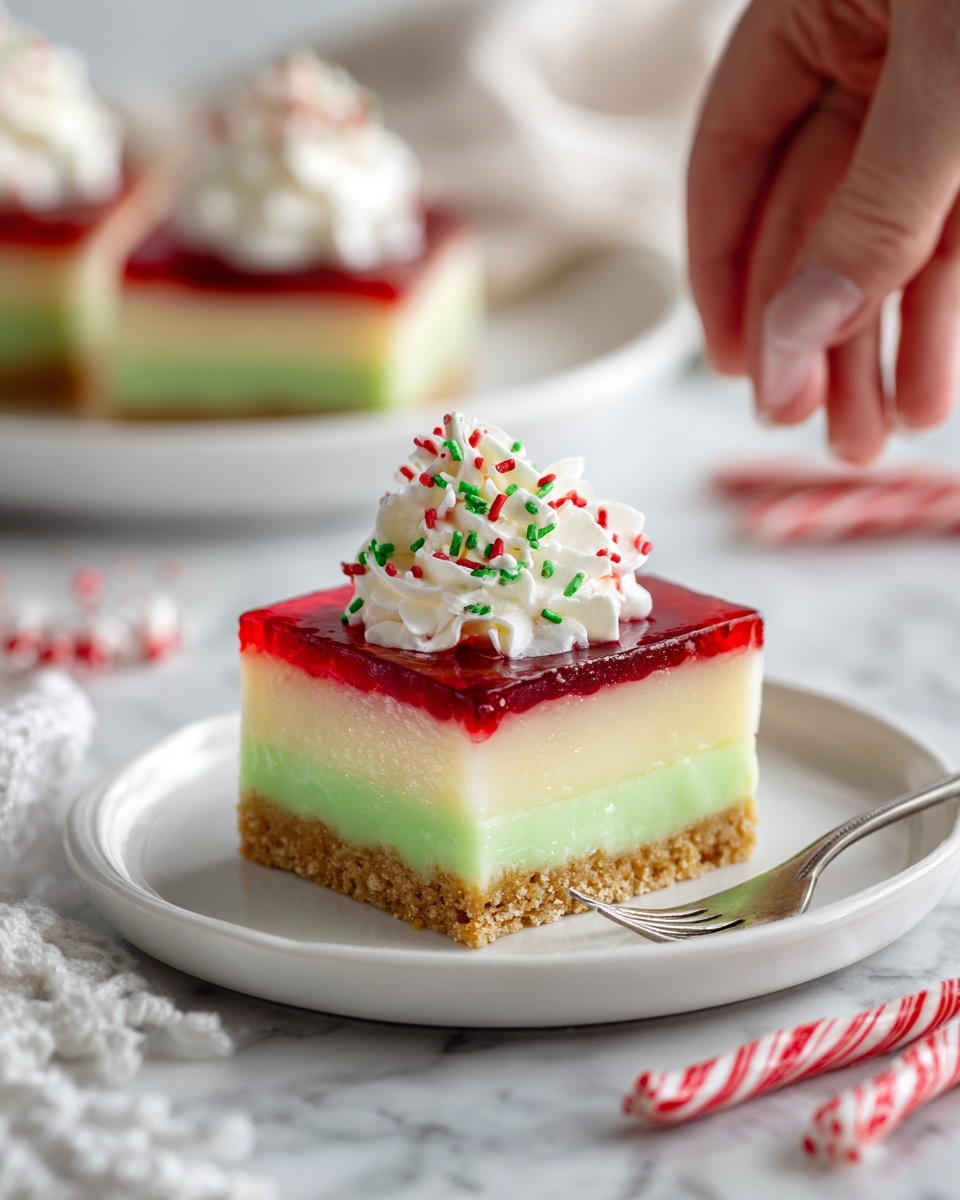
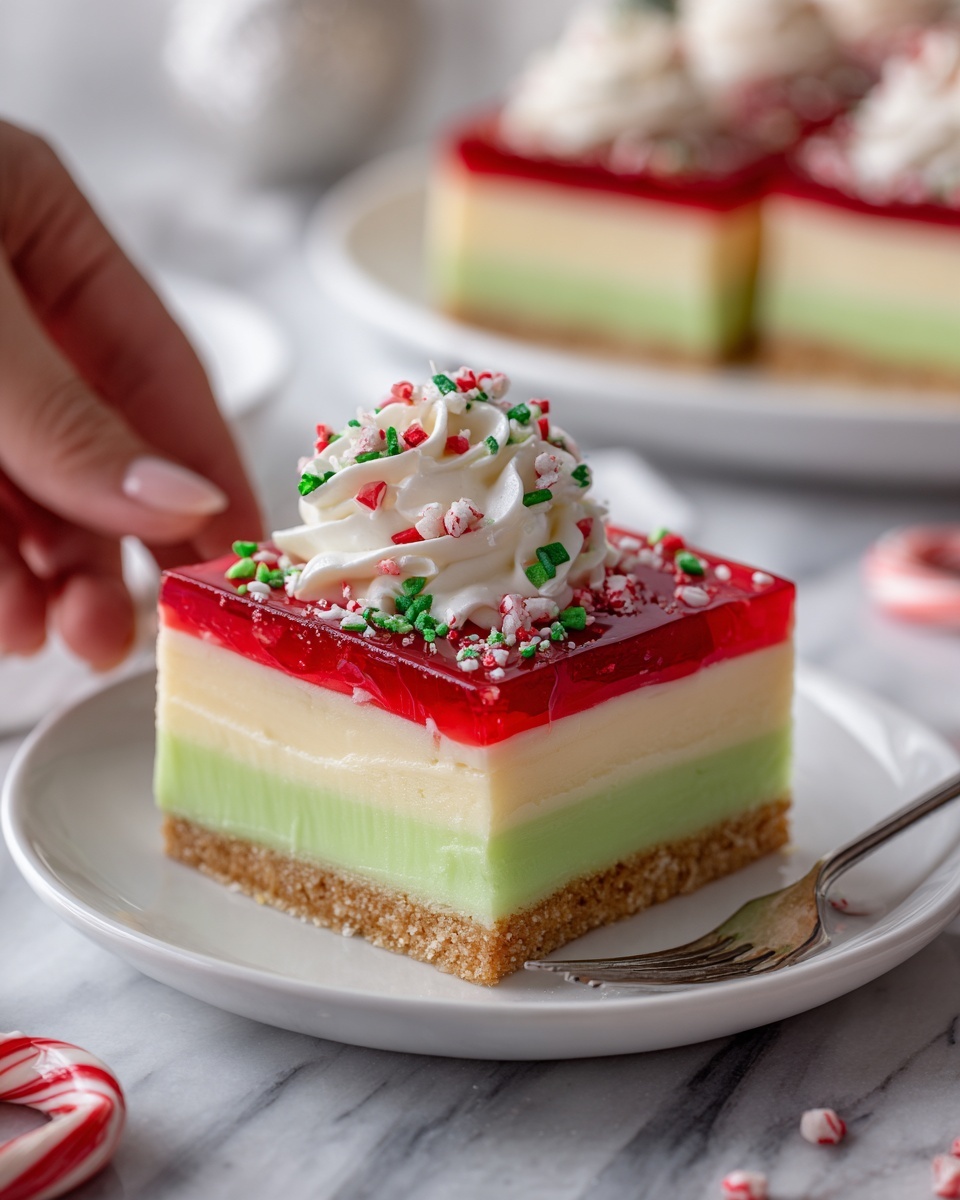
If you’re looking to add a burst of festive fun and nostalgic flavor to your holiday dessert table, this Holiday-Inspired Poke Cake Recipe is an absolute must-try. This delightful cake combines the light fluffiness of a simple white or yellow cake with vibrant red and green vanilla pudding that seeps into every nook created by carefully poked holes. Topped with a cloud of whipped topping and festive sprinkles or crushed peppermint candy, it’s like unwrapping a sweet gift with every bite. This recipe brings holiday cheer in every slice, and it’s far easier to make than you might think!
Ingredients You’ll Need
The beauty of this Holiday-Inspired Poke Cake Recipe lies in its straightforward, accessible ingredients that work together to create a whimsical and delicious dessert. Each component adds something special—whether it’s the fluffy cake base, the creamy pudding filling, or the decorative toppings that give it that perfect holiday sparkle.
- 1 box white or yellow cake mix: provides a soft, tender base that’s easy and quick to prepare.
- Ingredients listed on the cake mix box: usually eggs, oil, and water for a perfectly moist cake.
- 1 (3.4-ounce) box instant vanilla pudding mix: adds luscious creaminess and flavor that pairs perfectly with the cake.
- 2 cups cold milk: essential for making the pudding silky and smooth.
- Red and green food coloring: inject vibrant holiday colors to create visual excitement.
- 1 (8-ounce) tub whipped topping (thawed): light and airy topping that cuts through sweetness.
- Festive sprinkles or crushed peppermint candy: adds a delightful crunch and holiday flair on top.
How to Make Holiday-Inspired Poke Cake Recipe
Step 1: Bake the Cake
Start with the base—the cake! Preheat your oven according to the instructions on the cake mix box. Prepare the batter using the mix and the required ingredients, then pour it into a greased 9×13-inch pan. Bake it as directed until it’s golden brown and a toothpick comes out clean. After baking, let the cake rest for about 10 minutes to cool slightly but stay warm enough for the next step.
Step 2: Poke the Cake
Use the handle of a wooden spoon or a straw to poke holes all over the surface of the warm cake. Don’t be shy—these holes will be where the magic happens, allowing the colorful pudding to sink in and create delicious pockets of flavor and moisture throughout the cake.
Step 3: Prepare the Colored Pudding
Whisk together the instant vanilla pudding mix and cold milk for about 2 minutes until it thickens slightly. Divide the pudding evenly into two separate bowls. Use red food coloring to tint one bowl and green food coloring for the other, stirring well until the colors are vivid and uniform.
Step 4: Fill the Holes with Pudding
Alternately spoon the red and green pudding into the holes of the cake. Gently spread the pudding to make sure it seeps down to the bottom of each hole and fills every crevice. This step creates the colorful surprise that makes this cake truly festive and fun.
Step 5: Chill the Cake
Pop your pudding-filled cake into the refrigerator for at least 1 hour to let the pudding set and the flavors meld. This chilling time is important for that perfect texture contrast between airy cake and creamy pudding pockets.
Step 6: Add the Whipped Topping and Decorations
Once chilled, spread the thawed whipped topping evenly over the cake’s surface. This adds a smooth, creamy finish that balances the dessert’s sweetness. Now for the best part—sprinkle festive sprinkles or crushed peppermint candy on top to add color, texture, and a delightful holiday crunch.
How to Serve Holiday-Inspired Poke Cake Recipe

Garnishes
For an extra special touch, garnish your poke cake with fresh cranberries, chopped nuts, or edible gold glitter. These additions can elevate the look while keeping with the holiday spirit. Peppermint candy pieces also add a refreshing bite that complements the creamy vanilla pudding perfectly.
Side Dishes
This festive dessert pairs beautifully with a scoop of vanilla bean ice cream or a dollop of homemade whipped cream. For a heartier holiday meal, serve alongside warm mulled cider or a cup of rich hot chocolate to round out the flavors.
Creative Ways to Present
Try serving this poke cake in individual clear cups to showcase the colorful pudding pockets layered within the cake. You can also cut it into festive shapes using cookie cutters, turning it into bite-sized holiday treats perfect for parties and gatherings.
Make Ahead and Storage
Storing Leftovers
Store any leftovers covered tightly with plastic wrap or in an airtight container in the refrigerator for up to 3 days. The pudding will keep the cake moist and delicious, but it’s best enjoyed within a few days to preserve texture and freshness.
Freezing
If you want to save some for later, you can freeze the poke cake before adding the whipped topping. Wrap it well in plastic wrap and aluminum foil, then freeze for up to 2 months. When ready, thaw in the refrigerator overnight before adding toppings and serving.
Reheating
This cake is best served cold or at room temperature, so reheating isn’t recommended as it might affect the pudding’s texture. Let it sit out for 10–15 minutes if it’s been refrigerated to soften slightly before slicing.
FAQs
Can I use homemade cake instead of a box mix?
Absolutely! A homemade vanilla or yellow cake worked out perfectly here too. Just make sure it’s baked in a 9×13-inch pan and cooled slightly before poking holes.
What if I don’t have red and green food coloring?
No worries! You can use any other festive colors you like, or leave the pudding plain for a classic look. The vibrant colors add fun, but the flavor is delicious regardless.
Can I add peppermint extract to this poke cake?
Yes! Adding about 1/2 teaspoon of peppermint extract to the pudding mixture is a fantastic way to ramp up the holiday spirit with a refreshing twist.
Is this recipe suitable for vegetarians?
Yes, this dessert is vegetarian-friendly. Just make sure to check that your whipped topping and pudding mix don’t contain any gelatin or animal-derived ingredients if that’s a concern.
How do I cut and serve this poke cake neatly?
Using a sharp knife dipped in warm water before slicing helps create clean cuts without dragging the pudding out. Wipe the knife between cuts for best results.
Final Thoughts
I truly hope you’ll give this Holiday-Inspired Poke Cake Recipe a spot on your holiday menu because it’s a festive crowd-pleaser that’s as fun to make as it is to eat. It effortlessly brings together vibrant colors, creamy textures, and sweet holiday vibes that will light up any gathering. Once you try it, I bet this poke cake will become your new holiday tradition—perfect for sharing smiles and creating joyful memories!
Print
Holiday-Inspired Poke Cake Recipe
- Prep Time: 15 minutes
- Cook Time: 30 minutes
- Total Time: 1 hour 45 minutes
- Yield: 12 servings
- Category: Dessert
- Method: Baking
- Cuisine: American
- Diet: Vegetarian
Description
This Holiday-Inspired Poke Cake is a festive and delicious dessert perfect for Christmas celebrations. Featuring a moist white or yellow cake base filled with vibrant red and green vanilla pudding that seeps into every bite, then topped with fluffy whipped topping and sprinkled with festive candies, this cake combines classic flavors with eye-catching colors to impress your guests.
Ingredients
Cake:
- 1 box white or yellow cake mix (plus ingredients listed on the box)
Pudding:
- 1 (3.4-ounce) box instant vanilla pudding mix
- 2 cups cold milk
- Red and green food coloring
Topping:
- 1 (8-ounce) tub whipped topping (thawed)
- Festive sprinkles or crushed peppermint candy for topping
Instructions
- Prepare Cake Batter: Preheat the oven according to the cake mix instructions. Prepare the cake batter by combining the cake mix with the required ingredients listed on the box. Pour the batter into a greased 9×13-inch baking pan.
- Bake the Cake: Bake the cake as directed on the box instructions, usually between 25 to 35 minutes, until a toothpick inserted comes out clean. Remove from the oven and let cool for 10 minutes.
- Poke Holes: Using the handle of a wooden spoon or a straw, poke holes evenly all over the warm cake to create pockets for the pudding to seep into.
- Prepare Pudding: In a medium bowl, whisk together the instant vanilla pudding mix and 2 cups of cold milk for about 2 minutes until thickened. Divide the pudding evenly into two bowls and tint one with red food coloring and the other with green food coloring.
- Fill the Holes with Pudding: Spoon the red and green colored pudding alternately into the holes on top of the cake. Gently spread so the pudding seeps into the holes throughout the cake.
- Chill the Cake: Refrigerate the pudding-filled cake for at least 1 hour to allow the pudding to set and infuse flavor into the cake.
- Add Topping and Decorate: Once chilled, spread the thawed whipped topping evenly over the cake surface. Decorate the cake with festive sprinkles, crushed peppermint candies, or colored sugar for a holiday touch before serving.
Notes
- For a peppermint twist, add 1/2 teaspoon peppermint extract to the pudding mixture before dividing and coloring.
- You can substitute chocolate cake mix and chocolate pudding for a rich chocolate variation that complements the festive theme.


