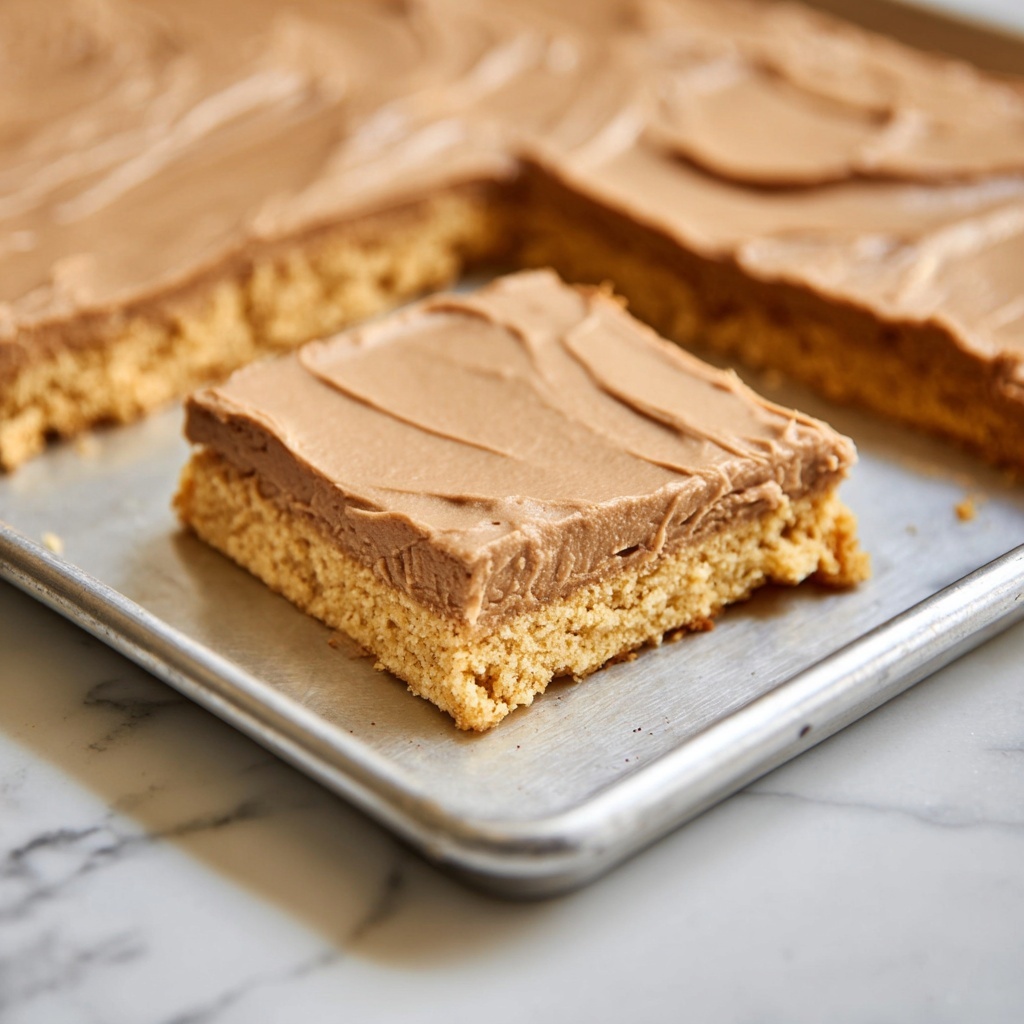
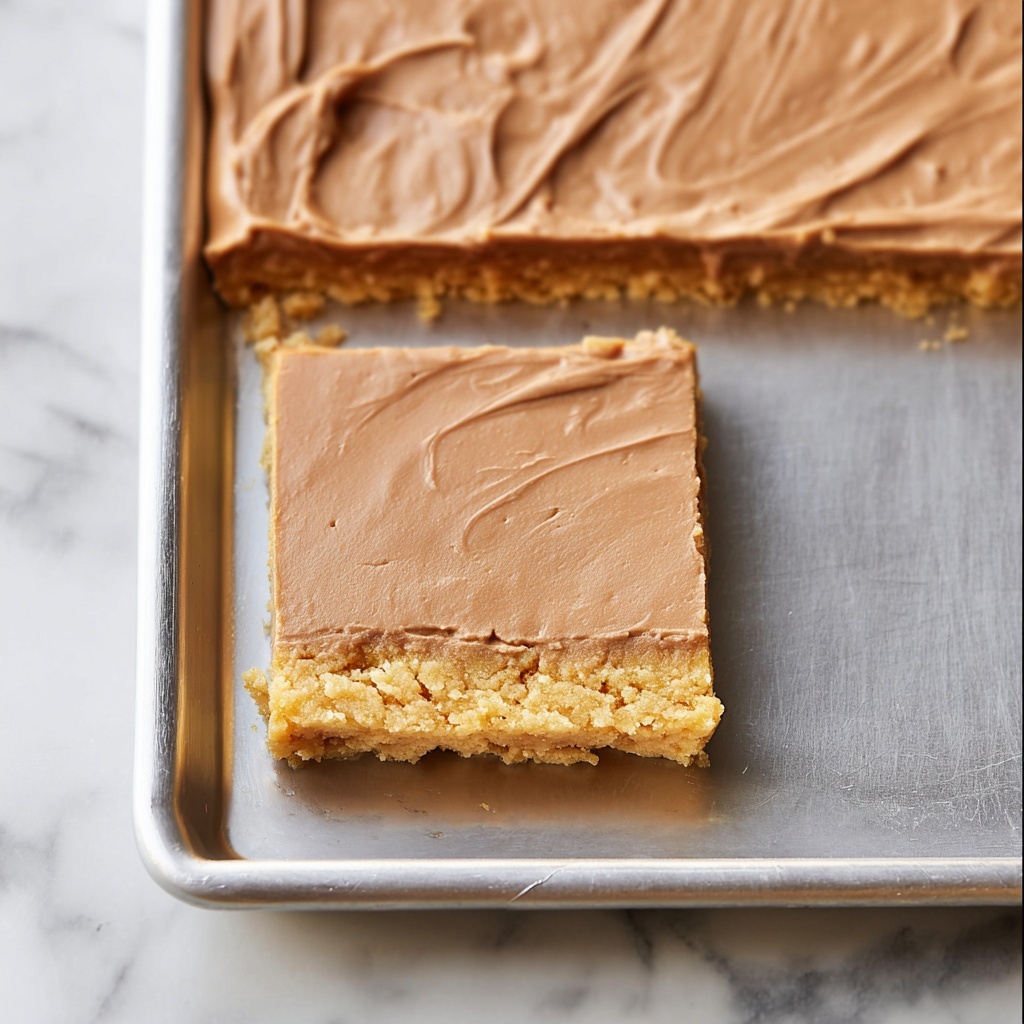
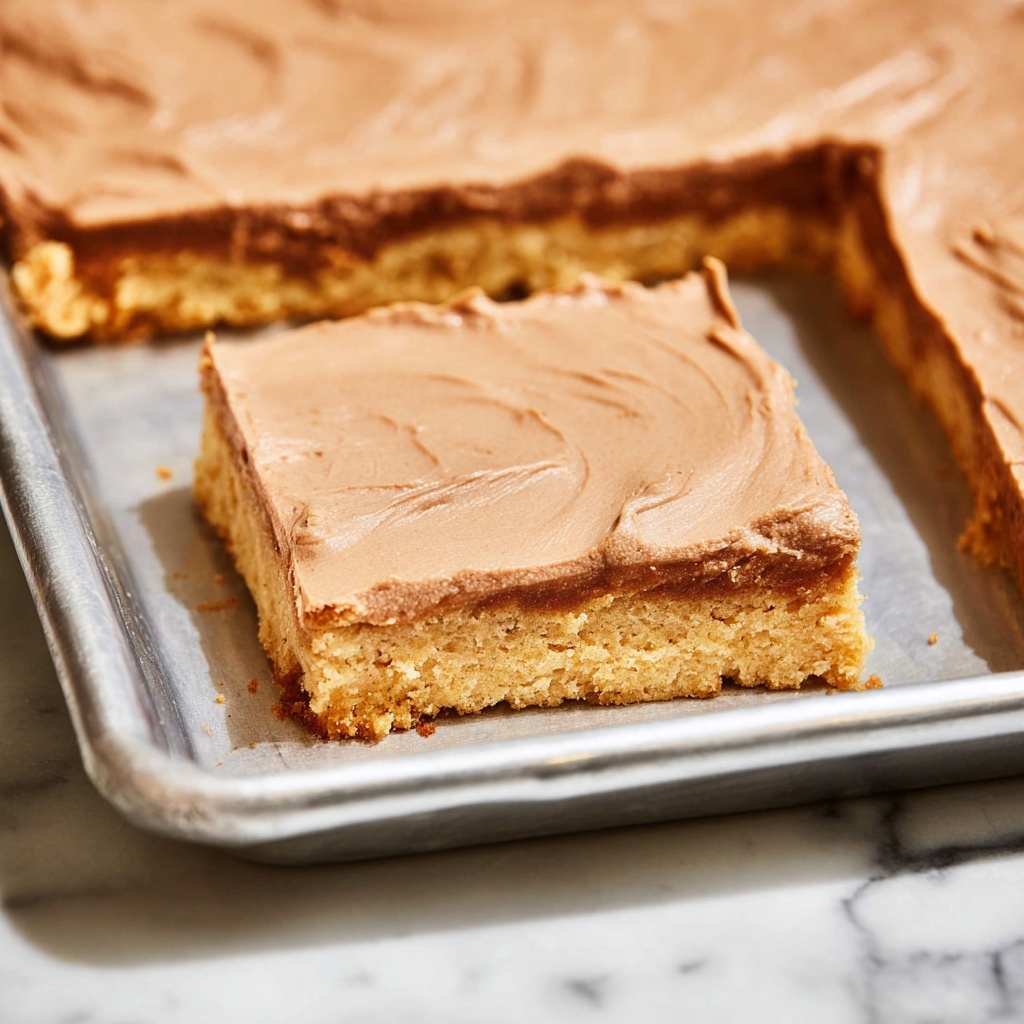
If you’ve ever found yourself craving a nostalgic, peanut buttery treat that’s both chewy and topped with the perfect chocolate frosting, then you’re going to adore this Lunch Lady Peanut Butter Bars Recipe. These bars are comfort food at its best, blending the rich creaminess of peanut butter with hearty oats and a luscious cocoa frosting that feels like a big, warm hug. Whether you’re packing snacks for the kids, looking for a crowd-pleasing dessert, or simply want to indulge in a sweet treat, this recipe hits all the right notes every time.
Ingredients You’ll Need
Gathering your ingredients for this recipe is delightfully straightforward because each one plays a vital role. From the creamy peanut butter that delivers that signature flavor, to the oats bringing heartiness and texture, every component works beautifully together to create those perfect bars.
- 1 cup salted butter (softened): Adds richness and helps achieve a tender, moist bar texture.
- 1 cup granulated sugar: Provides sweetness and a bit of crunch when baked.
- 1 cup brown sugar: Enhances moisture and gives a slight caramel undertone.
- 1 cup creamy peanut butter: The star of the show, giving these bars their unmistakable peanut butter flavor.
- 2 large eggs: Bind ingredients together and add structure.
- 1 ½ teaspoons vanilla extract: Lifts the flavors with a warm, inviting aroma.
- 2 cups all-purpose flour: Forms the base for the bars and balances the chewy oats.
- 2 cups old-fashioned oats: Offer a hearty, chewy texture and a wholesome feel.
- 1 teaspoon baking powder: Provides a slight lift so the bars aren’t too dense.
- ½ teaspoon salt: Enhances all the flavors while balancing the sweetness.
- Frosting Ingredients:
- ½ cup salted butter (softened)
- 3 tablespoons unsweetened cocoa powder
- 3 cups powdered sugar
- 1 teaspoon vanilla extract
- 4 to 5 tablespoons milk
How to Make Lunch Lady Peanut Butter Bars Recipe
Step 1: Preheat and Prepare Your Pan
Before diving into mixing, preheat your oven to 350 degrees Fahrenheit and spray a large (17 x 12 x 1 inch) baking sheet with non-stick spray. This step ensures your bars won’t stick and bake evenly, setting the stage for a smooth baking experience.
Step 2: Cream Butter and Sugars
In a large bowl, beat the softened butter along with the granulated and brown sugars using an electric hand-mixer. This creaming process makes the mixture light, fluffy, and perfectly combined, which directly impacts the final texture of your bars—think tender and moist with a bit of chewiness.
Step 3: Add Peanut Butter, Eggs, and Vanilla
Next, add in the creamy peanut butter, eggs, and vanilla extract. Mixing these thoroughly ensures the distinct peanut butter flavor is evenly distributed throughout the batter while the eggs and vanilla amp up the richness and aroma.
Step 4: Combine Dry Ingredients and Fold In
Slowly add the all-purpose flour, oats, baking powder, and salt to the wet mixture, mixing until everything is well combined. Since the dough is naturally sticky, patience is key here. Pro tip: Spray the back of a spoon with cooking spray to gently spread the dough evenly onto your prepared baking sheet without any hassle.
Step 5: Bake to Golden Perfection
Bake your bars for 16 to 18 minutes, or until they turn a beautiful golden brown. Every oven runs a little differently, so aiming for that golden hue is your best indicator. Once out of the oven, let them cool completely before frosting.
Step 6: Make and Spread the Frosting
While your bars cool, mix the softened butter, cocoa powder, powdered sugar, vanilla extract, and milk until smooth and creamy. Spread this rich chocolate frosting generously and evenly across the top. Then cut into squares, and get ready for pure bliss in every bite.
How to Serve Lunch Lady Peanut Butter Bars Recipe
Garnishes
Though the bars shine on their own, a sprinkle of chopped roasted peanuts or a light dusting of cocoa powder on top of the frosting can add a lovely crunch and an extra layer of flavor. Fresh berries on the side can also bring a bright contrast that pairs beautifully with the rich sweetness.
Side Dishes
Serve these bars alongside a tall glass of cold milk or a warm cup of coffee or tea for a perfectly balanced snack or dessert. They also complement a fresh fruit salad wonderfully, bringing a bit of indulgence to your afternoon spread.
Creative Ways to Present
For gatherings or gift-giving, cut the bars into bite-sized squares and place them in decorative cupcake liners. Layer them in a pretty tin with parchment paper for a handmade treat that’s sure to impress friends and family.
Make Ahead and Storage
Storing Leftovers
Keep your peanut butter bars fresh by storing them in an airtight container at room temperature for up to 4 days. If it’s warm or humid, refrigeration helps prevent the frosting from melting, extending their shelf life to about a week.
Freezing
These bars freeze beautifully. Wrap individual bars tightly in plastic wrap and place them in a freezer-safe container or bag. When you want a treat, simply thaw at room temperature or in the fridge for a few hours. They maintain their texture and flavor wonderfully.
Reheating
If you prefer a warm bar, pop one in the microwave for about 10-15 seconds. The frosting will soften and the bar will be delightfully gooey. Just be careful not to overheat, as peanut butter can get oily when too warm.
FAQs
Can I use natural peanut butter for the bars?
Yes! Natural peanut butter can work, but it may make the dough slightly less creamy and a bit more crumbly. Stir well before measuring to keep the consistency even.
Is it possible to make these bars gluten-free?
Absolutely! Substitute the all-purpose flour with a gluten-free all-purpose blend, making sure it contains xanthan gum for binding. Use certified gluten-free oats for the best results.
Can I skip the frosting or use a different one?
While the frosting adds that classic finishing touch, you can skip it or swap it out with a simple peanut butter glaze or cream cheese frosting for a new flavor twist.
How long do these bars last once frosted?
Once frosted, they’re best enjoyed within 3 to 4 days when stored properly. The frosting may start to dry out after that, so keep them covered and stored in the fridge if possible.
Can I double this recipe for a bigger batch?
Definitely! Just double all the ingredients and use a larger baking pan or bake in two batches. Baking time may vary slightly, so keep an eye on them to avoid overbaking.
Final Thoughts
This Lunch Lady Peanut Butter Bars Recipe truly brings back those cherished flavors with a homemade touch that’s hard to beat. Whether you’re sharing with loved ones or treating yourself, these bars are guaranteed to become a go-to favorite. So grab your ingredients and give it a try—once you taste these, they’ll have a permanent spot in your recipe collection.
Print
Lunch Lady Peanut Butter Bars Recipe
- Prep Time: 15 minutes
- Cook Time: 18 minutes
- Total Time: 41 minutes
- Yield: 24 servings
- Category: Dessert
- Method: Baking
- Cuisine: American
Description
Deliciously chewy Lunch Lady Peanut Butter Bars with a rich chocolate frosting topping. These bars combine creamy peanut butter, oats, and a buttery cookie base, making them a perfect sweet treat or snack for any time of the day.
Ingredients
Bars
- 1 cup salted butter, softened
- 1 cup granulated sugar
- 1 cup brown sugar
- 1 cup creamy peanut butter
- 2 large eggs
- 1 ½ teaspoons vanilla extract
- 2 cups all-purpose flour
- 2 cups old-fashioned oats
- 1 teaspoon baking powder
- ½ teaspoon salt
Frosting
- ½ cup salted butter, softened
- 3 tablespoons unsweetened cocoa powder
- 3 cups powdered sugar
- 1 teaspoon vanilla extract
- 4 to 5 tablespoons milk
Instructions
- Preheat and Prepare Pan: Preheat the oven to 350°F (175°C). Spray a large 17 x 12 x 1 inch baking sheet with non-stick spray and set aside.
- Mix Wet Ingredients: In a large bowl, beat the softened butter, granulated sugar, and brown sugar together with an electric hand mixer until the mixture is creamy and well combined. Then add the creamy peanut butter, eggs, and vanilla extract. Mix thoroughly until smooth.
- Add Dry Ingredients: Slowly add in the all-purpose flour, old-fashioned oats, baking powder, and salt. Mix until all ingredients are well incorporated and form a sticky dough.
- Spread and Bake: Spread the sticky dough evenly onto the prepared baking sheet. To make spreading easier, spray the back of a spoon with cooking spray and use it to gently smooth out the dough into an even layer. Bake in the preheated oven for 16 to 18 minutes until the bars turn golden brown. Remove from oven and let cool completely.
- Prepare Frosting: In a bowl, mix together the softened butter, unsweetened cocoa powder, powdered sugar, vanilla extract, and 4 to 5 tablespoons of milk until smooth and creamy. Adjust the milk slightly to reach desired consistency.
- Frost and Serve: Spread the chocolate frosting evenly over the cooled peanut butter bars. Cut into 24 squares. Serve and enjoy!
Notes
- Use a spoon sprayed with cooking spray to easily spread the sticky dough.
- Make sure bars are completely cooled before frosting to prevent melting.
- Store bars in an airtight container to keep them fresh for up to 3-4 days.
- Can be frozen for longer storage; thaw before frosting.


