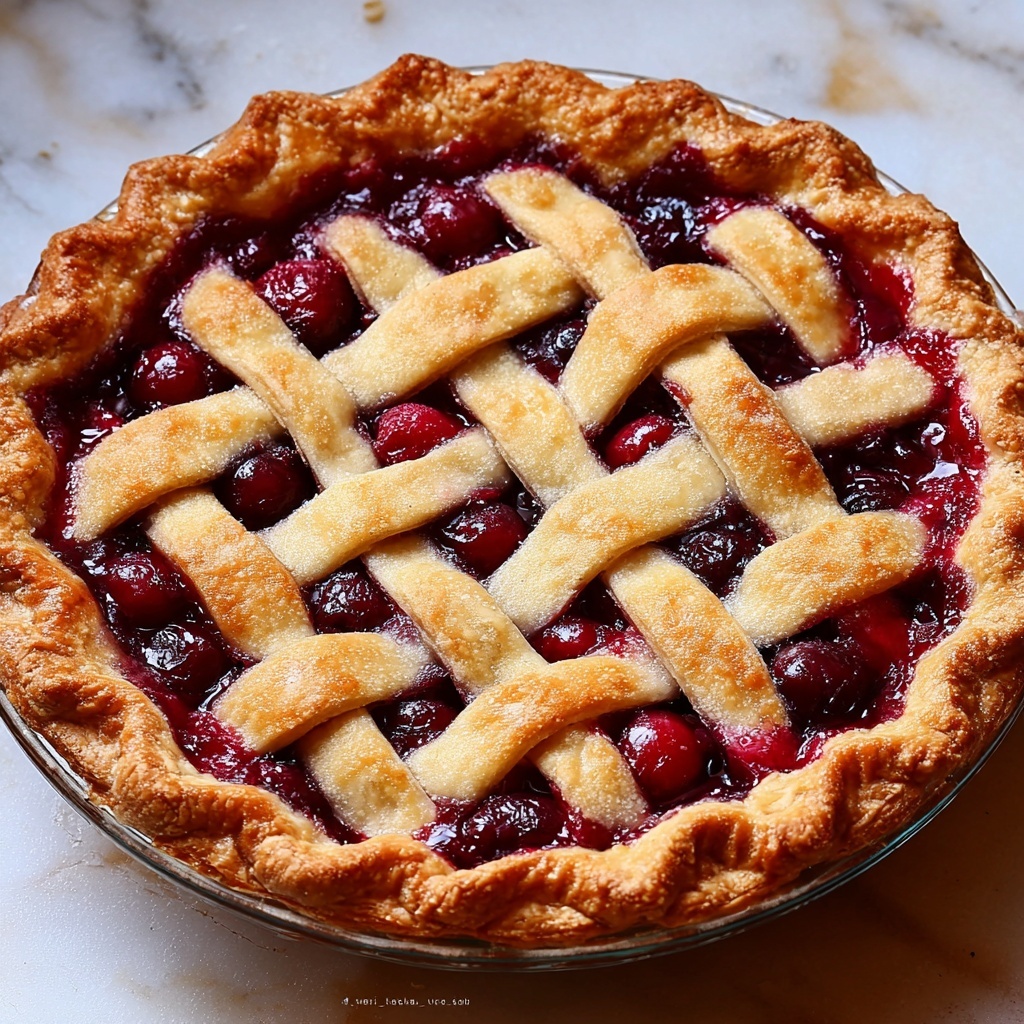
There is something truly magical about a homemade pie, and this Cherry Pie with Lattice Crust Recipe captures that nostalgic magic perfectly. Juicy, fresh cherries bursting with natural sweetness nestle beneath a beautifully golden, flaky lattice crust that invites everyone to take a second slice. Whether you’re a seasoned baker or trying pie-making for the first time, this recipe brings together simple, wholesome ingredients to create a dessert that feels both special and comforting. The lattice crust not only adds an appealing, intricate look but also lets the cherry filling peek through, promising that delightful balance of tart and sweet inside every bite.
Ingredients You’ll Need
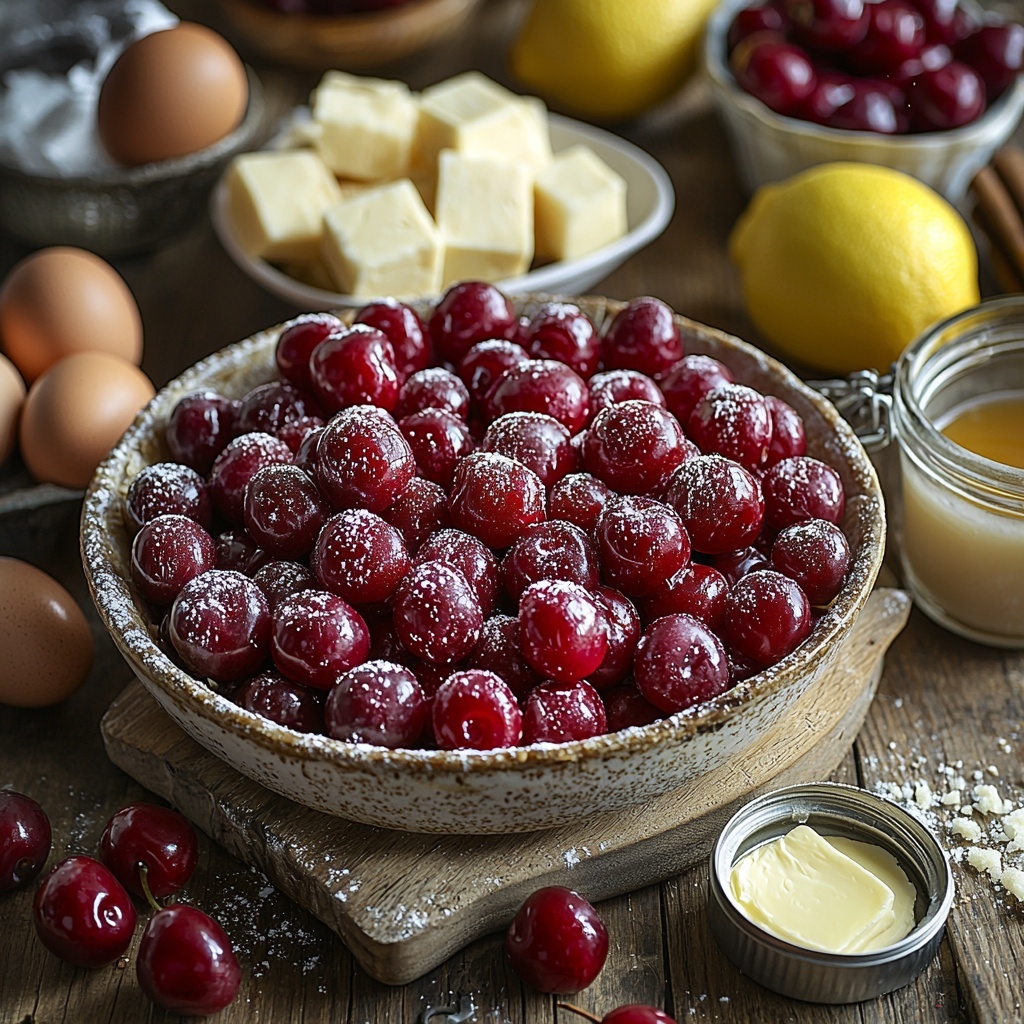
Gathering the right ingredients is key to crafting a show-stopping cherry pie. Each component works together to build the perfect texture, balance of flavors, and gorgeous color that will make your pie the highlight of any meal.
- 4 cups fresh pitted cherries: The star of the pie, providing vibrant color and juicy, tart flavor.
- 1 cup sugar: Adds the perfect amount of sweetness to complement the cherries.
- 2 tablespoons all-purpose flour: Helps thicken the cherry filling so it isn’t runny.
- 1 tablespoon lemon juice: Brightens the flavor and enhances the cherry’s natural tartness.
- 1/2 cup unsalted butter, chilled: Adds richness and a tender texture to the crust as it bakes.
- 2 pie crusts (homemade or store-bought): The flaky base and lattice top that holds everything together beautifully.
- 1 egg + 1 tablespoon water: Whisked together into an egg wash to give the crust that irresistible golden shine.
How to Make Cherry Pie with Lattice Crust Recipe
Step 1: Prepare the Oven and Filling
Start by preheating your oven to 425°F (220°C). While it warms, mix your cherries, sugar, flour, and lemon juice in a large bowl. This combination ensures that the cherries are sweet, a little tart, and thickened to perfection once baked. The lemon juice brightens the cherries’ natural flavor without overpowering them.
Step 2: Roll and Fill the Pie Crust
Roll out one of your pie crusts and gently place it into your pie dish, letting the edges hang over the sides slightly. Pour the cherry filling evenly into this crust, distributing the cherries and their juices for a luscious layer. This is the foundation of your pie—making sure the filling is evenly spread is essential for a flawless bake.
Step 3: Create the Lattice Top
Roll out the second pie crust on a floured surface and slice it into even strips, about 1/2 to 3/4 inch wide. Weave these strips over the filling in a classic lattice pattern, carefully weaving over and under to create that timeless crisscross effect. This step not only looks stunning but also allows steam to escape and the filling to bubble gently.
Step 4: Apply Egg Wash and Bake
Mix the egg and water in a small bowl to make the egg wash, then brush it generously over the lattice crust. This egg wash is what gives your pie that glorious golden brown finish. Place the pie on the center rack of your preheated oven and bake for 45 to 50 minutes, until the crust is crisp and browned and the cherry filling is bubbly and thick.
How to Serve Cherry Pie with Lattice Crust Recipe
Garnishes
A scoop of creamy vanilla ice cream or a dollop of freshly whipped cream is a perfect partner for this cherry pie. The cold cream contrasts beautifully with the warm, fruity filling and flaky crust. You can also sprinkle a few toasted almonds on top for a little crunch or a dusting of powdered sugar for extra sweetness and presentation flair.
Side Dishes
While cherry pie is often a dessert on its own, it pairs wonderfully with light, fresh accompaniments. Consider serving it alongside a crisp green salad or a tangy citrus fruit salad to balance the richness of the pie. For a heartier meal before dessert, a simple roast chicken or grilled pork tenderloin complements the pie’s fruity notes beautifully.
Creative Ways to Present
For festive occasions, warm individual slices with lattice crust in mini ramekins and top each with a sprig of mint and a drizzle of cherry syrup or honey. You might even add a thin slice of lemon zest or a few fresh cherries to elevate the presentation further. Offering your Cherry Pie with Lattice Crust Recipe in a rustic cast iron skillet can also add a cozy, homey touch that guests will adore.
Make Ahead and Storage
Storing Leftovers
Leftover cherry pie tastes just as good the next day and can be stored covered at room temperature for up to two days. For longer shelf life, refrigerate wrapped tightly in plastic wrap or aluminum foil, and enjoy within four to five days for optimal freshness.
Freezing
You can freeze this pie either before or after baking. Wrap the pie tightly in plastic wrap and then aluminum foil to prevent freezer burn. Frozen cherry pie will keep well for up to two months. To bake from frozen, simply add an additional 15-20 minutes to the baking time, covering the edges if they brown too quickly.
Reheating
To reheat your cherry pie, place slices in a preheated 350°F (175°C) oven for about 15 minutes or until warmed through. Avoid microwaving as it can make the crust soggy. A gentle warming keeps the lattice crust crisp and the filling delectably luscious.
FAQs
Can I use frozen cherries instead of fresh?
Yes, frozen cherries work well if fresh aren’t available. Just make sure to thaw and drain them thoroughly to avoid excess moisture which can make the filling too runny. Adjust the flour slightly if needed to help thicken the filling.
What if I don’t want to make a lattice crust?
If lattice feels intimidating, you can always top your pie with a full crust and cut slits for steam to escape. While the lattice crust adds a lovely texture and look, a traditional full crust works perfectly and keeps the filling beautifully contained.
How do I prevent the crust edges from burning?
To protect the pie’s edges during baking, cover them with foil or a pie shield once they brown enough—usually after about 30 minutes in the oven. This simple step helps ensure the crust stays golden without getting too dark or burnt.
Can I reduce the sugar if I want a less sweet pie?
Absolutely! Depending on the tartness of your cherries, you can reduce the sugar slightly. Keep in mind that reducing sugar too much may affect the filling’s texture, so adjust gradually and taste as you go.
What variations can I try with this cherry pie recipe?
Feel free to experiment by adding spices like cinnamon or almond extract to the filling for extra depth. You can also mix in other berries, such as blueberries or blackberries, for a unique twist. The lattice crust works beautifully with these variations too.
Final Thoughts
Making a homemade pie is one of those timeless culinary pleasures that fills your kitchen with warmth and invites everyone to gather. This Cherry Pie with Lattice Crust Recipe brings together simple ingredients and classic techniques to create a stunning dessert full of flavor and heart. Whether for a special occasion or a cozy family treat, I encourage you to give this recipe a try—you might just discover your new favorite pie that everyone will keep asking for again and again.
Print
Cherry Pie with Lattice Crust Recipe
- Prep Time: 20 minutes
- Cook Time: 45-50 minutes
- Total Time: 1 hour 10 minutes
- Yield: 8 servings
- Category: Dessert
- Method: Baking
- Cuisine: American
Description
This classic Cherry Pie with a beautiful lattice crust is a delightful dessert perfect for any occasion. It features a sweet and tangy cherry filling encased in a flaky, buttery pie crust woven into an eye-catching lattice pattern. Baked to golden perfection, this pie delivers a comforting, homemade taste with every bite.
Ingredients
Filling
- 4 cups fresh pitted cherries
- 1 cup sugar
- 2 tablespoons all-purpose flour
- 1 tablespoon lemon juice
Crust
- 2 pie crusts (homemade or store-bought)
- 1/2 cup unsalted butter, chilled
Egg Wash
- 1 egg
- 1 tablespoon water
Instructions
- Preheat Oven: Preheat your oven to 425°F (220°C) to ensure it’s hot and ready for baking the pie.
- Prepare Filling: In a mixing bowl, combine the fresh pitted cherries, sugar, all-purpose flour, and lemon juice. Stir well until the ingredients are evenly mixed to form the cherry filling.
- Assemble Bottom Crust: Roll out one of the pie crusts and carefully place it into a pie dish, ensuring it fits snugly to hold the filling.
- Add Filling: Pour the prepared cherry mixture into the crust-lined pie dish, spreading it uniformly.
- Create Lattice Crust: Roll out the second pie crust and cut it into strips. Position the strips over the cherry filling in a lattice pattern, weaving them to create an attractive design.
- Apply Egg Wash: Beat the egg with one tablespoon of water to make an egg wash. Use a brush to gently coat the lattice crust with this mixture to achieve a golden sheen when baked.
- Bake the Pie: Place the assembled pie in the preheated oven and bake for 45-50 minutes until the crust is golden brown and the cherry filling is bubbling through the lattice.
Notes
- For best results, use fresh, ripe cherries. If using frozen, thaw and drain excess liquid before mixing.
- To prevent the crust edges from overbrowning, cover them with foil or a pie shield halfway through baking.
- Allow the pie to cool for at least two hours before slicing to let the filling set.
- Serve with vanilla ice cream or whipped cream for extra indulgence.


