
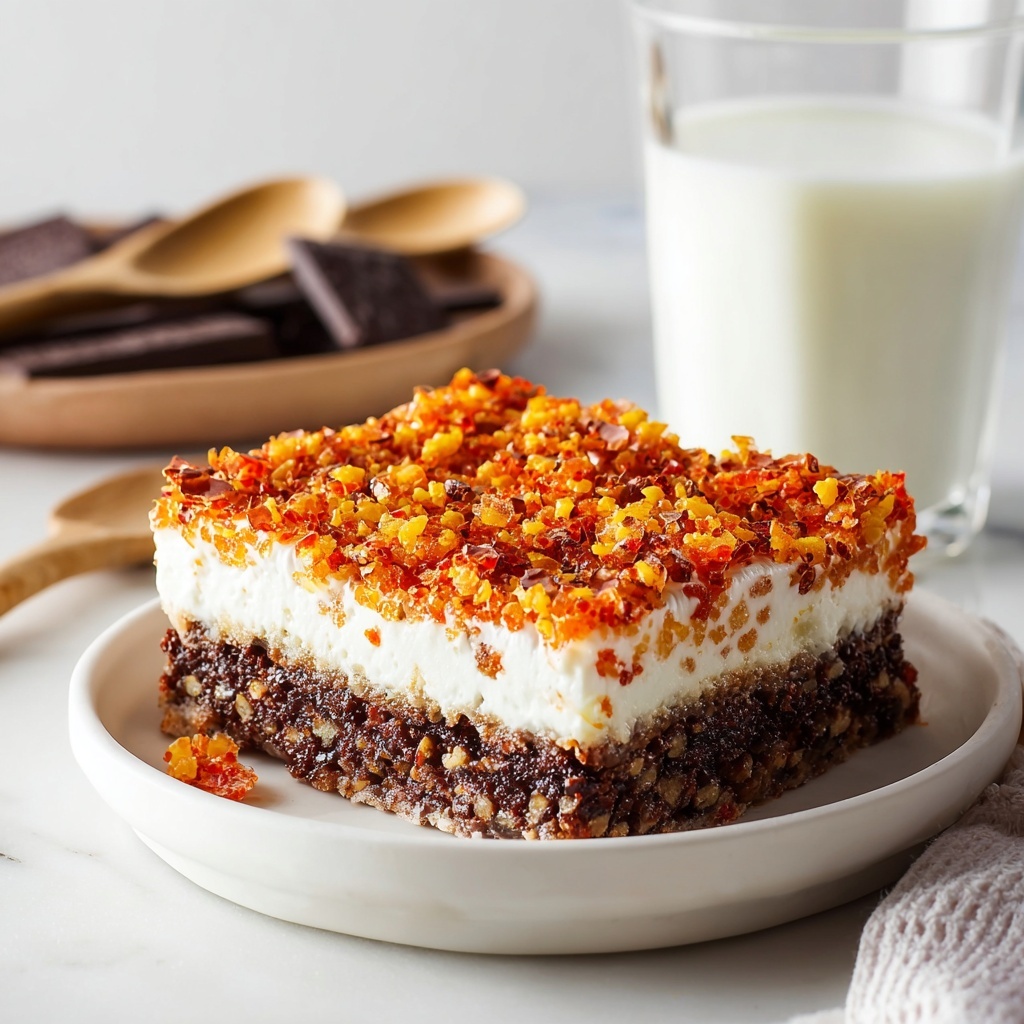
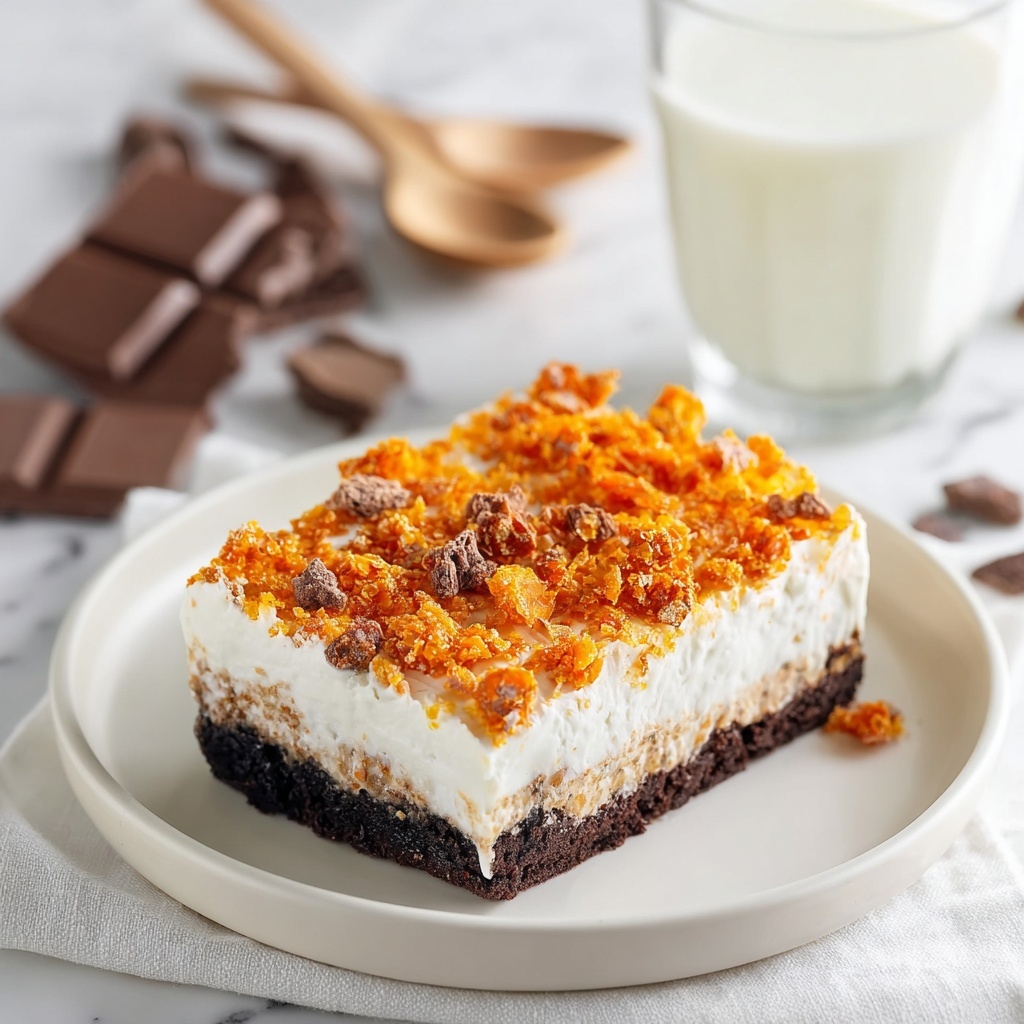
If you have a sweet tooth that craves something rich, playful, and full of incredible textures, the Butterfinger Poke Cake Recipe is exactly the kind of dessert that will win your heart over. This cake combines the moistness of chocolate cake with the luscious creaminess of caramel, peanut butter, and sweetened condensed milk, all studded with those irresistible crunchy Butterfinger candy bars. Each bite is a sensational mix of flavors and textures that feels nostalgic yet delightfully fresh. You will find yourself reaching for seconds, guaranteed!
Ingredients You’ll Need
This Butterfinger Poke Cake Recipe calls for simple ingredients that you might already have in your pantry and fridge. Each component plays a crucial role, from the chocolate cake base giving depth and moistness, to the peanut butter and caramel adding creamy richness and sweetness, and finally the Butterfinger candies that provide that signature satisfying crunch and buttery flavor.
- Chocolate cake mix (15 oz): The foundation of this cake, keep it simple and moist for the best results.
- Water (1 cup): Essential to properly hydrate the cake mix and ensure fluffiness.
- Vegetable oil (1/3 cup): Adds tenderness and richness to the cake’s crumb.
- Eggs (3): Provide structure while keeping the cake light and airy.
- Sweetened condensed milk (14 oz): Brings silky sweetness that seeps into every poke hole.
- Caramel sauce (1/2 cup): Offers a golden layer of buttery sweetness complementing the chocolate.
- Creamy peanut butter (1/3 cup): A smooth, nutty undertone that marries beautifully with the caramel.
- Whipped cream (1 cup): Soft, airy topping that balances the richness underneath.
- Powdered sugar (1/3 cup): Sweetens and stabilizes the peanut butter mixture for lusciousness.
- Vanilla extract (1/2 tsp): Elevates all flavors with its warm, floral notes.
- Butterfinger candy bars (8-10 fun sized, chopped): The star crunchy, buttery surprise inside and on top of the cake.
How to Make Butterfinger Poke Cake Recipe
Step 1: Prepare and Bake the Cake
Start by heating your oven to 350°F. Combine the chocolate cake mix with water, vegetable oil, and eggs as instructed on the box. Pour this luscious batter into a non-stick sprayed 9×13 pan. Pop it into the oven and let it bake for about 25 to 30 minutes until a toothpick comes out clean. Once done, let the cake cool completely, which is crucial before moving on to the next step.
Step 2: Poke Holes for the Magic
Grab a skewer or the back end of a wooden spoon and gently poke holes generously across the top of the cake. These holes allow the creamy filling to seep deep inside, making each bite so moist and delicious. Be sure to reach halfway down or all the way through the cake to maximize that flavor infusion.
Step 3: Mix the Creamy Filling
In a medium bowl, whisk together the sweetened condensed milk, caramel sauce, creamy peanut butter, powdered sugar, and vanilla extract. Stir in most of the chopped Butterfinger pieces, reserving about half a cup for topping later. This mixture is what brings unparalleled richness and texture to the cake – the heart of the Butterfinger Poke Cake Recipe.
Step 4: Pour Filling and Chill
Pour this decadent filling over the cake, carefully making sure it fills the poke holes and spreads evenly across the entire surface. Cover the pan and place the cake in the fridge for 1 to 2 hours. This chilling step helps everything set perfectly, blending the intense flavors beautifully.
Step 5: Add Whipped Cream and Final Touches
Once chilled, slather the top with a generous layer of whipped cream, spreading it smoothly to cover every corner. Then sprinkle the remaining Butterfinger candy pieces on top, adding that perfect crunchy finish that will have everyone coming back for more.
How to Serve Butterfinger Poke Cake Recipe
Garnishes
Enhance your Butterfinger Poke Cake Recipe presentation with a few extra Butterfinger crumbles or a drizzle of caramel sauce for an elegant touch. A dash of chopped peanuts or a light dusting of cocoa powder can add a contrasting texture and accentuate the peanut butter and chocolate flavors.
Side Dishes
This cake is quite rich and decadent, so pairing it with a light, refreshing side is ideal. A scoop of vanilla ice cream or a dollop of freshly whipped cream complements the cake perfectly. For a fruitier contrast, consider fresh berries or a simple citrus salad to cut through the sweetness.
Creative Ways to Present
Serve your Butterfinger Poke Cake Recipe in individual dessert cups by layering chunks of the cake with extra whipped cream and Butterfinger pieces, making it a fun and elegant option for parties. Alternatively, slice into squares and offer on a decorated platter with additional caramel drizzle for a stunning centerpiece.
Make Ahead and Storage
Storing Leftovers
Because this cake is best served chilled, store any leftovers covered tightly in the refrigerator. It should stay moist and delicious for up to 4 days. Keeping it covered prevents it from absorbing any fridge odors and helps maintain the whipped cream topping.
Freezing
You can freeze the Butterfinger Poke Cake Recipe, but it’s best to skip the whipped cream topping before freezing. Wrap the cake tightly with plastic wrap and then with foil to avoid freezer burn. Freeze for up to 2 months. Thaw overnight in the refrigerator before adding fresh whipped cream and Butterfinger garnishes.
Reheating
This cake is designed to be enjoyed cold, so reheating isn’t recommended as it could compromise texture and flavor. If you want a warm dessert experience, consider enjoying a warm chocolate cake separately and topping it with some Butterfinger candy pieces and caramel sauce instead.
FAQs
Can I use homemade cake instead of cake mix?
Absolutely! A homemade chocolate cake works wonderfully in the Butterfinger Poke Cake Recipe and adds a personal touch. Just ensure it’s moist and sturdy enough to be poked and soaked with the filling.
What type of peanut butter works best?
Creamy peanut butter is preferred because it blends smoothly into the filling without graininess, ensuring the luscious texture that contrasts perfectly with the crunchy Butterfinger bits.
Do I have to poke the holes all the way through the cake?
Not necessarily. Poking halfway down is sufficient to allow the filling to seep in and keep the cake moist, but going all the way through also works if you want an even richer flavor throughout.
Can I replace the caramel sauce with something else?
If you’re not a caramel fan, dulce de leche or a rich butterscotch sauce are great alternatives that won’t sacrifice the overall flavor balance of the Butterfinger Poke Cake Recipe.
How long does the cake need to chill before serving?
Chilling for 1 to 2 hours is ideal to let the filling set and flavors meld perfectly. If you’re pressed for time, even one hour will deliver great results, but longer is better for full indulgence.
Final Thoughts
This Butterfinger Poke Cake Recipe is one of those truly delightful desserts that feels like a big hug on a plate. It’s straightforward to make but impressively indulgent, combining familial favorites in a way that’s sure to become a go-to celebration cake. Whether for birthdays, holidays, or sweet Tuesday indulgences, you owe it to yourself to try this unforgettable treat.
Print
Butterfinger Poke Cake Recipe
- Prep Time: 10 minutes
- Cook Time: 30 minutes
- Total Time: 2 hours 40 minutes
- Yield: 10 servings
- Category: Dessert
- Method: Baking
- Cuisine: American
Description
This indulgent Butterfinger Poke Cake combines a moist chocolate cake with a rich, creamy peanut butter and caramel filling studded with crunchy Butterfinger candy pieces. The cake is baked, poked to create holes for the luscious filling to seep in, chilled, and topped with whipped cream and crushed Butterfinger for a delightfully rich and textured dessert perfect for special occasions or satisfying any sweet tooth craving.
Ingredients
Cake
- 1 15 oz chocolate cake mix
- 1 cup water
- 1/3 cup vegetable oil
- 3 eggs
Filling
- 1 14 oz sweetened condensed milk
- 1/2 cup caramel sauce
- 1/3 cup creamy peanut butter
- 1/3 cup powdered sugar
- 1/2 tsp vanilla extract
- 8–10 fun sized Butterfinger candy bars, chopped (save 1/2 cup for the topping)
Topping
- 1 cup whipped cream
- 1/2 cup chopped Butterfinger candy bars (from above)
Instructions
- Prepare the cake batter: Preheat your oven to 350°F (175°C). In a large bowl, prepare the chocolate cake mix according to the package directions, combining the cake mix, water, vegetable oil, and eggs until smooth and well mixed.
- Bake the cake: Spray a 9×13-inch baking dish with non-stick cooking spray. Pour the cake batter into the prepared dish and bake in the preheated oven for 25-30 minutes, or until a toothpick inserted in the center comes out clean. Remove from oven and allow the cake to cool completely.
- Poke holes in the cake: Once the cake has cooled, use a skewer or the end of a wooden spoon to poke holes all over the surface, making sure the holes go halfway or all the way down into the cake. These holes will allow the filling to seep into the cake for moist and flavorful bites.
- Make the filling: In a medium bowl, combine the sweetened condensed milk, caramel sauce, creamy peanut butter, powdered sugar, vanilla extract, and the chopped Butterfinger candy bars except the reserved 1/2 cup. Stir until all ingredients are thoroughly mixed and smooth.
- Pour filling over the cake: Evenly pour the peanut butter and caramel mixture over the top of the cake, ensuring it seeps into the holes and covers the surface evenly.
- Refrigerate the cake: Cover the cake with plastic wrap and place it in the refrigerator for 1-2 hours to allow the flavors to meld and the filling to set.
- Add whipped topping: After chilling, spread the whipped cream evenly over the surface of the cake to create a smooth, creamy topping.
- Decorate with Butterfinger pieces: Sprinkle the reserved 1/2 cup of chopped Butterfinger candy bars over the whipped cream topping to add crunch and extra flavor.
- Serve: Slice the cake into 10 pieces and serve chilled. Enjoy this rich and delicious dessert that combines chocolate, peanut butter, caramel, and Butterfinger candy for a decadent treat.
Notes
- Be sure the cake is completely cooled before poking holes to avoid crumbling.
- Use creamy peanut butter for the smoothest filling consistency.
- For a quicker chill, place the cake in the freezer for 30-45 minutes but watch carefully to prevent freezing.
- Butterfinger candies can be substituted with another peanut butter candy for variation.
- Store leftovers covered in the refrigerator for up to 3 days.


