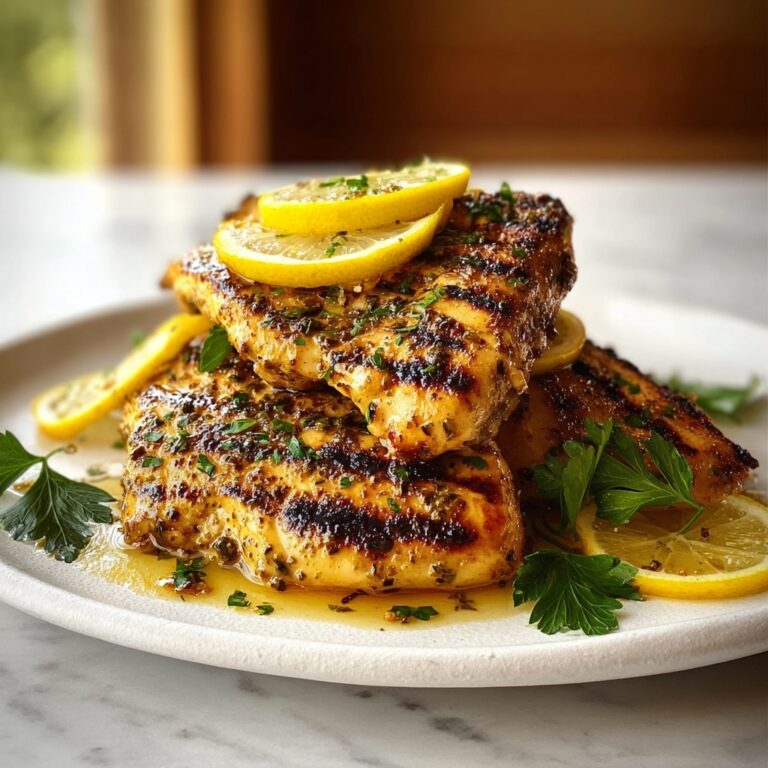
If you have been dreaming about the ultimate comfort food, look no further than this Crispy Buttermilk Fried Chicken Recipe. The perfect marriage of juicy, tender chicken soaking in rich buttermilk, coupled with a delightfully crunchy, golden crust, creates a dish that hits all the right notes. Whether you are cooking for family or impressing friends, this recipe guarantees crispy, flavorful bites every single time. The secret lies in the buttermilk marinade that tenderizes the chicken and the carefully seasoned flour that forms that irresistible crunch, making this recipe a true standout in your cooking repertoire.
Ingredients You’ll Need
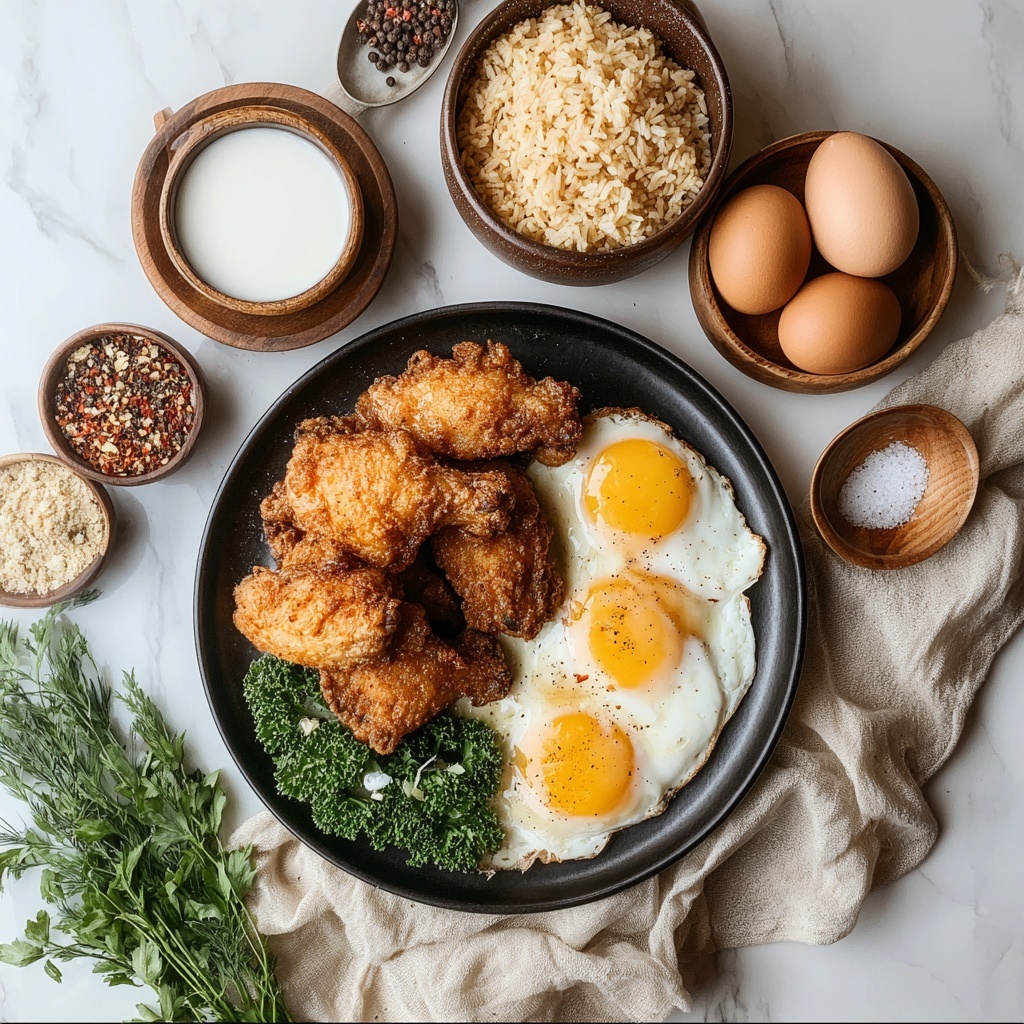
Getting ready to make this Crispy Buttermilk Fried Chicken Recipe means gathering a handful of straightforward ingredients, each playing a crucial role in flavor, texture, and color. The simple yet thoughtfully chosen components come together beautifully to create an unforgettable dish.
- 4 boneless, skinless chicken breasts: Provides lean, tender meat perfect for quick marination and frying.
- 2 cups buttermilk: Acts as the tenderizing marinade and adds subtle tang that enhances the chicken’s flavor.
- 2 cups all-purpose flour: Creates that necessary crispy coating to seal in juices.
- 1 teaspoon salt: Balances flavors and seasons the chicken thoroughly.
- 1 teaspoon black pepper: Adds a mild spice and warmth for depth.
- 1 teaspoon paprika: Provides beautiful color and a smoky-sweet flavor note.
- 1 teaspoon garlic powder: Brings a fragrant, savory hint to the crust.
- 1 teaspoon onion powder: Enhances umami and complements the garlic perfectly.
- 1/2 teaspoon cayenne pepper (optional): Adds a subtle kick of heat if you like things spicy.
- 2 cups vegetable oil for frying: High smoke point oil ensures perfect frying without burning.
How to Make Crispy Buttermilk Fried Chicken Recipe
Step 1: Prepare the Chicken
The first step to achieving tender, evenly cooked chicken is to pound your boneless breasts gently to about half an inch thickness. Placing the chicken between plastic wrap makes this process a breeze and keeps things tidy. This step ensures quick, consistent cooking and helps the buttermilk marinade penetrate evenly.
Step 2: Marinate in Buttermilk
Dunk your pounded chicken breasts fully in the creamy buttermilk and let them luxuriate in the fridge for at least two hours. This soaking step is essential because the acids and enzymes in buttermilk break down the proteins, giving you juicy, tender bites bursting with flavor. For even better results, marinate overnight—your patience will be rewarded.
Step 3: Season the Flour
While the chicken marinates, mix up your magical flour coating blend with salt, pepper, paprika, garlic powder, onion powder, and cayenne if you want a little extra heat. This well-rounded seasoning mix creates the bold, flavorful crust that makes this Crispy Buttermilk Fried Chicken Recipe truly unforgettable.
Step 4: Dredge the Chicken
When marination time is up, carefully lift each piece out of the buttermilk, letting the excess drip off before pressing it firmly into the seasoned flour. This step is crucial to building that thick, ultra-crispy coating everyone loves. Don’t be shy—get a good even layer all around.
Step 5: Heat the Oil
Heat your vegetable oil in a skillet or deep fryer over medium-high heat until it reaches about 350°F (175°C). The right temperature is key here because too cool oil results in greasy chicken, while too hot oil burns the coating before the inside is cooked through. Use a thermometer if you can—it’ll make all the difference!
Step 6: Fry to Golden Perfection
Carefully place the coated chicken in the hot oil, cooking in batches if needed to avoid crowding. Each side should fry for roughly 4-6 minutes until the crust is beautifully golden and the chicken reaches an internal temperature of 165°F (74°C). This balance ensures a crisp exterior while keeping the inside moist and tender.
Step 7: Drain Excess Oil
Once fried, transfer the chicken to a wire rack or paper towels to let any extra oil drip away. This simple step keeps your chicken crisp and prevents sogginess, preserving that ideal crunch that makes this Crispy Buttermilk Fried Chicken Recipe so satisfying.
Step 8: Rest and Serve
Give the chicken a few minutes to rest before serving so the juices redistribute and stay locked within the meat. This little pause elevates every bite, providing moistness that hits the perfect savory note with each crunch of the crust.
How to Serve Crispy Buttermilk Fried Chicken Recipe
Garnishes
Simple garnishes like freshly chopped parsley or a squeeze of lemon juice add a lovely pop of freshness and color, balancing the richness of this Crispy Buttermilk Fried Chicken Recipe. You could also sprinkle some flaky sea salt right before serving to enhance textures and flavors.
Side Dishes
Classic sides like creamy mashed potatoes, buttery corn on the cob, or tangy coleslaw are the perfect partners in crime for this fried chicken. Or get creative with roasted vegetables or a crisp garden salad to brighten up your plate and complement those crunchy, juicy chicken pieces.
Creative Ways to Present
For a fun twist, serve the chicken on a biscuit sandwich with a drizzle of honey or spicy mayo. You could also present it alongside pickles and hot sauce for an irresistible Southern-inspired platter. The possibilities are endless and all equally delicious with this Crispy Buttermilk Fried Chicken Recipe.
Make Ahead and Storage
Storing Leftovers
Place any leftover chicken in an airtight container and store it in the refrigerator for up to 3 days. To keep the crust as crispy as possible, avoid sealing it with excess moisture by laying the pieces on a paper towel-lined plate before covering.
Freezing
If you want to save some for later, freeze cooled fried chicken pieces in a single layer on a baking sheet before transferring them to a freezer-safe container. This step stops them from sticking together. Frozen fried chicken will stay delicious for up to 2 months, a true lifesaver for busy days.
Reheating
To revive that perfect crisp, reheat leftovers in an oven preheated to 375°F (190°C) on a wire rack placed over a baking sheet for 10-15 minutes. This method warms the chicken through while re-crisping the crust—definitely better than microwaving, which tends to make the coating soggy.
FAQs
Can I use bone-in chicken for this Crispy Buttermilk Fried Chicken Recipe?
Absolutely! Bone-in pieces work wonderfully with this method, though you’ll want to increase the frying time slightly to ensure the meat is fully cooked while maintaining the crust’s crispiness.
What if I don’t have buttermilk on hand?
No worries! You can easily make a buttermilk substitute by adding 1 tablespoon of lemon juice or white vinegar to 1 cup of milk, letting it sit for 5-10 minutes. It’s not exactly the same but gives a similar tenderizing effect.
How spicy is this recipe with cayenne pepper?
The cayenne pepper adds just a gentle heat that lifts the flavor without overwhelming the taste buds. If you prefer no spice, feel free to omit it entirely for a milder but equally delicious version.
Can I bake instead of fry this chicken?
You can bake the coated chicken on a wire rack at 400°F (200°C) for about 25-30 minutes, flipping halfway through. However, frying gives you that unbeatable crispy texture classic to this Crispy Buttermilk Fried Chicken Recipe.
Why is it important to let the chicken rest after frying?
Resting allows the juices inside to redistribute, which means every bite is juicy and tender rather than dry. It also helps the crust set and stay crisp rather than softening too quickly.
Final Thoughts
There’s something truly special about making your own Crispy Buttermilk Fried Chicken Recipe at home—each step builds layers of flavor and texture that come together in a wonderfully satisfying bite. I encourage you to give this recipe a try soon because it’s one of those dishes that brings comfort and joy simultaneously. Plus, sharing it with loved ones feels like handing them a little piece of happiness. Happy cooking!
Print
Crispy Buttermilk Fried Chicken Recipe
- Prep Time: 2h 0m
- Cook Time: 0h 15m
- Total Time: 2h 15m
- Yield: 4 servings
- Category: Main Course
- Method: Frying
- Cuisine: American
Description
This classic fried chicken recipe features boneless, skinless chicken breasts marinated in buttermilk and coated with a flavorful blend of spices before being fried to a perfect golden brown. The result is a crispy, juicy dish bursting with southern comfort flavors, ideal for a satisfying meal any time of year.
Ingredients
Chicken and Marinade
- 4 boneless, skinless chicken breasts
- 2 cups buttermilk
Breading and Seasoning
- 2 cups all-purpose flour
- 1 teaspoon salt
- 1 teaspoon black pepper
- 1 teaspoon paprika
- 1 teaspoon garlic powder
- 1 teaspoon onion powder
- 1/2 teaspoon cayenne pepper (optional, for extra spice)
For Frying
- 2 cups vegetable oil for frying
Instructions
- Pound the Chicken: Place the chicken breasts between two sheets of plastic wrap and gently pound them with a meat mallet until they are about 1/2 inch thick to ensure even cooking.
- Marinate: In a large bowl, pour the buttermilk over the chicken breasts making sure they are fully submerged. Cover the bowl and refrigerate for at least 2 hours or up to overnight to tenderize the meat and enhance flavor.
- Prepare the Flour Mixture: In a shallow dish, combine the all-purpose flour, salt, black pepper, paprika, garlic powder, onion powder, and cayenne pepper, mixing thoroughly to distribute the seasoning evenly.
- Dredge the Chicken: Remove the chicken from the buttermilk and let excess drip off. Coat each breast thoroughly in the seasoned flour mixture, pressing the flour onto the surface to form a good crust.
- Heat the Oil: Pour vegetable oil into a large skillet or deep fryer and heat over medium-high heat until it reaches 350°F (175°C). This temperature is optimal to achieve a crispy exterior and fully cooked interior.
- Fry the Chicken: Carefully place the coated chicken breasts into the hot oil, cooking in batches if necessary to prevent overcrowding. Fry each side for 4-6 minutes until the crust is golden brown and a meat thermometer reads 165°F (74°C) in the thickest part.
- Drain Excess Oil: Remove the fried chicken from the oil and set on a wire rack or paper towels to absorb any excess oil, keeping the crust crisp and preventing sogginess.
- Rest and Serve: Allow the fried chicken to rest for a few minutes so the juices redistribute, ensuring a juicy bite with every piece. Serve warm and enjoy!
Notes
- Marinating the chicken overnight in buttermilk yields a more tender and flavorful result.
- Maintain oil temperature at around 350°F to ensure crispy chicken without absorbing too much oil.
- If you prefer spicier chicken, increase the cayenne pepper or add paprika for more color and taste.
- Use a meat thermometer to guarantee the chicken is fully cooked and safe to eat.
- Draining fried chicken on a wire rack keeps the crust crispy compared to paper towels alone.

